Table of Contents
Planning a memorable Independence Day celebration doesn’t have to be overwhelming. With a little preparation, a handful of delicious recipes, and a few handy tips, you can create a feast that dazzles guests, satisfies cravings, and keeps the stress level low. This guide walks you through every step, from setting the perfect menu to mastering the grill, so you can focus on enjoying the company of family and friends while the aromas of summer fill the air. Whether you’re a first‑time host or a seasoned backyard chef, the recipes below are designed to be approachable, flavorful, and completely free of pork, bacon, and any alcoholic ingredients.
Planning Your Menu for Balance and Variety
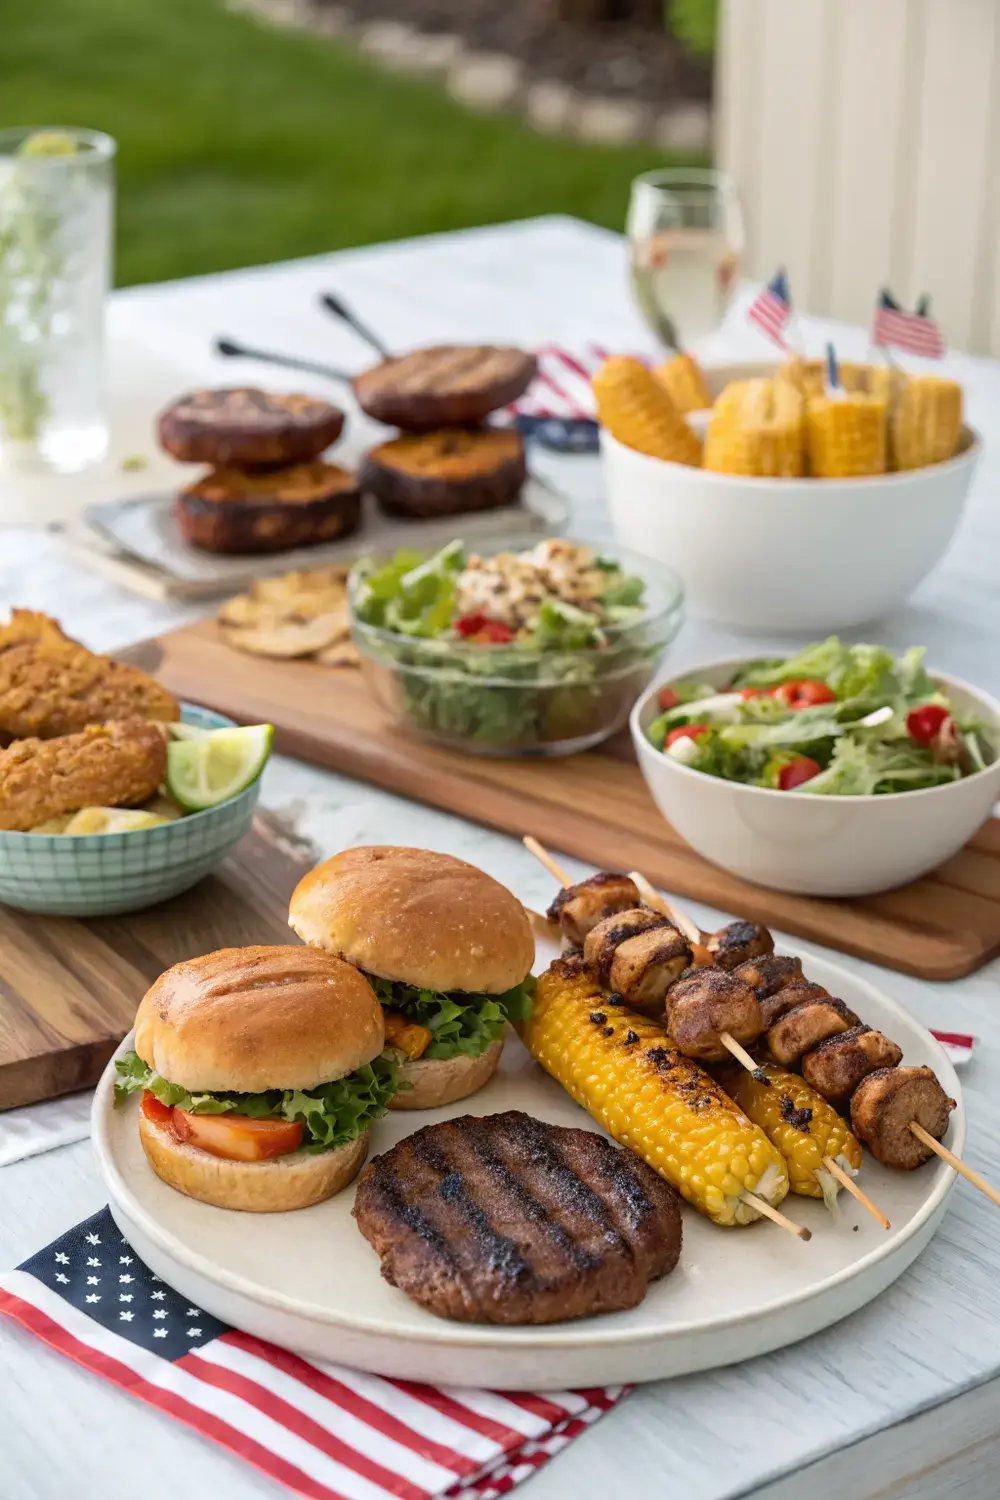
A successful BBQ menu balances smoky mains, bright sides, and refreshing drinks (non‑alcoholic, of course). Think about texture—crispy, tender, creamy, and crunchy—so each bite feels distinct. Include at least one hearty protein, a couple of vegetable‑forward dishes, and a sweet or fruity element to round out the meal. The recipes in this article cover juicy beef burgers, honey‑glazed chicken skewers, a vibrant watermelon feta salad, and creamy corn on the cob, giving you a solid foundation that can be expanded with additional sides if desired.
Essential Tools and Equipment for a Smooth Cooking Experience
Before you fire up the grill, gather these basics: a sturdy grill (gas or charcoal works well), a reliable meat thermometer, tongs, a spatula, a grill brush for cleaning grates, and a sturdy cutting board. A small bowl for mixing sauces, a basting brush, and aluminum foil for indirect heat cooking are also invaluable. Having everything within arm’s reach reduces the need to run back and forth, keeping the cooking flow smooth and enjoyable.
Signature Grilled Beef Burgers
Ingredients and Explanations
Ground beef (80% lean, 20% fat) provides juicy texture and rich flavor; the fat renders during grilling, keeping the patty moist. Sea salt enhances the natural beef taste, while freshly cracked black pepper adds a subtle heat. Garlic powder contributes a warm, aromatic note without overwhelming the meat. A splash of Worcestershire sauce (ensure it’s alcohol‑free) deepens the umami profile. Finally, a handful of finely chopped fresh parsley adds a pop of color and freshness.
Step‑by‑Step Instructions with Tips
1. In a large bowl, combine the ground beef, sea salt, black pepper, garlic powder, Worcestershire sauce, and parsley. Mix gently—over‑mixing can make the burgers dense.
2. Divide the mixture into equal portions (about 4‑ounce each) and shape them into patties that are slightly larger than the bun diameter; the meat will shrink a bit as it cooks.
3. Preheat the grill to medium‑high heat (around 375‑400°F). Oil the grates lightly to prevent sticking.
4. Place the patties on the grill and cook for 4‑5 minutes on the first side. Resist the urge to press down; this squeezes out precious juices.
5. Flip the burgers and cook another 4‑5 minutes for medium‑rare, or longer if you prefer well‑done. Use a meat thermometer to check that the internal temperature reaches 160°F for safety.
6. Remove the burgers and let them rest for 3‑5 minutes before serving. Resting allows the juices to redistribute, ensuring each bite is moist.
Cooking Variations and Substitutions
For a leaner option, use 90% lean ground turkey or chicken, but add a tablespoon of olive oil to maintain moisture. You can also experiment with a blend of beef and pork‑free plant‑based mince for a different texture. If you’re avoiding gluten, serve the burgers on lettuce leaves or gluten‑free buns.
Storage and Reheating Tips
Store cooked patties in an airtight container in the refrigerator for up to 3 days. Reheat gently on the grill or in a skillet over low heat, covering the pan to retain moisture. Avoid microwaving, as it can make the burgers rubbery.
Common Mistakes to Avoid
Over‑mixing the meat, pressing the patties while cooking, and flipping too often are the biggest culprits that lead to dry, tough burgers. Also, cooking on too low a temperature can cause the exterior to burn before the interior is done.
Honey‑Glazed Chicken Skewers (Alcohol‑Free)
Ingredients and Explanations
Boneless, skinless chicken breast pieces provide lean protein that stays tender when marinated. Olive oil helps the honey glaze adhere and adds a subtle richness. Pure honey offers natural sweetness and a beautiful caramelized finish. Fresh lemon juice brightens the flavor and balances the sweetness, while minced garlic adds depth. A pinch of smoked paprika gives a gentle smoky note without any actual smoke, and a sprinkle of sea salt enhances all the other flavors.
Step‑by‑Step Instructions with Tips
1. Cut the chicken into 1‑inch cubes; this size ensures even cooking on the skewers.
2. In a bowl, whisk together olive oil, honey, lemon juice, minced garlic, smoked paprika, and sea salt.
3. Add the chicken cubes to the marinade, toss to coat, and let sit for at least 30 minutes (or up to 4 hours in the refrigerator) to absorb the flavors.
4. Thread the chicken onto pre‑soaked wooden skewers or metal ones, leaving a little space between pieces for airflow.
5. Preheat the grill to medium heat (about 350°F). Place the skewers on the grill and cook for 6‑8 minutes, turning every 2 minutes, until the chicken is cooked through and the glaze is caramelized.
6. Remove from the grill and let cool slightly before serving.
Cooking Variations and Substitutions
Swap chicken breast for firm tofu cubes for a vegetarian version; press the tofu first to remove excess water, then marinate as directed. For a deeper flavor, add a dash of ground cumin or a splash of balsamic vinegar (ensure it’s alcohol‑free) to the glaze.
Storage and Reheating Tips
Cool the skewers to room temperature, then store them in a sealed container in the fridge for up to 2 days. Reheat gently on the grill or in a skillet over low heat, turning occasionally to keep the glaze glossy.
Common Mistakes to Avoid
Using too high a heat can cause the honey to burn before the chicken cooks. Also, overcrowding the skewers prevents proper heat circulation, leading to uneven cooking.
Refreshing Watermelon Feta Salad
Ingredients and Explanations
Cubed seedless watermelon offers sweet, juicy bursts that contrast beautifully with salty feta cheese. Fresh mint leaves add a cooling aroma, while thinly sliced red onion provides a mild sharpness. A drizzle of extra‑virgin olive oil creates a silky coating, and a squeeze of lime juice adds brightness. A pinch of sea salt and a grind of black pepper balance the flavors, making the salad vibrant and satisfying.
Step‑by‑Step Instructions with Tips
1. Cut the watermelon into bite‑size cubes and place them in a large mixing bowl.
2. Crumble the feta cheese over the watermelon, being careful not to over‑mix and break the cheese pieces.
3> Add the sliced red onion and torn mint leaves.
4> In a small cup, whisk together olive oil, lime juice, sea salt, and black pepper.
5> Pour the dressing over the salad and toss gently to combine, ensuring each piece gets a light coating.
6> Serve immediately for the freshest texture, or chill for 15 minutes if you prefer a cooler salad.
Cooking Variations and Substitutions
Replace feta with goat cheese for a creamier texture, or use cubed halloumi for a firmer bite. If you’re avoiding dairy, substitute a plant‑based feta alternative made from nuts. Adding sliced cucumber or avocado introduces extra creaminess and nutrients.
Storage and Reheating Tips
Keep the salad in a sealed container in the refrigerator for up to 1 day. The dressing may settle; give it a quick stir before serving. The watermelon may become slightly softer over time, but it remains safe to eat.
Common Mistakes to Avoid
Over‑dressing the salad can make it soggy. Also, adding the dressing too early can cause the watermelon to release excess juice, diluting the flavors.
Creamy Corn on the Cob with Herb Butter
Ingredients and Explanations
Fresh corn on the cob provides natural sweetness and a satisfying crunch. Butter, softened to room temperature, creates a rich base for the herb mixture. Fresh parsley, chives, and dill contribute bright, aromatic notes, while a pinch of garlic powder adds subtle depth. A light sprinkle of sea salt enhances the natural corn flavor, and a dash of black pepper rounds out the seasoning.
Step‑by‑Step Instructions with Tips
1. Bring a large pot of water to a boil and add a generous pinch of salt.
2. Add the corn cobs and cook for 5‑7 minutes, or until the kernels are tender but still crisp.
3> Using tongs, remove the corn and place it on a plate to cool slightly.
4> In a small bowl, combine the softened butter with chopped parsley, chives, dill, garlic powder, sea salt, and black pepper. Mix until smooth.
5> While the corn is still warm, spread a generous layer of the herb butter over each cob, allowing it to melt into the kernels.
6> Serve immediately, optionally garnished with an extra sprinkle of fresh herbs.
Cooking Variations and Substitutions
For a grill‑charred version, preheat the grill to medium‑high and place the corn directly on the grates, turning every few minutes until lightly charred, then finish with the herb butter. If you’re avoiding dairy, use a dairy‑free butter alternative that melts well.
Storage and Reheating Tips
Allow the corn to cool completely, then store the cobs in a sealed bag in the refrigerator for up to 3 days. Reheat by steaming briefly or grilling for a few minutes to restore the char and melt the butter again.
Common Mistakes to Avoid
Over‑cooking the corn makes it mushy and reduces its natural sweetness. Also, using cold butter can cause uneven coating; always soften it first.
Additional Side Dish Ideas
Grilled Veggie Medley
Combine sliced zucchini, bell peppers, red onion, and portobello mushrooms. Toss with olive oil, sea salt, black pepper, and a sprinkle of Italian herbs. Grill on medium heat for 8‑10 minutes, turning occasionally, until tender and lightly charred. This colorful medley adds vibrant texture and a boost of vitamins.
Summer Pasta Salad with Fresh Herbs
Cook short pasta (such as rotini) al dente, then rinse under cold water. Mix with cherry tomatoes, diced cucumber, shredded carrots, and a dressing of olive oil, lemon juice, Dijon mustard, chopped basil, and parsley. Season with salt and pepper. Chill before serving for a hearty, crowd‑pleasing side.
Cooking Variations and Substitutions
Swap pasta for quinoa or rice for a gluten‑free option. Use seasonal vegetables like corn kernels, snap peas, or cherry tomatoes to match the summer harvest.
Storage and Reheating Tips
Store the veggie medley in an airtight container for 2‑3 days; reheat quickly on the grill or in a skillet. The pasta salad keeps well chilled for up to 4 days and can be served cold or at room temperature.
Common Mistakes to Avoid
Under‑seasoning the vegetables leads to bland flavors. Also, over‑cooking the pasta makes it mushy and can cause the salad to become soggy.
FAQs
What’s the best way to keep burgers from drying out on the grill?
Use a meat thermometer to monitor internal temperature, and let the patties rest after cooking. Adding a tablespoon of olive oil or a splash of broth to the meat mixture can also retain moisture.
Can I use a charcoal grill instead of a gas grill for these recipes?
Absolutely. Charcoal provides a smoky flavor that complements the honey‑glazed chicken and corn. Just ensure the coals are evenly distributed for consistent heat.
How long can I keep the watermelon feta salad in the refrigerator?
Store the salad in a sealed container for up to 24 hours. The watermelon may release some juice, so give it a gentle toss before serving.
Is it safe to reuse wooden skewers for chicken?
Yes, as long as you soak them in water for at least 30 minutes before threading. This prevents them from burning and adds a slight steam effect that keeps the chicken moist.
Can I make the herb butter ahead of time?
Definitely. Prepare the herb butter, shape it into a log on parchment paper, and freeze it. Slice off portions as needed for corn, vegetables, or grilled meats.
What are some non‑alcoholic beverage ideas to pair with this menu?
Consider homemade lemonade infused with fresh mint, iced hibiscus tea, or a sparkling water spritzer with sliced citrus fruits. These drinks refresh without adding any alcohol.
How can I avoid cross‑contamination when grilling meat and vegetables?
Use separate cutting boards and utensils for raw meat and vegetables. After handling raw meat, wash hands and clean surfaces with hot, soapy water before touching produce.
Conclusion
With these carefully crafted recipes and practical tips, your 4th of July backyard BBQ is set to become the highlight of the summer season. The combination of juicy beef burgers, sweet honey‑glazed chicken skewers, crisp watermelon feta salad, and buttery corn on the cob creates a balanced menu that satisfies every palate while staying completely free of pork, bacon, and alcohol. By following the step‑by‑step instructions, exploring the suggested variations, and keeping an eye on common pitfalls, you’ll host a stress‑free celebration that dazzles guests and leaves everyone craving more. Enjoy the sunshine, the good company, and the delicious flavors of a truly epic summer feast.


