Table of Contents
When the summer sun climbs high and the aroma of barbecues fills the air, families across the United States start planning their Independence Day celebrations. Bright red, white, and blue decorations appear on porches, lawns, and picnic tables, and the search for a show‑stopping yet effortless dish begins. Imagine a platter that not only looks festive but also tastes like a burst of sunshine on a hot July day. That’s exactly what an Easy Watermelon Fruit Tray offers—a colorful, hydrating, and naturally sweet centerpiece that requires no oven, no stove, and no complicated techniques.
For parents juggling kids, grill masters perfecting ribs, and hosts who want to impress guests without spending hours in the kitchen, this fruit tray is a lifesaver. It brings the patriotic spirit of the holiday to the table in the most wholesome way possible: by letting the natural colors of fresh fruit do the talking. The tray is simple enough for a beginner to assemble, yet stunning enough to become the talk of the party. In this article you’ll discover why a watermelon‑based fruit tray is the perfect choice for a 4th of July gathering, a detailed list of ingredients with tips on selecting the best produce, step‑by‑step instructions that guide you through each stage, ideas for variations and healthy substitutions, storage advice to keep everything fresh, common pitfalls to avoid, and answers to the questions most frequently asked by first‑time makers. By the time you finish reading, you’ll feel confident enough to create a fruit masterpiece that dazzles both kids and adults, adds a splash of patriotism to any outdoor feast, and leaves everyone reaching for seconds.
Why a Watermelon Fruit Tray?
A watermelon fruit tray stands out for several reasons that go beyond mere aesthetics. First, watermelon itself is a classic summer fruit that epitomizes the season—its juicy, cool flesh is incredibly refreshing on a sweltering day, and its natural sweetness means you won’t need added sugars or syrups. When sliced into a large “boat” shape, the watermelon becomes a sturdy, edible container that can hold a colorful medley of berries and pineapple, creating a visual impact that rivals any elaborate dessert.
Second, the tray is inherently healthy. Fresh fruit provides hydration, vitamins, and antioxidants, making it an excellent alternative to heavy, calorie‑dense party foods. Guests can snack on the tray throughout the event, and the natural sugars satisfy cravings without the guilt associated with processed sweets.
Finally, the dish is incredibly versatile. You can customize the fruit selection based on what’s in season, what’s on sale, or what your family prefers. Whether you want to emphasize the red, white, and blue theme of the holiday or simply showcase a rainbow of flavors, the tray can be adapted to fit any palate. All of these factors combine to make the watermelon fruit tray a practical, crowd‑pleasing, and nutritious centerpiece for any 4th of July celebration.
Ingredients You’ll Need
The beauty of this recipe lies in its simplicity—only a handful of fresh fruits are required, and each brings its own texture, flavor, and visual pop. Below is a detailed breakdown of the ingredients, along with explanations that will help you choose the best options at the market.
Watermelon (the centerpiece)
A seedless or classic watermelon weighing about 8–10 pounds works best. Look for a fruit with a smooth, uniform green rind, a creamy yellow spot on the bottom (the “field spot”), and a hollow sound when tapped. The watermelon should feel heavy for its size, indicating a high water content and juicy interior. This will be the base of the tray, sliced into a boat or a large rectangular slab that can hold the other fruits.
Strawberries
Fresh, ripe strawberries add a burst of sweet acidity and a vibrant red hue. Choose berries that are fully red, with bright green caps attached. Avoid any that are mushy or have white or black spots, as those indicate overripeness or spoilage. If you prefer organic produce, that’s a great option, but conventionally grown strawberries are perfectly fine for this dish.
Blueberries
Plump, deep‑blue blueberries provide a pop of color that mimics the stars on a flag. Look for berries that are firm to the touch and have a smooth, unblemished skin. A slight powdery coating on the surface is a natural sign of freshness and indicates that the berries have not been excessively handled.
Pineapple
A small, firm pineapple adds a tropical twist and a tangy contrast to the sweetness of the watermelon and berries. Select a pineapple with a golden‑brown outer skin, a fragrant aroma at the base, and leaves that are green but not wilted. Twisting the leaves gently should reveal that they come off easily—this is a sign of ripeness.
Raspberries
Raspberries contribute a delicate, slightly tart flavor and a soft texture that balances the firmer fruits. Choose raspberries that are bright red and have a plump appearance. Avoid any that are overly soft or have signs of mold, as they can quickly spoil the entire tray.
Optional Extras
While the core of the tray is the four fruits listed above, you can enhance the presentation and flavor profile with a few optional additions. Fresh mint leaves add a refreshing aroma, while a drizzle of honey‑lime glaze introduces a subtle zing. A side of creamy yogurt dip offers a cool, protein‑rich complement that kids love. All of these extras are completely optional and can be added based on personal preference or dietary considerations.
Step‑by‑Step Assembly
Now that you have a clear picture of the ingredients, let’s walk through the assembly process. Each step includes practical tips to ensure that the final tray looks as good as it tastes.
Step 1: Prepare the Watermelon BoAT
Begin by washing the watermelon thoroughly under running water. Pat it dry with a clean kitchen towel. Using a sharp chef’s knife, cut off the top and bottom of the watermelon to create flat surfaces. Slice the watermelon in half lengthwise, then place each half on its flat side. If you want a more dramatic presentation, you can further cut one half into a large “boat” shape by removing a shallow wedge from the center, leaving a sturdy rim. This rim will hold the other fruits without sliding off. For beginners, a simple rectangular slab about two inches thick works perfectly; just lay it flat on a large serving platter.
Step 2: Cut and Arrange the Berries
Next, hull the strawberries by cutting off the green tops and then halve or quarter them, depending on their size. Place the cut strawberries into a bowl of cold water for a minute to keep them fresh, then pat them dry. Blueberries can be left whole; simply give them a gentle rinse and let them drain. Once dry, scatter the berries across the watermelon base, alternating colors to create a balanced pattern. Aim for a visually appealing arrangement: place strawberries on one side, blueberries on the opposite side, and keep the center open for other fruits.
Step 3: Add Pineapple and Finish the Layout
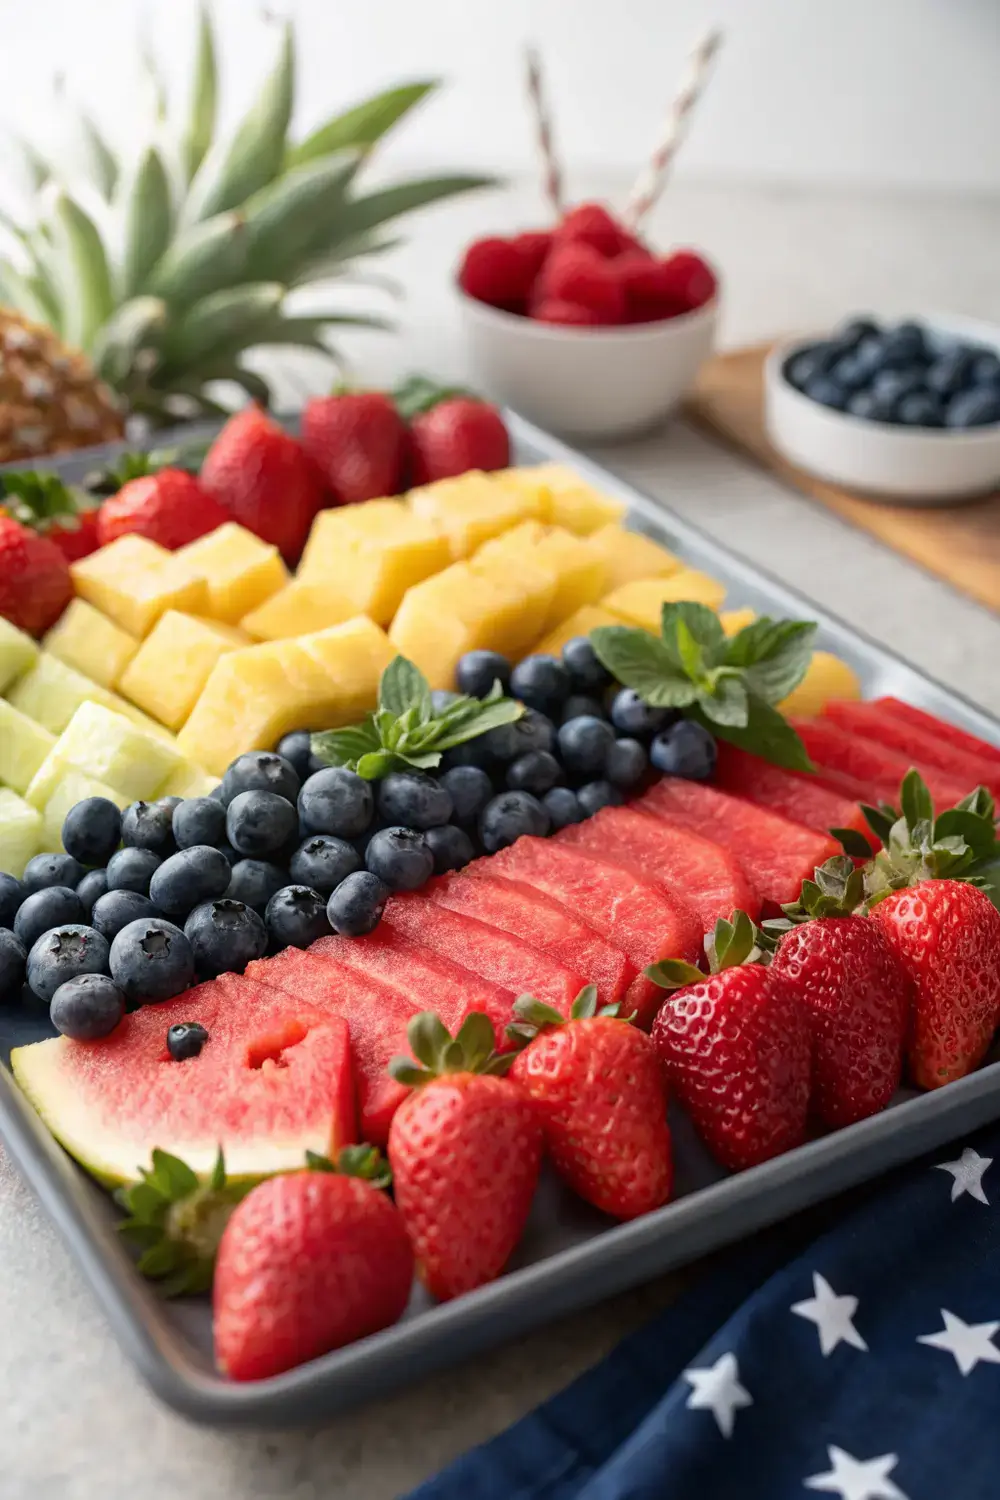
Cut the pineapple into bite‑size chunks, ensuring they are not too large—about one inch cubes work well. Toss the pineapple pieces gently to remove excess juice, which could make the watermelon soggy. Arrange the pineapple chunks in the remaining open spaces on the tray, spacing them evenly. If you have raspberries, add them now, gently pressing them into the gaps between larger fruit pieces. The goal is a harmonious distribution of colors: red strawberries, white‑pale pineapple, deep blue blueberries, and ruby‑red raspberries will together evoke the colors of the American flag.
Step 4: Dress It Up with Dip or Glaze
To elevate the flavor, consider adding a simple dip or glaze. For a yogurt dip, whisk together plain Greek yogurt, a drizzle of honey, and a splash of vanilla extract. If you prefer a glaze, warm a small amount of honey with fresh lime juice and a pinch of zest, then drizzle lightly over the fruit. Use a spoon or a small brush to apply the glaze sparingly, allowing the natural shine of the fruit to remain the star. Finally, garnish the tray with a few fresh mint leaves for a pop of green and a refreshing aroma.
Helpful Tips and Tricks
Even though the recipe is straightforward, a few insider tricks can make the difference between a good tray and a truly unforgettable one.
First, keep all fruit pieces chilled until the moment you assemble the tray. Cold fruit retains its firmness and stays vibrant longer, especially berries that can wilt if left at room temperature for too long.
Second, when cutting the watermelon, use a serrated knife to slice through the rind cleanly; this reduces crushing and preserves the fruit’s shape.
Third, if you’re worried about the berries bleeding juice onto the watermelon, place a thin layer of parchment paper or a large leaf of lettuce under the berries before arranging them. This acts as a barrier and keeps the watermelon surface dry.
Fourth, for a uniform dip consistency, strain the yogurt through a fine mesh sieve for a few minutes. This removes excess liquid, giving the dip a richer, creamier texture that clings better to the fruit.
Finally, consider adding a tiny pinch of sea salt to the yogurt dip or the honey‑lime glaze. A subtle salty note can enhance the sweetness of the fruit and make the flavors feel more balanced.
Variations and Substitutions
While the classic watermelon fruit tray is already a hit, you can easily adapt it to suit seasonal availability, dietary needs, or personal taste.
If watermelon isn’t in season or you simply want a different base, a large honeydew melon or cantaloupe works just as well. Both provide a sweet, mild flavor and a smooth texture that holds up nicely under the weight of other fruits. For a protein boost, you can sprinkle a handful of toasted pumpkin seeds or chopped pistachios over the top of the tray. These nuts add crunch and a nutty flavor that pairs beautifully with the berries.
If you prefer a dairy‑free dip, blend silken tofu with a touch of maple syrup and vanilla extract to create a silky, plant‑based alternative to yogurt.
You can also swap out any of the berries for other fresh fruits that are in season. Sliced kiwi adds a bright green pop, while chunks of mango bring a tropical sweetness. For a more “white” element, consider adding peeled and sliced apples or pears—just be sure to toss them in a little lemon juice to prevent browning.
Lastly, if you want to honor the 4th of July theme even more, you can arrange the fruit in a pattern that mimics fireworks or a flag. Use a toothpick or small spoon to create tiny lines of drizzled glaze that resemble fireworks streaking across the tray.
Storing Your Fruit Tray
Although the fruit tray is best enjoyed fresh, there are times when you may need to prepare it ahead of time or store leftovers. Here’s how to keep everything as fresh as possible.
If you need to assemble the tray early in the day, keep the cut fruits in separate airtight containers in the refrigerator. Place the watermelon base on a platter, cover it loosely with plastic wrap, and store it in the coldest part of the fridge. Add the berries and pineapple just before serving to avoid excess moisture. For any leftover dip, transfer it to a small sealed container and refrigerate. It will stay good for up to three days. If you have sliced fruit that has begun to brown (especially apples or pears), a quick rinse in a bowl of water with a splash of lemon juice can revive its color. Pat dry before serving.
Remember that fruit trays are most vibrant when served within a few hours of assembly, so plan to bring the tray out just before guests arrive. This ensures that the colors remain bright and the textures stay crisp.
Common Mistakes to Avoid
Even the simplest recipes can run into hiccups if a few details are overlooked. Here are some pitfalls that beginners often encounter, along with ways to avoid them.
One common error is cutting the watermelon too thin, which makes it prone to collapsing under the weight of the toppings. Aim for a thickness of at least two inches to provide sturdy support.
Another mistake is using overripe berries. Berries that are too soft can release excess juice, making the tray soggy. Choose firm, brightly colored berries and handle them gently.
Skipping the drying step for washed fruit is another frequent oversight. Excess water can dilute the natural flavors and cause the dip to become watery. Always pat fruit dry with a clean towel before arranging it.
Finally, adding too much glaze or dip can overwhelm the fruit’s natural sweetness. Use these additions sparingly—just enough to enhance, not dominate. A light drizzle is sufficient to create a glossy finish without compromising texture.
Frequently Asked Questions
What can I use instead of yogurt dip?
If dairy isn’t an option, you can substitute the yogurt dip with a coconut‑milk‑based yogurt, a silken tofu blend sweetened with a touch of honey, or simply serve the fruit with a side of fresh ricotta cheese mixed with a sprinkle of cinnamon. All of these alternatives keep the dip creamy while staying dairy‑free.
Can I make this tray ahead of time?
Yes, you can prepare most components in advance. Cut the watermelon, berries, pineapple, and other fruits the night before, store them in separate airtight containers, and keep the assembled tray covered in the refrigerator. Add any glaze or dip right before serving to maintain the best texture and flavor.
How do I keep the fruit from turning brown?
Berries generally do not brown, but sliced apples or pears can oxidize. To prevent browning, toss those pieces in a little lemon or lime juice before arranging them. The acidic coating slows the oxidation process and keeps the fruit looking fresh.
Is this tray kid‑friendly?
Absolutely. The fruit tray is naturally sweet, colorful, and free from common allergens like nuts or gluten, making it a safe snack for most children. Just be sure to cut the fruit into bite‑size pieces that are easy for little hands to pick up, and supervise younger kids to prevent them from swallowing large chunks whole.
Can I use other fruits?
Definitely! Feel free to swap in seasonal fruits like blackberries, grapes, mango chunks, or even sliced peaches. The key is to maintain a balance of colors and textures so the tray remains visually appealing and tasty. Just keep the overall theme of red, white, and blue in mind if you want to stay on‑theme for the holiday.
Do I need a special tray?
No special equipment is required. A large, flat serving platter or a sturdy cutting board works perfectly. If you’d like a more defined shape, you can use a silicone cake pan or a shallow bowl as a base, but it’s not necessary. The most important thing is to have a stable surface that can hold the fruit without sliding.
How long does the dip last?
A yogurt‑based dip will stay fresh in the refrigerator for about three days if kept in an airtight container. If you add honey or vanilla, those ingredients won’t shorten the shelf life. Always give the dip a quick stir before serving to restore its smooth consistency.
Conclusion
Creating an Easy Watermelon Fruit Tray for a 4th of July party is more than just a simple kitchen task—it’s a celebration of summer’s bounty, a nod to patriotic colors, and a delightful way to bring friends and family together around a shared, wholesome snack. By selecting fresh, high‑quality produce, following the step‑by‑step assembly guide, and adding optional touches like a honey‑lime glaze or a creamy dip, you can craft a centerpiece that looks as impressive as it tastes. Whether you stick to the classic watermelon base or experiment with variations like honeydew or cantaloupe, the recipe remains flexible enough to suit any palate or dietary need. Remember to keep everything chilled until the last moment, handle the fruit gently, and avoid common mistakes that can compromise texture or appearance. With these tips and the thorough guidance provided, you’re now equipped to impress guests of all ages with a vibrant, refreshing fruit tray that embodies the spirit of Independence Day. So gather your favorite berries, slice that juicy watermelon, and let the colors of summer shine on your table—your perfect 4th of July celebration starts with a single, colorful bite.


