Table of Contents
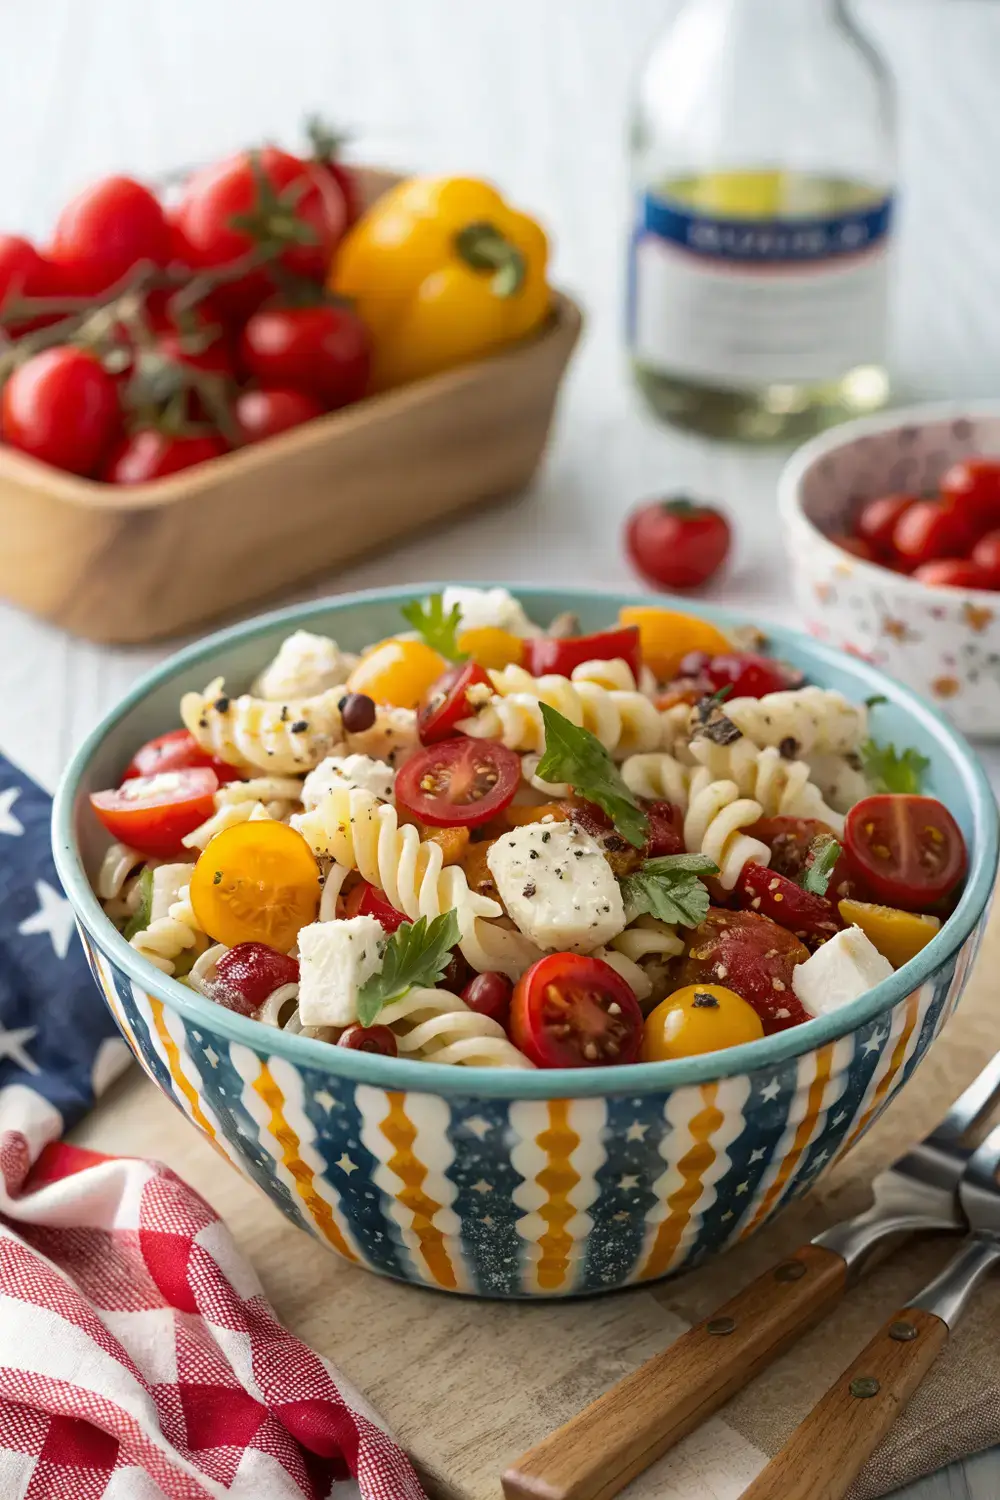
Summer barbecues, backyard picnics, and the bright sparkle of fireworks create the perfect backdrop for a dish that feels both festive and effortless. A pasta salad that captures the spirit of the 4th of July—vibrant, fresh, and full of flavor—can become the star of any gathering without demanding hours in the kitchen. This recipe is designed for anyone who wants to serve up a crowd‑pleasing meal that looks as good as it tastes, uses only simple ingredients, and stays completely free of pork, bacon, wine, and any form of alcohol. Whether you’re a seasoned home cook or just learning your way around the stove, the steps below will guide you through each stage, from boiling the noodles to arranging the final colorful layers on a serving platter. Get ready to create a dish that not only satisfies hungry friends and family but also earns plenty of compliments and repeat requests for the next celebration.
Ingredients
To build a pasta salad that shines on a sunny patio, you’ll need a handful of fresh, high‑quality components. Each ingredient plays a specific role in delivering texture, taste, and visual appeal.
– Short‑shape pasta (such as rotini, farfalle, or penne) – The twisted or curved shape holds onto dressing and captures bite‑size pieces of vegetables, ensuring every forkful is packed with flavor. Choose a whole‑grain or regular durum wheat variety depending on your preference; both cook evenly and stay firm after chilling.
– Fresh mozzarella pearls or cubed mozzarella – These little pockets of creamy, mild cheese add a luscious mouthfeel that balances the acidity of the tomatoes and the crunch of the vegetables. Opt for low‑moisture mozzarella if you want the cubes to stay distinct, or the pearl version for a softer, melt‑in‑your‑mouth texture.
– Ripe tomatoes – Choose vine‑ripened or heirloom tomatoes for their sweet, juicy flesh. Cutting them into bite‑size wedges or half‑moon shapes lets the natural juices mingle with the dressing, keeping the salad moist without becoming soggy.
– Cucumber – A crisp, cool cucumber adds a refreshing crunch that contrasts nicely with the softer pasta and cheese. Slice it into half‑moon pieces or dice it into small cubes for a uniform bite.
– Red bell pepper – The bright red color contributes to the patriotic theme while delivering a sweet, slightly crisp texture. Cut the pepper into thin strips or small dice; the vivid hue makes the salad visually striking.
– Red onion – A small amount of finely diced red onion provides a gentle bite of sharpness that lifts the overall flavor profile. Soaking the pieces in cold water for a few minutes can mellow the bite if you prefer a milder taste.
– Fresh basil leaves – Tearing the basil just before mixing releases aromatic oils that infuse the salad with a fragrant, summery note. The green specks also enhance the visual appeal.
– Extra‑virgin olive oil – This staple fat carries the flavors of the dressing and helps the ingredients coat each other evenly. Use a good quality oil for the best taste.
– Lemon juice – Freshly squeezed lemon juice adds a bright, tangy acidity that balances the richness of the cheese and oil. It also helps keep the tomatoes from oxidizing too quickly.
– Dijon mustard – A teaspoon of Dijon mustard acts as an emulsifier, helping the oil and lemon juice blend into a smooth dressing while contributing a subtle depth of flavor.
– Honey or maple syrup – A touch of natural sweetness rounds out the dressing, especially if you’re using a more acidic lemon juice. Choose a light honey or pure maple syrup to keep the flavor delicate.
– Salt and freshly ground black pepper – Seasoning is essential; start with a modest amount of salt and adjust after tasting the dressing. Freshly cracked pepper adds a gentle heat that awakens the palate.
– Optional garnish: sliced olives or cherry tomatoes – For an extra pop of color and flavor, you can scatter a few sliced black olives or halve cherry tomatoes just before serving.
Step‑by‑Step Instructions
Now that the ingredients are ready, follow these detailed steps to bring the salad together. Each subsection includes helpful tips to ensure success, even for beginners.
Preparing the Pasta
1. Boil a large pot of water – Fill a pot with at least 4 quarts of water, add a generous pinch of salt, and bring it to a rolling boil. The salt seasons the pasta from the inside out, enhancing its flavor.
2. Add the pasta – Drop the short‑shape pasta into the boiling water. Stir gently to prevent sticking, then follow the package instructions for cooking time, usually 8‑10 minutes for al dente texture. Aim for a firm bite; the pasta will continue to soften slightly when it sits in the dressing later.
3. Test for doneness – Scoop a piece out with a slotted spoon and bite it. It should be tender yet still have a slight resistance in the center. Overcooking will make the salad mushy once chilled.
4. Drain and rinse – Pour the pasta into a colander and rinse it under cool running water for about 30 seconds. This stops the cooking process and removes excess starch, which can cause the salad to become gummy.
5. Transfer to a bowl – Place the rinsed pasta into a large mixing bowl. While it’s still warm, drizzle a tiny splash of olive oil and toss gently. This thin coating helps keep the noodles from clumping together as they cool.
Cooking the Vegetables
1. Prepare the tomatoes – Wash the tomatoes, remove any stems, and cut them into bite‑size wedges or half‑moon shapes. If using larger tomatoes, halve them and then cut into smaller pieces.
2. Slice the cucumber – Trim the ends, then slice the cucumber into half‑moon pieces or dice it, depending on your preferred texture.
3. Cut the red bell pepper – Remove the seeds and membranes, then slice the pepper into thin strips or small dice. The bright color will stand out against the green basil and red tomatoes.
4. Dice the red onion – Finely chop the red onion; a small amount is enough to add flavor without overwhelming the salad. If you’re sensitive to raw onion bite, soak the diced pieces in cold water for 5‑10 minutes, then drain and pat dry.
5. Optional quick blanch – For an extra crisp bite, you can briefly blanch the cucumber and bell pepper in boiling water for 30 seconds, then shock them in ice water. This step is optional but helps retain a vivid color and firm texture.
Making the Dressing
1. Combine the base – In a small bowl, whisk together ¼ cup extra‑virgin olive oil, 2 tablespoons fresh lemon juice, 1 teaspoon Dijon mustard, and 1 tablespoon honey or maple syrup. Whisk until the mixture emulsifies and looks slightly thickened.
2. Season – Add a pinch of salt and a few grinds of black pepper. Taste the dressing; adjust the lemon juice for more tang or the honey for additional sweetness as needed.
3. Incorporate herbs – Finely tear the basil leaves and stir them into the dressing. The basil’s aroma will infuse the oil, creating a fragrant base for the salad.
Assembling the Salad
1. Add the vegetables – Toss the prepared tomatoes, cucumber, bell pepper, and red onion into the bowl with the pasta. Use a large spoon or spatula to gently fold the ingredients together, ensuring an even distribution.
2. Incorporate the mozzarella – Add the mozzarella pearls or cubes, taking care not to crush them. The cheese should remain intact to provide pockets of creamy texture throughout the salad.
3. Pour the dressing – Drizzle the prepared dressing over the salad. Begin with about three‑quarters of the dressing, toss gently, then add more if the salad looks dry. The goal is a light coating that clings to each piece without drowning them.
4. Final seasoning – Taste the assembled salad and adjust salt or pepper if necessary. A final sprinkle of freshly cracked pepper can add a pleasant bite.
5. Chill – Cover the bowl with plastic wrap or a lid and refrigerate for at least 30 minutes. Chilling allows the flavors to meld and the pasta to absorb some of the dressing, resulting in a more cohesive bite.
Serving
– Transfer the chilled salad to a serving platter or a large bowl. Garnish with a few extra basil leaves, sliced olives, or halved cherry tomatoes for a pop of color. Serve at room temperature or slightly chilled; both options are delightful on a warm summer day.
Cooking Variations and Substitutions
While the core recipe is already versatile, you might want to adapt it to suit dietary preferences or what’s available in your pantry.
Gluten‑Free Option
– Replace the regular pasta with a gluten‑free alternative such as brown rice pasta, quinoa pasta, or corn‑based rotini. Cook according to the package directions, then rinse under cold water to stop cooking. Gluten‑free pastas can be a bit more delicate, so handle them gently when mixing.
Vegan Option
– Swap the mozzarella for a plant‑based cheese that melts slightly or stays firm, such as vegan mozzarella balls made from coconut oil or cashew‑based cheese. Ensure the dressing remains vegan by using maple syrup instead of honey.
Herb Variations
– If fresh basil isn’t on hand, try fresh parsley, cilantro, or even a blend of Italian herbs. Each herb will lend a slightly different aromatic profile while keeping the salad fresh.
Protein Boost
– For a heartier meal, add grilled chicken breast strips, chickpeas, or cooked shrimp. Ensure any protein is cooked without pork or alcohol, and season lightly so it complements the salad’s flavors.
Storage and Reheating Tips
– Refrigeration – Store the salad in an airtight container in the refrigerator for up to 3‑4 days. The flavors continue to develop, making it taste even better the next day.
– Keeping it fresh – Before sealing the container, place a piece of parchment paper directly on the surface of the salad to minimize exposure to air, which can cause the tomatoes to dry out.
– Serving after storage – Give the salad a gentle toss before serving to re‑distribute any dressing that may have settled at the bottom. If the salad looks a bit dry, drizzle a little extra olive oil or a splash of lemon juice.
– Freezing – This salad is not ideal for freezing because the texture of the pasta and vegetables can become mushy after thawing. It’s best enjoyed fresh or chilled.
– Reheating – There’s no need to reheat the salad; it’s meant to be served cold or at room temperature. If you prefer a slightly warmer version, let the container sit out for 15‑20 minutes before serving.
Common Mistakes to Avoid
– Overcooking the pasta – Boiling the noodles too long makes them soft and prone to becoming mushy once chilled. Aim for al dente and rinse promptly.
– Skipping the rinse – Failing to rinse the pasta leaves excess starch, which can cause the salad to clump together and appear greasy.
– Using too much dressing – Over‑dressing can drown the vegetables and make the salad soggy. Add dressing gradually and taste as you go.
– Neglecting to chill – Skipping the chilling step means the flavors won’t meld, and the salad may taste disjointed.
– Cutting vegetables too large – Inconsistent piece sizes lead to uneven texture; aim for bite‑size pieces that are easy to eat with a fork.
– Storing in a metal container – Metal can react with the acidic dressing, affecting flavor. Use glass or plastic containers with tight lids.
Frequently Asked Questions
Can I make this salad ahead of time?
Yes, you can prepare the salad up to 24 hours in advance. Keep it refrigerated in an airtight container, and give it a gentle toss before serving to refresh the dressing.
What can I use instead of mozzarella if I’m lactose intolerant?
Try a dairy‑free mozzarella alternative made from almond or soy milk, or simply omit the cheese and add extra fresh vegetables for texture.
Is it safe to leave the salad out on the table for a few hours?
Because the salad contains fresh vegetables and cheese, it’s best to keep it chilled until just before serving. If it must sit out for more than two hours, consider placing the serving bowl on a bed of ice.
Can I add fruit to this salad?
Absolutely! Diced watermelon, strawberries, or orange segments add a sweet contrast that pairs well with the savory ingredients. Just be sure to add them right before serving to maintain freshness.
How can I make the salad more kid‑friendly?
Cut the vegetables into smaller, uniform pieces and consider using mild cheese like mild cheddar or a small amount of cream cheese. You can also reduce the amount of red onion for a softer flavor.
What’s the best way to transport the salad to an outdoor event?
Pack the salad in a sturdy, insulated container with a tight‑fitting lid. Keep it cool with a small ice pack, and bring a separate bowl of extra dressing in case the salad needs a refresh after transport.
Conclusion
A well‑crafted 4th of July pasta salad can become the centerpiece of any backyard gathering, offering a burst of color, a harmony of textures, and a flavor profile that celebrates the season. By following the detailed steps above—selecting fresh ingredients, preparing each component with care, and allowing the salad to chill—you’ll create a dish that is not only delicious but also easy to scale for larger crowds. Remember the tips for variations, substitutions, and storage so you can adapt the recipe to suit any dietary need or pantry situation. With a little preparation and a lot of love, your pasta salad will be a hit at picnics, barbecues, and family celebrations, leaving everyone smiling and reaching for seconds. Enjoy the festive spirit, share the vibrant flavors, and make this summer’s gatherings unforgettable.


