Table of Contents
There’s something undeniably magical about a perfectly grilled beef burger on a warm summer evening. The sizzle as the patty hits the hot grates, the mouthwatering aroma that drifts through the backyard, and that first juicy bite with all your favorite toppings—these are the moments that bring family and friends together. Whether you’re hosting a Fourth of July celebration, a casual weekend cookout, or simply craving a restaurant-quality burger in the comfort of your own backyard, this recipe will become your go-to for unforgettable results every single time.
What makes these burgers truly special is the attention to detail from start to finish. We’re not just throwing some meat on the grill here—we’re crafting a carefully balanced patty with the perfect blend of seasonings, handling it with care to maintain that precious juiciness, and finishing it with thoughtful toppings that complement the rich beef flavor. The result is a burger that rivals anything you’d find at a high-end grill restaurant, made with wholesome ingredients you can feel good about serving to your family.
These burgers are perfectly suited for the American backyard cookout tradition. They’re designed to be approachable for beginners while offering enough depth and flavor to satisfy even the most discerning burger connoisseur. The recipe is flexible enough to accommodate different preferences and dietary needs while maintaining that classic all-American burger experience we all know and love.
Understanding Your Ingredients
The foundation of any great burger starts with selecting the right ingredients. Each component plays a crucial role in creating that perfect balance of flavor, texture, and juiciness that keeps people coming back for seconds.
Choosing the Right Ground Beef
For the most flavorful and juicy burgers, I recommend using ground beef with approximately 80% lean meat and 20% fat content. This particular ratio is ideal because the fat renders during cooking, creating that desirable juiciness and preventing your burgers from turning into dry, crumbly hockey pucks. Look for freshly ground beef from the meat counter rather than pre-packaged options when possible, as it tends to have better texture and flavor.
If you’re watching your fat intake, you can certainly use a leaner blend like 90/10, but you’ll need to be extra careful about not overcooking them and consider adding a tablespoon of olive oil or melted butter to the mixture to maintain moisture. The 80/20 blend truly is the sweet spot for that classic juicy burger experience.
The Seasoning Foundation
The beauty of these burgers lies in their simplicity. We’re using basic pantry staples that you likely already have on hand to create a flavor profile that’s both familiar and elevated. The combination of finely minced onion and garlic adds aromatic depth and subtle sweetness that complements the rich beef perfectly. These should be minced rather than grated to avoid adding excess moisture to the mixture.
Worcestershire sauce is the secret weapon in burger seasoning. Despite containing fish extract, it’s completely pork-free and adds that savory, umami-rich depth that makes burgers taste professionally crafted. A small amount goes a long way in enhancing the overall flavor profile without making the burgers taste like they’re soaked in sauce.
Salt and black pepper are essential for bringing out the natural beef flavor. You’ll notice I call for kosher salt rather than table salt—the larger crystals are easier to control and don’t dissolve as quickly, allowing you to season more evenly. Freshly ground black pepper offers more aromatic intensity than the pre-ground variety sitting in your spice cabinet.
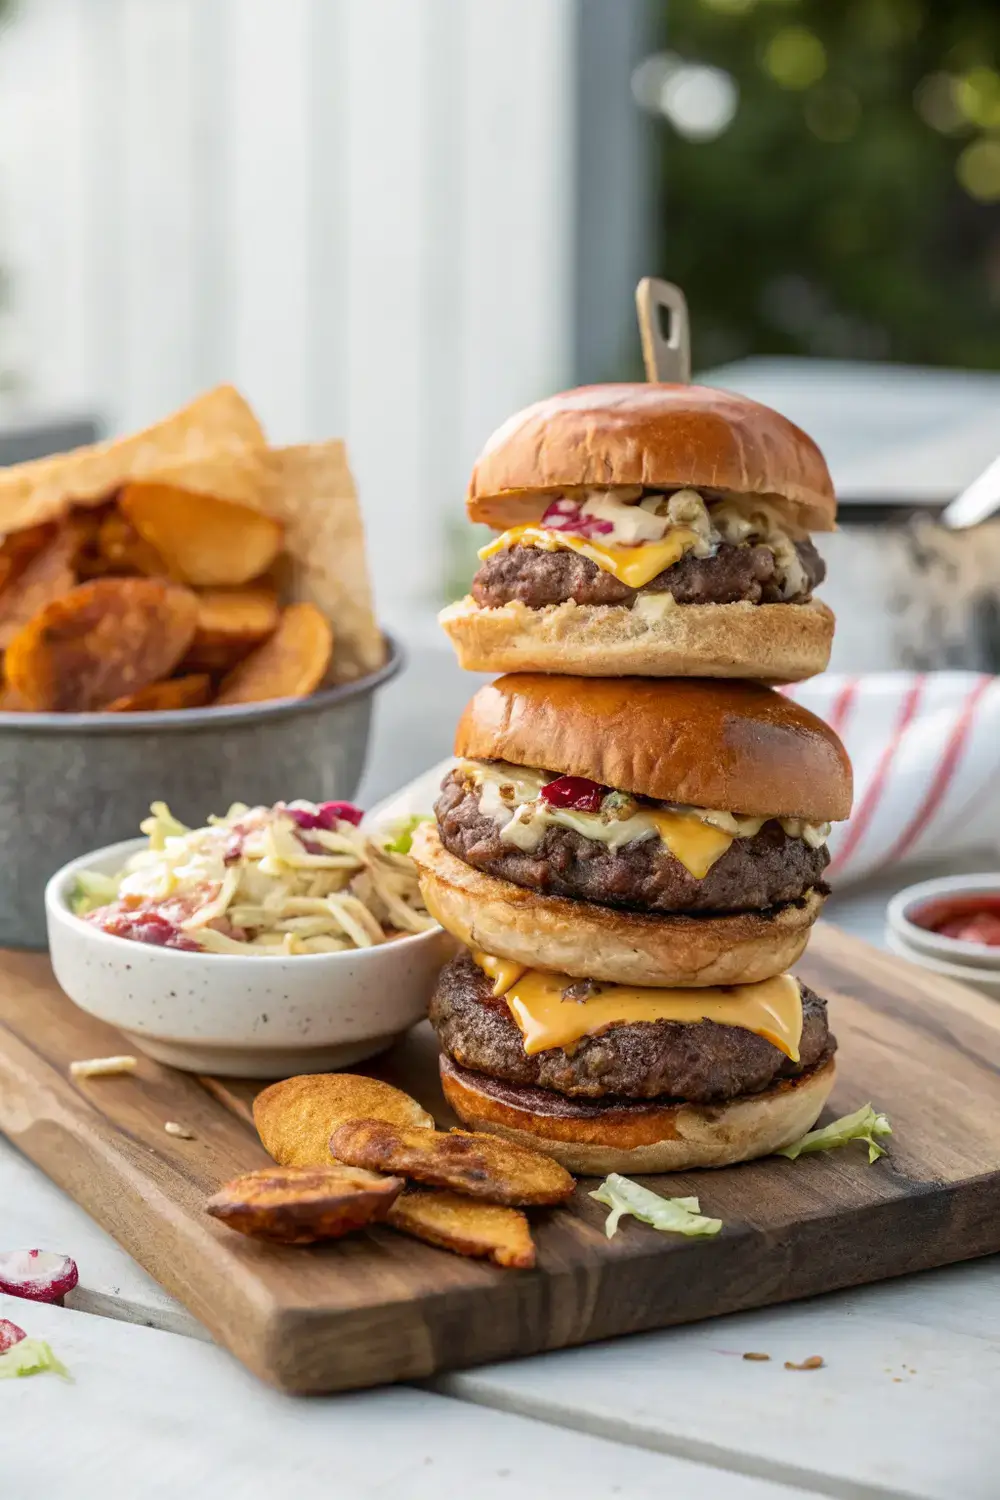
Building the Perfect Burger Stack
The toppings you choose can elevate your burger from good to extraordinary. Let’s talk about each component and why it matters.
The bun is more important than many people realize. Brioche buns offer a buttery, slightly sweet counterpoint to the savory burger that’s become incredibly popular for good reason. Their soft texture holds up well to juicy patties without falling apart. Seeded hamburger buns offer a more traditional texture and add a pleasant crunch from the sesame seeds. Whatever you choose, lightly toasting the buns on the grill for 30 to 60 seconds makes a world of difference in texture and prevents them from becoming soggy.
For cheese, sharp cheddar provides that classic American burger experience with its tangy, slightly nutty flavor and excellent melt factor. Pepper jack adds a pleasant kick if you enjoy some heat in your burger. Place the cheese on the patty during the last minute of cooking and cover the grill briefly to allow it to melt beautifully.
Fresh vegetables add crunch, brightness, and visual appeal. Crisp lettuce leaves—romaine or green leaf work wonderfully—provide a refreshing contrast to the rich meat. Ripe tomato slices offer juicy sweetness, while dill pickles add that tangy crunch that cuts through the richness of the beef. Thinly sliced red onion, if you enjoy it, provides a sharp, slightly sweet bite that balances the meal perfectly.
The finishing spread ties everything together. A garlic-herb mayo or your favorite mustard works beautifully. If you’re feeling ambitious, making your own special sauce with mayo, ketchup, a touch of smoked paprika, and garlic creates that craveable finish that keeps people asking for your secret.
Step-by-Step Instructions for Burger Perfection
Now that we understand our ingredients, let’s walk through the complete process from start to finish. I’ve included tips throughout to help you avoid common pitfalls and achieve consistent results every time you fire up the grill.
Preparing the Burger Mixture
Start by placing your ground beef in a large mixing bowl. Add the finely minced onion and garlic, followed by the Worcestershire sauce, salt, and freshly ground black pepper. Use your hands to gently combine everything—avoid overmixing, as this can result in tough, dense burgers.
The key here is to handle the meat as little as possible. Think of it like you’re just bringing the ingredients together rather than working the mixture extensively. Overmixing develops the gluten in the meat, which creates a rubbery texture rather than that desirable tender, juicy bite.
Once your ingredients are combined, it’s time to form your patties. Divide the mixture into equal portions based on how large you want your burgers. For a substantial restaurant-style burger, aim for about 6 to 8 ounces per patty, which will create a generous, satisfying burger.
Forming Perfect Patties
The way you form your patties matters more than most people realize. Begin by lightly rolling each portion into a ball between your palms. Then, place the ball on a clean surface and gently flatten it with your palm to about 3/4 inch thickness—slightly thicker in the center than at the edges.
Here’s the crucial technique that separates good burgers from great ones: create a gentle thumbprint indentation in the center of each patty. Press your thumb slightly into the center, creating a very shallow depression. This compensates for the natural tendency of burgers to puff up in the middle as the edges cook and contract. Without this dimple, you’ll end up with burgers that are perfectly flat on the bottom but bulging and rounded on top, which cook unevenly and can burst open on the grill.
Place your formed patties on a plate or baking sheet lined with parchment paper. At this point, you can cover them and refrigerate for up to a few hours if you need to prepare ahead. Cold patties actually cook more evenly, so this step can actually improve your results.
Preparing Your Grill
Whether you’re using a gas grill, charcoal grill, or even a cast-iron skillet on your stovetop, getting the cooking surface properly hot is essential for achieving that desirable sear without burning your burgers.
For gas grills, preheat on high for 10 to 15 minutes with the lid closed. You want the grates to be very hot—around 400 to 450 degrees Fahrenheit. For charcoal grills, wait until your coals have developed a white ash coating and are giving off steady, intense heat.
If you’re using a cast-iron skillet indoors, place it over medium-high heat and add a tablespoon of high smoke-point oil like canola or vegetable oil. The oil should shimmer and flow easily across the surface within about 30 seconds of adding it.
Lightly oil your grates or pan to prevent sticking. You can use tongs and a folded paper towel dipped in oil to quickly grease the surface, or simply spray with cooking spray.
The Cooking Process
Carefully place your patties on the hot grill or skillet. Resist the urge to press down on them with your spatula—this squeezes out all those precious juices and results in a dry burger. Let the heat do its work.
Cook your burgers for approximately 3 to 4 minutes on the first side without moving them. You want to develop a good sear before flipping. You’ll know it’s time to flip when you see juices pooling on the top surface and the edges look cooked about halfway through.
Flip the burgers once and only once. Use a wide spatula to get underneath without breaking the patty. Cook for another 3 to 4 minutes on the second side for medium doneness. If you prefer your burgers more well-done, add another minute or two per side, but keep in mind that longer cooking times result in less juicy burgers.
During the last minute of cooking, add your cheese on top of each patty. If using a grill, close the lid for a minute to help the cheese melt. If using a skillet, you can cover it briefly with a lid or tent with foil.
Checking for Doneness
The most reliable way to check burger doneness is by using an instant-read meat thermometer inserted into the thickest part of the patty. For medium-rare, look for 130 to 135 degrees Fahrenheit. Medium is 140 to 145 degrees, and medium-well is 150 to 155 degrees. Remember that the burgers will continue cooking a few degrees as they rest, so remove them from heat slightly before they reach your target temperature.
If you don’t have a thermometer, you can use the touch test. A rare burger will feel very soft and squishy. A medium burger will offer slight resistance but still have some give. A well-done burger will feel firm throughout. This method takes practice to master, so using a thermometer is highly recommended, especially when you’re learning.
Resting and Assembling
Allow your cooked burgers to rest for 2 to 3 minutes on a clean plate. This brief resting period allows the juices to redistribute throughout the patty rather than flooding your plate the moment you cut into them. This simple step makes a significant difference in juiciness.
While your burgers rest, toast your buns on the grill for 30 to 60 seconds, cut side down, until lightly golden. Watch them carefully—they can go from perfectly toasted to burnt very quickly.
Now comes the fun part—assembling your burger masterpiece. Start with the bottom bun and add a generous swipe of your chosen spread. Add lettuce, followed by the cooked patty with its melted cheese. Layer on tomato slices, pickles, and any other toppings you desire. Add the top bun and serve immediately while everything is still warm.
Tips for Burger Excellence
Beyond the basic recipe, these additional tips will help you achieve consistently excellent results and troubleshoot common issues.
Temperature Matters
Always remove your ground beef from the refrigerator 15 to 20 minutes before cooking. Meat that is too cold when it hits the grill will cook unevenly—the outside can overcook while the center remains underdone. However, don’t let it sit out longer than about 30 minutes, as you don’t want to enter the danger zone for food safety.
Handling Juiciness
The number one complaint about homemade burgers is that they turn out dry. Beyond using the right fat content in your ground beef, there are several things you can do to maximize juiciness.
First, don’t overcook. This is the most common cause of dry burgers. Use your thermometer and pull them off the heat a few degrees before they reach your target temperature.
Second, make that thumbprint indentation we discussed earlier. It helps the burger cook evenly and prevents the center from bulging and potentially bursting, which releases juices.
Third, let them rest. Cutting into a burger immediately after cooking releases all those flavorful juices onto your plate rather than into your mouth.
Achieving the Perfect Sear
That beautiful char on the outside of a well-grilled burger isn’t just visually appealing—it actually adds significant flavor through the Maillard reaction. To achieve it, make sure your grill is properly preheated and hot before adding your patties.
Don’t move the burgers around unnecessarily. Let them sit in place long enough to develop that golden-brown crust. Moving them too frequently prevents proper searing and can cause them to stick to the grates.
Delicious Variations and Substitutions
While the classic recipe is absolutely perfect as written, feel free to customize based on your preferences and what you have available in your pantry.
Seasoning Variations
For a Southwest-inspired burger, add a teaspoon of cumin and half a teaspoon of chili powder to the meat mixture. Top with pepper jack cheese, sliced jalapeños, and a drizzle of chipotle mayo.
Want to go toward a more gourmet direction? Add a tablespoon of finely minced roasted garlic and a teaspoon of dried Italian herbs like oregano and basil to the mixture.
For those who love everything bagels, sprinkle everything bagel seasoning on top of the cheese during the last minute of cooking for an unexpected flavor twist.
Topping Ideas
The topping combinations are virtually endless. Some of our favorites include:
Caramelized onions and mushrooms with Swiss cheese for a savory, restaurant-style experience.
Bacon-free BBQ style with onion rings, cheddar, and your favorite barbecue sauce.
The classic diner style with lettuce, tomato, pickle, onion, and yellow mustard.
Avocado and pepper jack for a California-inspired twist with creamy, buttery avocado.
Buffalo-style with hot sauce, blue cheese crumbles, and ranch dressing.
Bun Alternatives
If you’re looking to switch things up, consider these bun alternatives:
Pretzel buns offer a chewy, slightly salty exterior that’s become incredibly popular.
Potato rolls provide an ultra-soft, slightly sweet option that’s wonderfully pillowy.
Lettuce wraps for those watching their carbohydrate intake—use large butter lettuce leaves.
Sourdough slices for a tangy, hearty alternative if you want something more substantial.
Proper Storage and Reheating
Sometimes you end up with leftover burgers, or you might want to prep ahead for a party. Here’s how to handle storage and reheating while maintaining quality.
Storing Cooked Burgers
Allow cooked burgers to cool completely before storing. Place them in an airtight container, separating each patty with parchment paper to prevent sticking. Store in the refrigerator for up to 3 to 4 days.
For longer storage, you can freeze cooked burgers. Wrap each patty individually in plastic wrap, then place in a freezer-safe bag or container. They will maintain good quality for 2 to 3 months in the freezer.
Reheating Without Drying Out
The biggest challenge with reheating burgers is avoiding that rubbery, dried-out texture. Here are the best methods:
For refrigerated burgers, the stovetop method works wonderfully. Add a splash of water to a skillet, place the burger in, and cover. Heat over medium-low heat until warmed through. The steam from the water helps keep the patty moist.
For frozen burgers, thaw overnight in the refrigerator before reheating using the stovetop method. You can also reheat directly from frozen in the microwave, though the texture won’t be as good—use 50% power and add a damp paper towel on top to retain moisture.
For best results when reheating, consider crumbling the burger and using it in other dishes like spaghetti sauce, nachos, or salad toppings where the texture difference is less noticeable.
Prepping Ahead
You can absolutely prepare burger patties ahead of time and cook them later. Form the patties, place them on a parchment-lined plate, cover tightly with plastic wrap, and refrigerate for up to 24 hours. Cold patties actually cook more evenly, so this can actually improve your results.
You can also freeze raw formed patties. Place them on a parchment-lined baking sheet in a single layer and freeze until solid, about 1 to 2 hours. Then transfer to a freezer bag for long-term storage. Cook directly from frozen, adding a few extra minutes to the cooking time.
Common Mistakes to Avoid
Learning from mistakes is part of the cooking journey, but these are easily avoided with a little knowledge.
Overmixing the Meat
As mentioned earlier, overmixing creates tough, rubbery burgers. Mix until just combined, then stop. Some small lumps are perfectly fine and actually indicate you’ve handled the meat correctly.
Pressing Down on Burgers While Cooking
This is perhaps the most common mistake people make. That urge to press down with your spatula squeezes out all the flavorful juices. Let the grill do its job without interference.
Using Lean Meat Only
While lean meat is healthier, using extremely lean ground beef without any fat content results in disappointingly dry burgers. If you must use lean meat, add a tablespoon of olive oil or butter to the mixture to compensate for the missing fat.
Not Preheating the Grill Properly
A hot grill sears the outside quickly while keeping the inside juicy. A cold grill causes the burger to cook slowly and unevenly, often resulting in a dry, gray interior.
Flipping Too Often
Resist the urge to check the bottom constantly. Each time you flip, you interrupt the cooking process and can cause the burger to stick. Flip once, halfway through cooking.
Skipping the Rest Period
Resting allows juices to redistribute. Cutting into a burger immediately after cooking guarantees a dry, disappointing result.
Using Cold Meat Straight from the Fridge
Cold meat doesn’t cook as evenly. Let it sit at room temperature for 15 to 20 minutes before cooking for best results.
Frequently Asked Questions
What is the best ground beef for burgers?
Ground beef with 80% lean and 20% fat provides the ideal balance of flavor and juiciness. The fat renders during cooking, keeping the burger moist and adding rich beefy flavor. Leaner options like 90/10 will work but require more careful cooking to avoid dryness.
How do I keep my burgers from falling apart on the grill?
Using the right fat content helps burgers hold together. Additionally, make sure not to overmix the meat when combining ingredients, as this can weaken the structure. Forming the patties properly with a slight thickness and a thumbprint indentation also helps them maintain their shape during cooking.
Can I make these burgers ahead of time?
Absolutely. You can form the patties up to 24 hours in advance and keep them refrigerated. You can also cook them fully ahead of time and reheat using the stovetop method with a splash of water to maintain moisture.
What’s the secret to a good sear on burgers?
High heat is essential. Make sure your grill is properly preheated and hot before adding the burgers. Don’t move them around—let them sit in place long enough to develop a golden-brown crust. Avoid pressing down on them, which releases juices and prevents proper browning.
How do I know when a burger is done without a thermometer?
You can check doneness by pressing gently on the top of the burger. A rare burger will feel very soft with lots of give. A medium burger will offer slight resistance but still have some spring. A well-done burger will feel firm with no give. With practice, this method becomes quite accurate.
Can I cook these burgers indoors instead of on a grill?
Definitely. A cast-iron skillet on your stovetop works wonderfully for cooking burgers. Preheat the skillet over medium-high heat, add a tablespoon of oil, and cook the patties for about 4 minutes per side. You can even finish them under a broiler to melt the cheese if desired.
What can I serve with homemade burgers?
Classic sides include crispy potato wedges, coleslaw, baked beans, corn on the cob, and potato salad. For drinks, consider ice-cold lemonade, iced tea, or your favorite summer beverage. These burgers also pair wonderfully with a fresh green salad to balance out the meal.
How long should I let burgers rest before serving?
A rest period of 2 to 3 minutes is ideal for cooked burgers. This allows the juices to redistribute throughout the patty rather than running out immediately when you bite into it. Cover loosely with foil to keep them warm during this brief resting period.
Bringing It All Together
There you have everything you need to create the perfect homemade beef burgers for your next backyard gathering. From selecting the right ingredients to mastering the cooking technique, you now have all the knowledge and confidence to pull off a truly impressive burger spread that will have your family and friends asking for your secret.
Remember the key points: use 80/20 ground beef for optimal juiciness, handle the meat gently and avoid overmixing, create that thumbprint indentation for even cooking, resist the urge to press down on the patties while they cook, and always let them rest before assembling and serving.
The beauty of this recipe lies in its flexibility. Feel free to make it your own with your favorite seasonings, toppings, and bun choices. Whether you keep it classic with cheddar and basic fixings or get creative with gourmet combinations, the foundation is solid and reliable.
So fire up that grill, gather your loved ones, and get ready to enjoy what might just become your new signature dish. There’s nothing quite like the satisfaction of serving a burger you made from scratch that rivals anything you’d get at a restaurant—and the memories you’ll create around the grill are even more valuable than the delicious meal itself.
Happy grilling, and enjoy every juicy bite!


