Table of Contents
- 1 Why This Sugar Cookie Fudge Works for Holiday Parties
- 2 Ingredient List & Notes
- 3 Tools & Prep You’ll Need
- 4 Step‑by‑Step Instructions
- 5 Tips for Best Results
- 6 Variation & Customisation Ideas
- 7 Presentation & Serving Ideas
- 8 Frequently Asked Questions (FAQs)
- 9 Why This Dessert Deserves a Spot at Your Holiday Party
Holiday party desserts need to do more than just taste good—they must look festive, serve easily, and stand out on a dessert table. This sugar cookie fudge hits all those points:
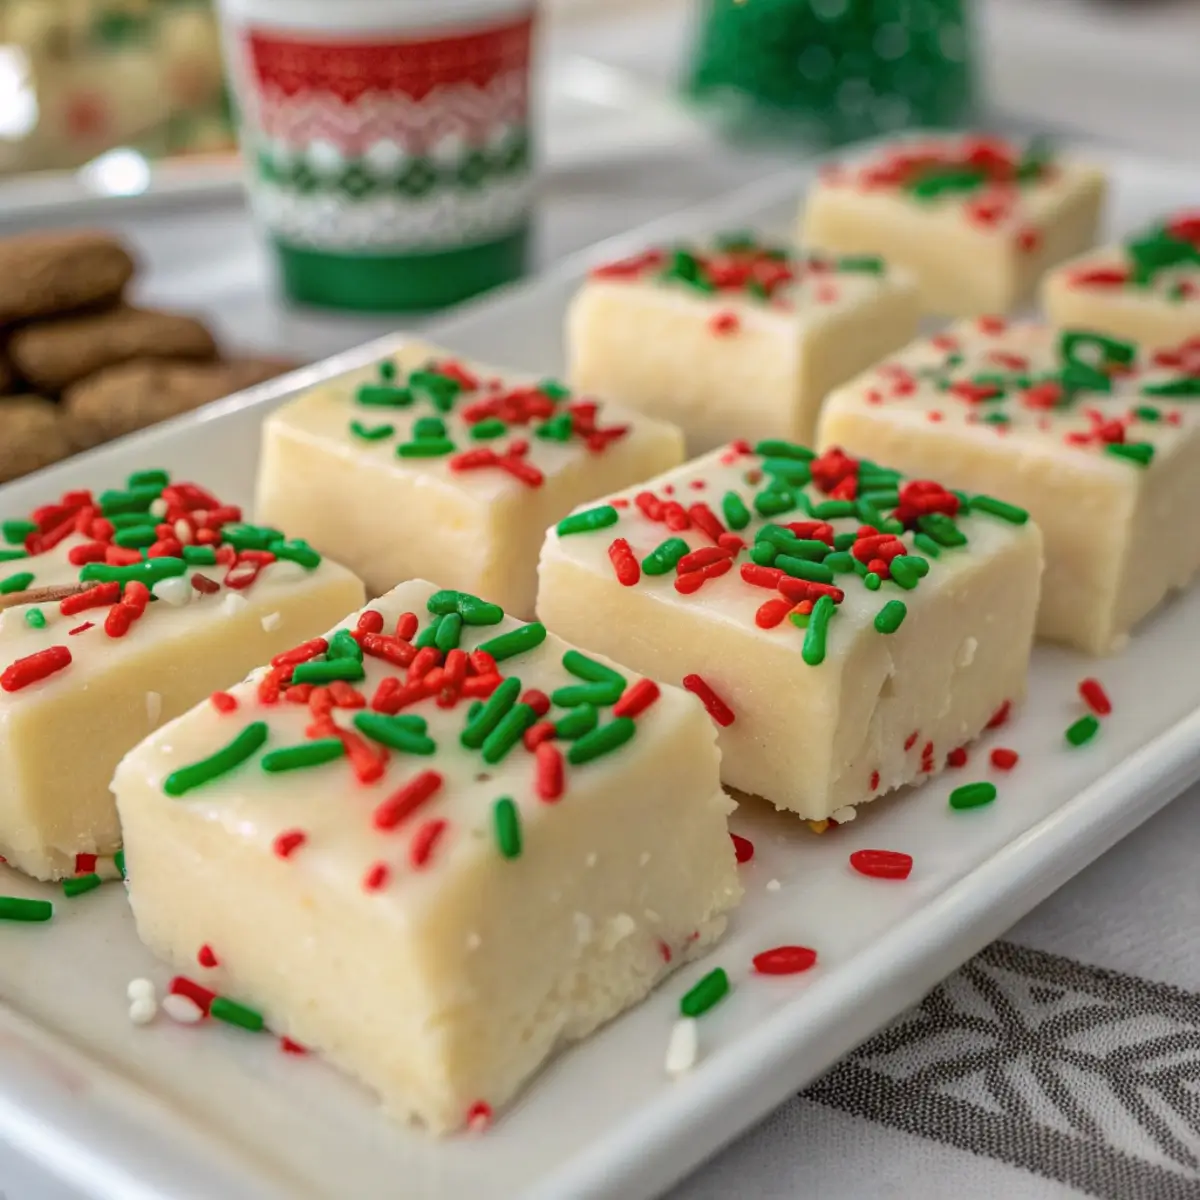
Visual celebration: With red and green sprinkles and white‑chocolate drizzle, it screams holiday cheer.
Easy to serve: Cut into squares and place on a platter or tray—no slicing at the table.
Rich but familiar flavor: It offers sugar cookie‑style vanilla butteriness with the creamy texture of fudge.
Make‑ahead friendly: You can prepare it ahead of time, decorate just before the event, and it holds up well.
Multi‑purpose: Ideal for cookie exchanges, party dessert trays, gift boxes, or classroom treats.
When you combine flavour, texture, festive appearance, and ease of serving—you get a dessert that disappears fast and gets compliments.
Ingredient List & Notes
Here’s everything you’ll need for a party‑sized batch, plus important ingredient notes to get the best result. This recipe yields roughly 24‑30 squares from a 9″×9″ pan (or about 20 squares from an 8″×8″ pan) depending on size of pieces.
Ingredients
12 oz (≈ 340 g) white chocolate chips or finely chopped white chocolate
1 (14 oz) can sweetened condensed milk
¼ cup (56 g) unsalted butter
2 teaspoons pure vanilla extract
¼ teaspoon almond extract (optional, for that slight cookie‑dough nuance)
½ teaspoon salt
1 cup finely crushed plain sugar cookies (about 8–10 cookies)
1 cup holiday sprinkles (red, green, white) divided into mix‑in and topping
2 oz white chocolate for drizzle
Optional: extra crushed sugar cookies or mini sugar cookies to place on top for decoration
Ingredient Notes
White chocolate: Use high‑quality white chocolate or chips for a smooth, creamy base. Lower‑quality versions may melt unevenly or grain.
Sweetened condensed milk: This gives the fudge its creamy structure without needing complex steps.
Butter: Adds richness and enhances that classic sugar cookie vibe.
Vanilla & almond extracts: Vanilla is essential. Almond extract is optional but adds a subtle bakery note.
Salt: A little salt balances the sweetness—don’t omit.
Crushed sugar cookies: Reinforces the “sugar cookie” flavour and gives texture. Use plain, unfrosted cookies for best results.
Holiday sprinkles: These add festive color; use a mix of red, green and white.
White chocolate drizzle: For decoration and extra visual appeal.
Optional extras: Extra cookie crumbs or mini cookies on top elevate the look even more.
Tools & Prep You’ll Need
9″×9″ (or 8″×8″) square baking pan
Parchment paper or foil to line the pan with an overhang for easy removal
Medium saucepan
Heat‑proof rubber spatula or wooden spoon
Measuring cups and spoons
Sharp knife for clean cutting of squares
Microwave‑safe small bowl (for melting drizzle)
Small mixing bowl for sprinkles and cookie‑crumb topping
Airtight container or decorative trays for serving or gifting
Step‑by‑Step Instructions
Step 1: Prepare the Pan & Toppings
Line your chosen pan with parchment or foil, allowing an overhang on two sides so you can easily lift out the fudge later. Lightly grease the liner. In a small bowl, mix a portion of the sprinkles and cookie crumbs that will become the topping.
Step 2: Melt the Fudge Base
In a medium saucepan over low to medium‑low heat:
Add the butter and let it melt slowly.
Pour in the sweetened condensed milk and stir until warmed and just beginning to steam at the edges—avoid boiling vigorously.
Add the white chocolate chips or chopped white chocolate. Stir continuously until fully melted and smooth.
Remove from heat once smooth.
Step 3: Add Flavour & Mix‑Ins
Stir in the vanilla extract, optional almond extract, and salt. Fold in the crushed sugar cookies and about half of the sprinkles (½ cup) for internal texture and colour.
Step 4: Transfer & Decorate
Pour the mixture into the prepared pan, smoothing the surface with your spatula. Immediately sprinkle the remaining sprinkles and cookie‑crumb topping evenly over the surface. Press lightly so they adhere.
Step 5: Drizzle with White Chocolate
In a microwave‑safe small bowl, melt the 2 oz white chocolate in 20‑second bursts, stirring in between until smooth. Use a fork or small piping bag to drizzle the melted white chocolate over the top of the fudge in a zig‑zag pattern for decorative effect.
Step 6: Chill & Set
Cover the pan loosely with foil or plastic wrap. Place in the refrigerator and chill for at least 2‑3 hours, or ideally overnight, until firm to the touch.
Step 7: Cut & Serve
Using the parchment overhang, lift the fudge from the pan. Use a sharp knife (warm blade under hot water and dry between cuts) to slice into squares—1½‑inch squares are ideal for serving at parties. Place on a decorative platter or arrange in gift boxes.
Tips for Best Results
Low, gentle heat is the key when melting white chocolate and condensed milk to avoid burning or graininess.
Ensure your pan, spatula and bowl are dry, especially when working with white chocolate, because moisture can cause the chocolate to seize.
Use good quality white chocolate—this dramatically affects texture and flavour.
Don’t skip the salt—it enhances flavour and prevents the fudge from tasting overly sweet.
Chill thoroughly before cutting—this ensures clean squares and maintains the layer of toppings.
For clean cuts, warm the knife blade slightly and wipe between cuts so edges are neat.
Store in an airtight container. If room temperature is cool, you can leave out for a few hours for serving. Otherwise, keep chilled until serving.
Package early if gifting: after the fudge is set and cut, you can wrap squares in parchment and ribbon ahead of time.
Variation & Customisation Ideas
Peppermint holiday version: Replace almond extract with ½ teaspoon peppermint extract, use red and white sprinkles, and top with crushed candy canes.
Gold & white elegance: Use white and gold sprinkles/edible glitter for a classy holiday look instead of traditional red/green.
Cookies & cream twist: Replace sugar cookies with crushed chocolate sandwich cookies, use black/white sprinkles, and skip the vanilla extract for contrast.
Nutty crunch version: Fold in ½ cup chopped toasted pecans or almonds (if no allergy concerns) for added texture.
Gluten‑free version: Ensure the crushed cookies and sprinkles are certified gluten‑free.
Vegan option: Use vegan white chocolate, a plant‑based condensed milk substitute, vegan butter and vegan‑friendly sprinkles.
Mini fudge bites: Use mini paper cupcake liners and spoon the mixture in; top each bite with a sprinkle and drizzle for individual servings.
Layered colour version: After pouring half the mixture, chill slightly and pour a second layer tinted with pale pink or mint for a two‑tone look.
Presentation & Serving Ideas
Use a tiered platter or decorative holiday tray to elevate the presentation on your table.
Place the fudge squares between layers of parchment if stacking in boxes or tins for gifting.
Wrap individual squares in clear cellophane bags tied with festive ribbons for take‑home treats or favors.
Consider adding a small gift tag or sticker reading: “Festive Sugar Cookie Fudge – made for Christmas!”
For a full dessert buffet, place the fudge next to sugar cookies, gingerbread, and candies to create a themed dessert spread.
Pair with warm drinks like spiced cider, coffee or hot cocoa—this fudge complements warm beverages beautifully.
For a topping twist, add a few whole mini sugar cookies or even white chocolate curls for extra decoration.
Frequently Asked Questions (FAQs)
Is this fudge recipe truly no‑bake?
Yes. The fudge is prepared on the stovetop via melting and stirring, then chilled to set. No oven baking required.
How long will this fudge stay fresh?
When stored in an airtight container in the refrigerator, it stays fresh for up to 5–7 days. At room temperature in a cool environment, it is typically good for 1–2 days.
Can I freeze this fudge?
Yes. Wrap the block or individual squares in plastic wrap and foil. Freeze for up to 2 months. Thaw in the refrigerator for a few hours before serving.
Why did my fudge turn grainy or separate?
Possible causes include overheating the white chocolate, moisture in the pan or utensils, or not stirring constantly while melting. Use low heat and dry equipment.
Can I skip the crushed sugar cookies topping?
You can, but you’ll lose texture contrast and part of the “sugar cookie” theme. If skipping, you might replace with crushed candy canes or another decorative topping for flair.
What size should I cut the squares?
1½‑inch squares yield about 24 pieces from a 9″×9″ pan. For smaller bite‑sizes or if using an 8″×8″ pan, you might cut smaller pieces (20‑30 pieces).
Is almond extract necessary?
No—but it adds a subtle “bakery” aroma that enhances the sugar cookie flavour. If you prefer pure vanilla or have nut‑allergy concerns, omit the almond extract.
Why This Dessert Deserves a Spot at Your Holiday Party
Holiday gatherings deserve desserts that feel special. This sugar cookie fudge decorated for Christmas parties delivers in multiple ways:
Visual wow: The red and green sprinkles, white‑chocolate drizzle, and squares lined up look feast‑worthy and polished.
Flavour meets tradition: The sugar cookie taste is nostalgic; the fudge texture adds luxury.
Ease and impact: With minimal bake time and maximal visual effect, it’s a smart party dessert.
Share‑friendly format: Squares are easy for guests to serve, carry, or label for takeaway.
Versatile use: Whether you’re making it for a cookie exchange, a family dinner, a holiday bake sale, or simply a cozy night in—it fits every scenario.
When you’re hosting a party or contributing to a dessert spread, you want something that stands out without overcomplicating your prep. This recipe does exactly that.


