Table of Contents
When the season for fresh peaches rolls around, there’s no better way to preserve their luscious flavor than by making a homemade peach jelly. This sweet, golden treat is perfect for spreading on toast, drizzling over desserts, or simply enjoying by the spoonful. Not only does it capture the essence of summer in every jar, but it also makes for a thoughtful gift or a delicious addition to your pantry.
In this article, we’ll guide you through the entire process of making your own peach jelly recipe, from selecting the right peaches to the canning process. Whether you’re a seasoned canner or trying it for the first time, we’ve got you covered with detailed instructions, tips, and answers to common questions. Let’s get started with the basics!
Understanding Peach Jelly
What is Peach Jelly?
If you’ve ever spread peach jelly on a warm piece of toast or dolloped it over your favorite dessert, you know just how delightful it can be. But what exactly is it?
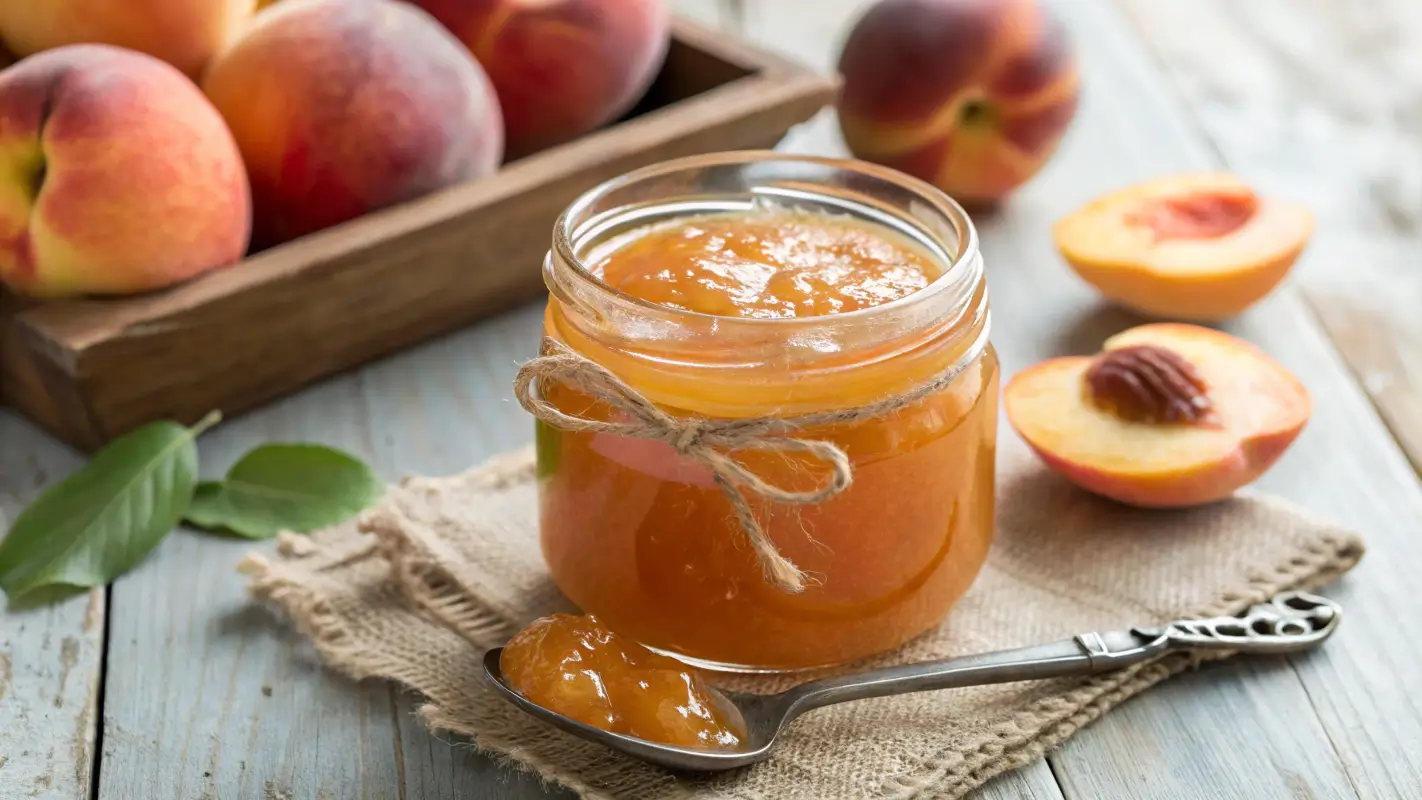
At its core, peach jelly is a fruit preserve made by cooking peach juice with sugar and pectin until it thickens into a firm, gel-like consistency. Unlike peach jam, which contains the fruit’s pulp and skin, jelly is smooth and clear. It’s a sweet, smooth spread that bursts with the pure essence of ripe peaches.
This difference is why jelly has a much smoother, clearer texture compared to jam, which tends to have a chunkier consistency. Jelly is typically made by straining out the fruit solids to leave just the juice. This means that for peach jelly, you’ll need to extract fresh peach juice from the fruit to get the perfect smooth consistency.
Pro Tip: Using high-quality, ripe peaches results in the best-tasting jelly, so don’t skimp on the fruit!
History and Origin of Peach Jelly
While peach jelly as we know it today has become a household favorite, its roots go much deeper. Fruit preserves, in general, have a long history in food preservation, dating back centuries when fresh fruits were preserved to last through the colder months. Canning and jelly-making were essential skills for families, especially in farming communities, as they ensured a steady supply of flavorful fruit long after the season had ended.
The peach, a fruit native to China, spread across Europe, and eventually the United States, where it flourished in warmer climates, particularly in the South. Over time, it became one of the most popular fruits used for jelly and preserves. Peach jelly, specifically, holds a special place in Southern kitchens, often being passed down through generations as part of family recipes.
In the modern-day, the art of making peach jelly has remained largely the same. However, we now have more convenient tools and options, such as pectin, to make the process faster and more foolproof, ensuring that every batch turns out perfect. Whether you’re canning it in jars to enjoy year-round or making it for a special occasion, making your own peach jelly is a satisfying and rewarding process.
Selecting the Right Peaches
Choosing Fresh Peaches
When it comes to making peach jelly, the first and most important step is selecting the right peaches. The quality of the fruit directly impacts the final result, so you’ll want to pick peaches that are perfectly ripe, juicy, and full of flavor.
Look for peaches that are firm but slightly soft when you gently press them. They should have a fragrant, sweet aroma. The color of the peach will vary depending on the variety, but in general, you’re looking for a rich golden or yellow tone. Avoid peaches that are too hard, as they may lack flavor and sweetness. Also, steer clear of overripe peaches, which can result in jelly that is too runny or too sweet.
Pro Tip: If you can, go for peaches from your local farmer’s market or a trusted orchard. They often taste much better than supermarket peaches, as they’re allowed to ripen naturally on the tree.
Recommended Peach Varieties for Jelly
While you can use any peach variety to make jelly, certain types are especially suited for preserving. The best peaches for peach jelly are typically freestone peaches, meaning the pit comes out easily. They are easier to work with and tend to yield more juice than clingstone varieties, which have pits that cling tightly to the flesh.
Some great varieties to look for include:
- Freestone Peaches: These are ideal because of their high juice content and ease of pitting.
- Elberta Peaches: Known for their sweet flavor and juicy flesh, these peaches are a canning favorite.
- O’Henry Peaches: These peaches are sweet and aromatic, making them perfect for jams and jellies.
Remember, the more flavorful and ripe your peaches are, the better your jelly will taste. The sweetness of the peaches will come through in every jar, so be sure to choose the best fruit you can find!
Essential Ingredients and Equipment
Making peach jelly recipe requires just a handful of ingredients and a few key tools. Let’s break down the essentials so you can get everything ready before diving into the process.
Key Ingredients for Peach Jelly Recipe
To create a batch of delicious peach jelly, you’ll need the following basic ingredients:
1. Fresh Peaches
The heart of any great peach jelly is, of course, fresh peaches. You’ll want ripe, juicy peaches that are bursting with flavor. Overripe or under-ripe peaches may not yield the best results, so aim for peaches that are firm but slightly soft to the touch. When selecting your peaches, remember that the more fragrant and colorful they are, the better!
2. Sugar
Sugar is crucial for the gel formation in peach jelly. It balances the natural acidity of the peaches, adding sweetness and helping the jelly set. For most recipes, regular granulated sugar works best. If you’re looking to reduce the sugar content, there are options like low-sugar pectin or natural sweeteners, but remember that altering the sugar can affect the texture and flavor.
3. Pectin
Pectin is a naturally occurring substance found in fruit that helps the jelly set. While you can make jelly without added pectin, using it ensures a firmer, more consistent texture. You can find pectin in powdered or liquid form at most grocery stores, and it’s generally inexpensive and easy to use.
4. Lemon Juice
Lemon juice is an important ingredient in peach jelly because it helps to preserve the color of the jelly while also adding a bit of tartness to balance the sweetness of the peaches and sugar. Fresh lemon juice works best, but bottled lemon juice will do if you’re in a pinch.
5. Water
You’ll need a small amount of water to help dissolve the sugar and pectin when cooking the peaches. It’s typically just enough to help with the dissolving process.
Necessary Equipment
Now, let’s talk about the tools you’ll need to make your peach jelly:
1. Canning Jars and Lids
To store your finished peach jelly, you’ll need canning jars with tight-fitting lids. Mason jars are the most common, but any jar specifically designed for canning will work. Be sure to sterilize the jars before use to prevent contamination.
2. Large Pot
You’ll need a large pot to cook the peaches and syrup together. It should be big enough to allow room for stirring without boiling over.
3. Jelly Bag or Cheesecloth
To strain out the peach solids and get that smooth, clear juice for your jelly, you’ll need a jelly bag or cheesecloth. This will help separate the juice from the pulp, ensuring a smooth consistency in your jelly.
4. Canning Funnel and Tongs
A canning funnel makes it easier to transfer the hot jelly into your jars without making a mess. Tongs are essential for handling the hot jars and lids safely.
Step-by-Step Peach Jelly Recipe
Now that you’ve got all the ingredients and equipment, it’s time to make your peach jelly! Follow these simple steps to create a sweet and flavorful jelly that will have you coming back for more.
Step 1: Prepare the Peaches
Start by washing your fresh peaches thoroughly under cool water to remove any dirt or pesticides. Once clean, peel the peaches by blanching them in hot water for 30 seconds, then immediately plunging them into ice water. This will make the skin come off easily. After peeling, cut the peaches into halves or quarters, remove the pits, and chop them into small pieces.
Step 2: Extract the Juice
To make peach jelly, you need to extract as much juice as possible from your peaches. The easiest way to do this is to place your chopped peaches into a jelly bag or cheesecloth. Squeeze gently over a large bowl to release the juice. Alternatively, you can use a food processor to puree the peaches and then strain the mixture through a fine-mesh sieve. Aim for about 4 cups of juice for a standard batch of jelly.
Step 3: Prepare the Canning Equipment
Before you start cooking, sterilize your canning jars and lids. Place them in a pot of boiling water for 10 minutes to ensure they are completely clean. Set aside to dry. You’ll also want to prepare your canning pot, which will be used to process the filled jars after the jelly is made.
Step 4: Cooking the Jelly
Now, it’s time to make the jelly! In a large pot, combine the peach juice, sugar, and lemon juice. Stir the mixture to dissolve the sugar. Once it’s dissolved, bring the mixture to a boil over medium-high heat. Add the pectin and continue to stir as the mixture comes to a rolling boil. It’s important to stir constantly to avoid burning.
After about 5-10 minutes of boiling, test the jelly by placing a spoonful on a cold plate. Let it cool for a minute, then run your finger through it. If it wrinkles and doesn’t run, your jelly is ready. If it’s still too runny, continue boiling for a few more minutes and test again.
Step 5: Filling the Jars
Once your jelly has reached the right consistency, it’s time to fill your sterilized jars. Using a canning funnel, pour the hot jelly into the jars, leaving about 1/4 inch of headspace. Wipe the rims of the jars with a clean, damp cloth to remove any residue before sealing them with sterilized lids.
Step 6: Canning the Jelly
To properly preserve your jelly, you’ll need to process the jars in a boiling water bath. Place the jars in the canning pot, ensuring that the water covers the jars by at least an inch. Bring the water to a boil and process the jars for 10-15 minutes to ensure a good seal. After processing, remove the jars and let them cool completely. You’ll hear the lids “pop” as they seal—this is a good sign!
Variations and Flavor Enhancements
Now that you’ve mastered the basic peach jelly recipe, it’s time to get creative! There are plenty of ways to customize your jelly to make it uniquely yours.
Adding Spices and Herbs
For a little extra flair, consider adding some spices or herbs to your peach jelly. A touch of cinnamon can give it a warm, cozy flavor, while a hint of fresh ginger adds a zingy twist. You can even experiment with mint for a refreshing contrast to the sweetness of the peaches. Just remember to balance the flavors so they complement, rather than overpower, the peach taste.
Mixing with Other Fruits
Another fun variation is to combine peaches with other fruits. For example, mixing peaches with strawberries, raspberries, or even citrus fruits like lemons can create a delightful blend of flavors. Keep in mind that when you mix fruits, you may need to adjust the amount of pectin or sugar to achieve the desired jelly consistency.
Low-Sugar or Honey-Sweetened Peach Jelly
If you prefer a healthier version, you can reduce the sugar or use honey as a sweetener. While sugar helps the jelly set, it’s possible to make a low-sugar peach jelly by using a low-sugar pectin or replacing the sugar with natural sweeteners like honey or agave. These alternatives will give your jelly a slightly different flavor, but they can be a great option for those watching their sugar intake.
Troubleshooting Common Issues
Making peach jelly can be a fun and rewarding experience, but sometimes things don’t go as planned. Whether you’re a first-timer or a seasoned jelly maker, it’s helpful to know how to troubleshoot common issues to ensure your jelly turns out just right.
1. Jelly Not Setting
One of the most common problems when making jelly is that it doesn’t set properly. If your peach jelly is too runny and won’t firm up, don’t panic! This can happen for several reasons:
- Insufficient pectin: If you didn’t use enough pectin, the jelly might not gel. You can reprocess the jelly by adding more pectin and boiling it again.
- Not boiling long enough: Jelly needs to reach a high enough temperature to set. Be sure to boil the mixture for long enough, and use the “wrinkle test” (placing a spoonful of jelly on a cold plate) to check the consistency before removing it from the heat.
- Too much water: If you added too much water or juice, the jelly may not set properly. Reducing the amount of liquid next time can help achieve a firmer texture.
2. Jelly is Too Thick
If your peach jelly turns out too thick or jelly-like, you can still fix it! A simple solution is to add more water or fruit juice, then reheat the jelly. Be sure to test it frequently as it heats to make sure you reach your desired consistency.
3. Cloudy Jelly
A cloudy jelly can happen if the fruit pulp wasn’t strained properly or if the pectin wasn’t dissolved well. To prevent cloudiness, make sure to strain the juice thoroughly using a jelly bag or cheesecloth to remove any pulp. Additionally, stir the pectin in thoroughly while boiling to avoid lumps.
4. Cracked Jars or Failed Seals
Sometimes, jars can crack during the canning process or lids might fail to seal properly. To prevent this, make sure your jars are sterilized before filling and avoid placing them directly into hot water when canning. Also, ensure the rim of each jar is clean before sealing it with the lid.
Frequently Asked Questions (FAQs)
When it comes to making peach jelly, there are always a few common questions that pop up. Here are some answers to the most frequently asked questions:
1. How long does homemade peach jelly last?
Homemade peach jelly can last for up to a year if properly sealed and stored in a cool, dark place. After opening, refrigerate the jelly and consume it within a few weeks.
2. Can I use frozen peaches for making jelly?
Yes! You can use frozen peaches in place of fresh ones. Just thaw the peaches before making the jelly and be sure to strain them well to extract the juice.
3. Can I make peach jelly without pectin?
It’s possible to make peach jelly without added pectin, but it will take longer to cook and may require more sugar. You can rely on the natural pectin found in the peaches, but it might not set as firmly as with added pectin.
4. Can I use peach jelly in other recipes?
Absolutely! Peach jelly can be used as a filling for pastries, as a topping for pancakes or ice cream, or even in savory dishes like glazes for roasted chicken. Get creative with your leftovers!
5. How can I adjust the sweetness of the jelly?
If you prefer a less sweet peach jelly, you can reduce the sugar content or use a natural sweetener like honey or agave syrup. Just remember that sugar helps the jelly set, so adjusting the sweetness may affect the texture.
Conclusion
Making peach jelly is a rewarding and fun process, whether you’re preserving the taste of summer or creating a thoughtful homemade gift. With the right ingredients, equipment, and a little patience, you can enjoy this sweet treat for months to come. Whether you stick to the classic recipe or experiment with variations, the possibilities are endless. Don’t forget to troubleshoot any issues that may arise and always follow the proper canning techniques for long-lasting results. Enjoy your homemade peach jelly as a spread, topping, or in creative dishes—your taste buds will thank you!
For additional tips on fruit preservation, check out Healthy Canning’s guide on making jelly.


