Table of Contents
- 1 Why This No‑Bake Sugar Cookie Fudge Is a Game Changer for the Holidays
- 2 Ingredient List & Notes
- 3 Tools & Prep You’ll Want
- 4 Step‑by‑Step Instructions (Active Time ≈ 5 Minutes)
- 5 Tips for Best Results
- 6 Variation & Customisation Ideas
- 7 Presentation & Serving Suggestions
- 8 Frequently Asked Questions (FAQs)
- 9 Why You’ll Want to Make This Recipe
When holiday baking time runs out, oven space is booked, and you still want a show‑stopper dessert, this no‑bake fudge comes to the rescue. Here’s why it works so well:
Super fast prep: From start to chillable mixture in about 5 minutes of active time.
No oven needed: Free up your oven for turkey, pies or other mains.
Sugar cookie flavor meets fudge richness: You get the comforting vanilla‑buttery taste of sugar cookies in a fudge form.
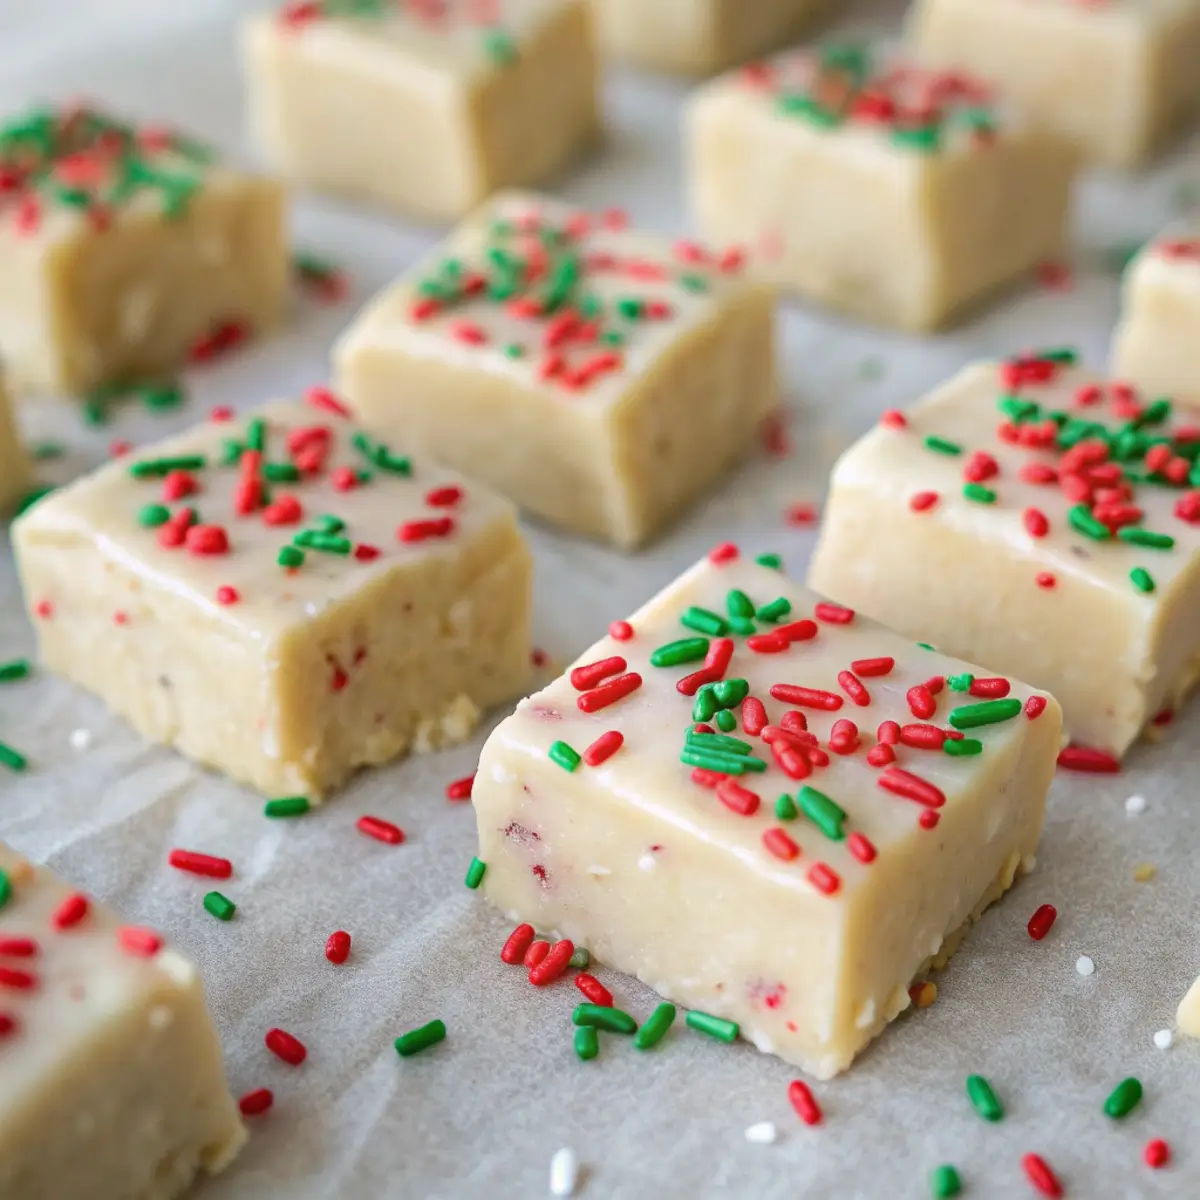
Festive appearance: Red and green sprinkles instantly make it holiday‑ready.
Foolproof texture: Using white chocolate or melting wafers simplifies the process—minimal risk of failure.
Great for any setting: Ideal for last‑minute dessert trays, unexpected guests, cookie swaps, or a quick gift.
If you’re ever pressed for time but still want a dessert with holiday flair, this no‑bake sugar cookie fudge is your secret weapon.
Ingredient List & Notes
Here’s your ingredient list for a standard batch (yielding about 18‑20 squares depending on size). Also included are notes to ensure success.
Ingredients
12 oz white chocolate chips or finely chopped white chocolate
1 (14 oz) can sweetened condensed milk
¼ cup unsalted butter
2 teaspoons pure vanilla extract
¼ teaspoon almond extract (optional, for that sugar‑cookie flair)
½ teaspoon salt
1 cup prepared sugar‑cookie mix or crushed plain sugar cookies (about 8–10 cookies)
½ cup colourful holiday sprinkles (red, green) plus extra for topping
Notes on Ingredients
White chocolate: Choose a decent quality rather than the cheapest melts; better texture and flavour.
Sweetened condensed milk: Provides creamy base and simplifies fudge setting—no candy thermometer required.
Butter: Adds richness and supports that “sugar cookie” feel.
Vanilla & almond extracts: Vanilla is essential. Almond adds a subtle bakery twist—optional.
Salt: Just a small amount balances the sweetness and enhances flavour.
Sugar cookie mix or crushed cookies: You can use a mix‑in or crushed cookies—you choose. If using a ready sugar cookie mix, be sure it’s sugar‑cookie flavour only.
Sprinkles: Holiday red and green sprinkles for seasonal flair; keep some reserved for topping.
Tools & Prep You’ll Want
Medium saucepan
Heat‑proof rubber spatula or wooden spoon
Measuring cups and spoons
8″×8″ (or 9″×9″) square pan lined with parchment or foil (with overhang)
Sharp knife for cutting squares
Small bowl for toppings (sprinkles)
Airtight container for storage or gifting
Step‑by‑Step Instructions (Active Time ≈ 5 Minutes)
Step 1: Line the Pan
Line your baking pan with parchment paper or foil, leaving an overhang on two sides so you can lift out the fudge easily later. No greasing needed if parchment used, but a light spray won’t hurt.
Step 2: Melt the Base
In a medium saucepan over low to medium‑low heat:
Add the butter and melt gently.
Pour in the sweetened condensed milk and stir until the mixture is warmed through and starting to edge steam (but not boil hard).
Add the white chocolate chips or chopped white chocolate. Stir continuously until melted and smooth.
Remove from heat immediately when smooth to keep texture creamy.
Step 3: Add Flavour & Mix‑Ins
Stir in the vanilla extract and optional almond extract.
Add the salt and mix thoroughly.
Fold in the sugar‑cookie mix (or crushed sugar cookies) and about half of the sprinkles (¼ to ⅓ cup). This gives internal texture and holiday colour.
Step 4: Transfer & Top
Pour the fudge mixture into the prepared lined pan and smooth the surface with the spatula.
Immediately sprinkle the remaining sprinkles on top, pressing lightly so they adhere but remain visible.
Optional: If you like a little texture, toss a few extra crushed sugar cookie crumbs on top.
Step 5: Chill Until Set
Cover the pan loosely and place in the refrigerator. Chill for at least 1–2 hours (depending on fridge speed) or until the fudge is firm enough to cut cleanly. Because the active time is minimal, chilling time is the bulk of time.
Step 6: Cut & Serve
Lift the fudge out of the pan using the parchment overhang.
Use a sharp knife (you may warm the blade under hot water and dry for cleaner cuts) to cut into squares—1½‑inch squares work well and will yield about 18‑20 pieces from an 8″×8″ pan.
Arrange on a platter, serve at your holiday gathering, or package for gifting/wrap sale.
Tips for Best Results
Maintain low, gentle heat when melting to prevent burning or grainy texture.
Make sure all equipment is completely dry—even a drop of water in white chocolate may cause it to seize.
Use good white chocolate for smooth mouthfeel and flavour.
Don’t skip the salt—it balances sweetness and brings out vanilla.
Chill thoroughly—the fudge must set fully for best texture and clean cutting.
For clean slicing: wipe the knife between cuts and warm the blade briefly if needed.
Store pieces in an airtight container. If room temperature is cool, fine for a few hours; longer storage should be refrigerated.
For gifting or serving: cut, wrap or place in liners ahead of time so you’re ready when party time comes.
Variation & Customisation Ideas
Peppermint version: Use peppermint extract instead of almond, and top with crushed candy canes plus red/white sprinkles.
Cookies & cream flavour: Use crushed chocolate sandwich cookies in place of sugar cookies, and use black & white sprinkles for contrast.
Maple‑sugar twist: Add ½ teaspoon maple extract, fold in chopped toasted pecans, top with brown sugar crystals alongside sprinkles.
Gluten‑free option: Use gluten‑free plain sugar cookie crumbs or mix, and gluten‑free sprinkles.
Vegan adaptation: Use vegan white chocolate, a plant‑based condensed milk substitute, vegan butter and vegan sprinkles.
Mini fudge squares: Instead of an 8″ pan, pour into a lined mini muffin tin or use small candy molds; chill and serve mini bites.
Swirled look: After pouring mixture but before chilling, drop dollops of another colour (green or red) melted candy or coloured white chocolate, swirl gently with a skewer, then proceed to chill.
Presentation & Serving Suggestions
Arrange fudge squares on a holiday platter with sprinkles scattered around for a festive display.
Use small paper liners to place each square—makes it easy to pick up and serve.
Wrap individual squares in clear cellophane bags tied with red or green ribbon for easy party favors or gifts.
Serve alongside other holiday treats like cookies, truffles and candy on a dessert board to create variety.
Provide small napkins or dessert spoons because fudge is rich and guests appreciate a neat way to serve.
Label your dessert board: “5‑Minute No‑Bake Sugar Cookie Fudge” so guests know the story behind the treat.
Pair with warm holiday drinks such as hot cocoa or spiced cider—this fudge is wonderfully rich and balances warm beverages.
Frequently Asked Questions (FAQs)
Can I really prepare this in 5 minutes?
Yes—active stovetop time is around 5 minutes (melt, stir, pour). Chill time takes longer but you don’t need to bake or monitor oven.
How long will it stay fresh?
When stored in an airtight container, the fudge stays fresh about 4–6 days if kept refrigerated. At room temperature (cooler than 70°F/21°C) you can keep for 1–2 days.
Can I freeze this fudge?
Yes. Wrap the squares in plastic wrap and foil or store in a freezer bag. Freeze up to 2 months. Thaw in the fridge for a few hours before serving.
Why did my fudge turn out too soft?
Possibly the layer was too thin, chilling time too short, or pan size too large meaning sous‑desired thickness. Ensure proper pan size and full chilling.
Can I skip the sugar‑cookie mix or crushed cookies?
You could skip them—but you’ll lose some texture and the “cookie” theme. The fudge will still taste good, but have less interest in bite. Consider adding mini chips or cookie crumbs if skipping.
Can I substitute other extracts?
Yes—vanilla is essential for sugar‑cookie flavor. Almond is optional. You could swap almond for cookie extract, maple, or peppermint depending on variation.
What size should I cut the squares?
For serving, 1½‑inch squares yield about 18‑20 pieces from an 8″×8″ pan. You can cut smaller if you want more servings or bite‑size treats.
Why You’ll Want to Make This Recipe
When the holiday season stretches your time and oven space, having a quick‑go dessert that still looks festive and tastes indulgent is a major win. This no‑bake sugar cookie fudge does just that:
Minimal prep, maximum effect
Fudge meets sugar cookie in flavour
Striking look with sprinkles and presentation
Versatile usage: gifts, parties, cookies swaps, last‑minute fix
Easily customizable for different themes or crowds
If you’ve ever found yourself scrambling for dessert last‑minute, this is your reliable, standout answer. It gives you rich flavor, clean presentation, quick execution—and a finish‑line dessert that will earn compliments and requests for the recipe.


