Table of Contents
- 1 Why You’ll Love These Halloween Slime Pudding Cups
- 2 Ingredients for Halloween Slime Pudding Cups
- 3 How to Make Halloween Slime Pudding Cups
- 4 Variations and Creative Twists
- 5 Tips for the Best Slime Pudding Cups
- 6 How to Serve Slime Pudding Cups
- 7 Make-Ahead and Storage Tips
- 8 Nutrition Snapshot (Approximate per cup)
- 9 Allergy-Friendly Tips
- 10 Halloween Party Ideas Featuring Slime Pudding Cups
- 11 Fun for Kids – Get Them Involved
- 12 FAQs – Halloween Slime Pudding Cups
- 13 Make Halloween Slime-Tastic!
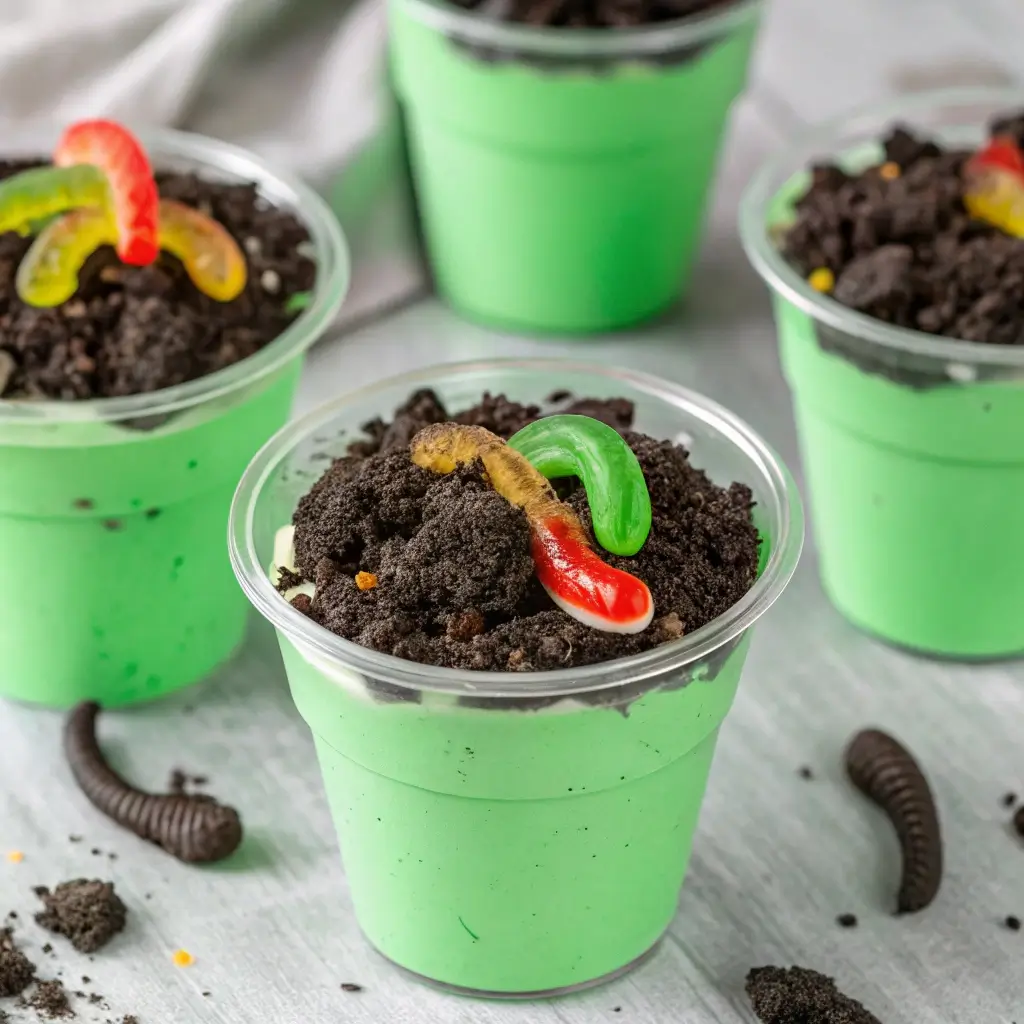
Looking for a gross-but-awesome Halloween treat that will have kids screaming with delight? These Halloween Slime Pudding Cups are the perfect spooky dessert for any ghoulish gathering. With eerie green pudding, crushed chocolate cookie “dirt,” and gummy worms wriggling out of the top, they’re as fun to make as they are to eat.
Ideal for Halloween classroom parties, family movie nights, or dessert tables at haunted house events, these slime pudding cups are quick, no-bake, and full of squishy, slimy fun. Plus, they’re totally kid-approved and easy to customize with different toppings and flavors.
Why You’ll Love These Halloween Slime Pudding Cups
Super kid-friendly – Fun textures, bright green color, and gummy worms are a hit with little monsters.
No baking required – Made with instant pudding and easy-to-find toppings.
Customizable – Add layers, spooky decorations, or allergy-friendly alternatives.
Quick prep – Ready in under 30 minutes, with make-ahead options.
Perfectly gross – Looks slimy and spooky, but tastes creamy and chocolatey.
Versatile – Great for Halloween parties, school events, or themed snack bars.
Ingredients for Halloween Slime Pudding Cups
Makes 8–10 pudding cups depending on the size of your serving containers.
For the Pudding Layer (Slime)
1 (3.4 oz) box of instant vanilla pudding mix
2 cups cold milk (or any dairy-free alternative)
Green food coloring (gel or liquid, natural or synthetic)
Optional: ½ tsp vanilla or mint extract for extra flavor
For the Dirt Topping
15–18 chocolate sandwich cookies (like Oreos), crushed into fine crumbs
For Decoration
Gummy worms
Halloween sprinkles or candy eyes (optional)
Clear plastic cups or dessert jars (5 to 7 oz size recommended)
How to Make Halloween Slime Pudding Cups
This recipe is incredibly simple to make—no baking, no cooking, and no fancy tools required.
Step 1: Make the Slime Pudding
In a large mixing bowl, combine the instant pudding mix with the cold milk.
Whisk for 2–3 minutes until thickened.
Add green food coloring a few drops at a time until you reach your desired slimy shade. The brighter and grosser-looking, the better!
For extra flavor, add a few drops of vanilla or mint extract (optional).
Set the pudding aside for 5 minutes to firm up.
Step 2: Crush the Cookies
Place chocolate sandwich cookies in a food processor and pulse until you have fine, dirt-like crumbs.
Alternatively, place the cookies in a zip-top bag and crush with a rolling pin.
Tip: Leave a few chunkier bits for texture—worms like lumpy dirt!
Step 3: Assemble the Pudding Cups
Spoon or pipe the green pudding into clear cups, filling each about ¾ full.
Add a layer of crushed cookie dirt on top of each pudding cup.
Press a few gummy worms into the cookie layer, letting them stick out like they’re crawling through the slime.
Add sprinkles, candy eyes, or Halloween toppers for extra flair.
Step 4: Chill and Serve
Refrigerate the pudding cups for at least 30 minutes before serving.
If making ahead, add gummy worms just before serving so they stay chewy and fresh.
Variations and Creative Twists
There are tons of ways to personalize your slime pudding cups for different tastes or dietary needs:
Swamp Slime Version
Add a layer of green jelly (gelatin or agar) beneath the pudding to mimic a swampy slime effect. This gives a fun two-tone look and an extra squishy texture.
Graveyard Pudding Cups
Stick a cookie “gravestone” (like a Milano or rectangular biscuit) into the dirt topping and use icing to write “RIP.” Add candy bones for a mini edible cemetery.
Monster Slime Cups
Top each pudding cup with googly candy eyes, marshmallow monsters, or mini eyeball candies for a creature-themed treat.
Vegan/Dairy-Free Pudding Cups
Use a dairy-free pudding mix (or homemade from plant-based milk and cornstarch) and vegan sandwich cookies. Plenty of vegan gummy worms are available—just check the label for gelatin-free versions.
Gluten-Free Option
Swap the regular sandwich cookies for a certified gluten-free version, and double-check your candy ingredients.
Tips for the Best Slime Pudding Cups
Use clear cups – The green slime and dirt layers are more effective when they’re visible.
Chill before serving – Let the pudding set for the best texture.
Use piping bags for clean layering – Spoon or pipe pudding into cups for a mess-free look.
Color with care – Gel food coloring gives a more vibrant slime green with less liquid.
Add candy just before serving – Gummy worms can get soggy if left overnight in the fridge.
How to Serve Slime Pudding Cups
These are incredibly versatile and can be served in several creative ways:
Individual party cups – Great for grab-and-go Halloween parties or potlucks.
Mini plastic cauldrons – For a witchy look!
Mason jars – Ideal for layered presentation and making ahead.
Cupcake liners or silicone molds – For smaller kid-friendly portions.
Pair them with Halloween napkins, monster spoons, or serve on a spooky black tray with spider webs for the full effect.
Make-Ahead and Storage Tips
Make up to 24 hours in advance – Store covered in the fridge.
Don’t add gummy worms too early – They can harden or lose texture if left overnight in pudding.
Leftovers – Can be stored in the fridge for 2–3 days, though the cookie topping may soften.
Avoid freezing pudding cups as the texture will not hold up well once thawed.
Nutrition Snapshot (Approximate per cup)
Calories: 180–250 (varies by portion and toppings)
Fat: 6–8g
Sugar: 18–24g
Protein: 2–4g
Gluten-free: Optional
Vegan-friendly: With substitutions
This treat is perfect in moderation—fun, festive, and not overly heavy compared to more decadent desserts.
Allergy-Friendly Tips
Dairy-free? Use almond, soy, or oat milk with a dairy-free pudding mix.
Nut-free? This recipe contains no nuts unless added for texture.
Gluten-free? Choose certified GF cookies.
Vegan? Use gelatin-free pudding, cookies, and gummies.
Always label clearly when making for a group or school event.
Halloween Party Ideas Featuring Slime Pudding Cups
Make these slime cups part of a full Halloween dessert spread! Pair them with:
Spider Deviled Eggs for a spooky-sweet-savory balance
Candy Corn Snack Mix for extra crunch
Glow-in-the-Dark Jello Cups for visual excitement
Mini Pumpkin Muffins for a classic autumn touch
Set up a “Creepy Café” table with themed drinks, snacks, and these pudding cups as the slimy centerpiece.
Fun for Kids – Get Them Involved
This is a perfect recipe for kids to help with. They’ll love:
Mixing the pudding
Crushing cookies
Layering cups
Placing the gummy worms (and sneaking a few!)
Make it a Halloween kitchen activity or classroom project that’s both fun and hands-on.
FAQs – Halloween Slime Pudding Cups
Can I make these pudding cups in advance?
Yes, assemble the pudding and dirt layers up to a day ahead. Add worms and decorations just before serving for best results.
What kind of green food coloring should I use?
Gel food coloring is best for vivid color without altering texture. Natural food dyes are available if you want to avoid artificial colors.
Can I use homemade pudding instead of instant?
Absolutely! Just ensure it’s chilled and thickened enough to layer easily in the cups.
What size cups work best?
5–7 oz clear plastic cups are ideal for single portions, but you can adjust depending on your crowd.
Do I need to chill the pudding after assembling?
Yes, at least 30 minutes. It helps everything set and keeps it cool for serving.
Are these safe for school parties?
Yes, especially if you use nut-free and allergy-friendly options. Be sure to label all ingredients and check your school’s snack guidelines.
Make Halloween Slime-Tastic!
These Halloween Slime Pudding Cups are the ultimate spooky, silly, and delicious dessert to serve at any Halloween bash. With their gooey green center, creepy cookie topping, and worms galore, they strike the perfect balance between gross and great—especially for kids.
Whether you’re hosting a party, sending treats to school, or just enjoying a movie night with your little goblins, these pudding cups will have everyone coming back for seconds (if they’re brave enough!).
Make them once, and they’re bound to become a Halloween tradition.


