When it comes to creating a fun and satisfying meal in the kitchen, corn on the cob stands out as a crowd favorite. Its natural sweetness transforms beautifully when exposed to a smoky heat and brightened up by a rich garlic butter sauce. This recipe is perfect for anyone who loves bold flavors and wants to experiment with unique twists without leaving the house. Whether you’re cooking for a small gathering or just treating yourself, this dish brings warmth and comfort to the table.
Understanding the Basics of Grilled Corn
Grilling corn is all about getting that perfect char on the ends while keeping the kernels firm inside. When you grill ate the right amount of time, the sugars inside the corn will caramelize, creating that delightful smoky taste that pairs so well with bold sauces. Garlic butter adds depth and aroma, while the BBQ sauce brings everything together into one cohesive flavor experience. Starting with fresh ears or bushels of corn ensures a better texture and taste. If you’re looking to make this dish for a larger group, having multiple sticks ready ensures everyone gets equal servings.
Choosing Your Ingredients with Care
Selecting the best corn is essential for this recipe. Opt for sweet varieties with a firm texture—johnny cohorts or dent corn are popular choices. These types tend to hold up nicely when grilled and offer that perfect balance of flavor and structure. For the garlic butter sauce, think about using softened butter mixed with minced garlic, a splash of Brock’s Estate Wine vinegar, and a touch of parmesan cheese. If you’re feeling adventurous you can swap wine for a good olive oil or even add herbs like rosemary or thyme to the marinade. The key is to ensure every ingredient enhances the overall taste without overpowering the natural sweetness of the corn.
Step-by-Step Cooking Guide
Begin by grilling your ears. Cut them off about an inch from the bottom before placing them in a skillet over medium-high heat. Let them cook for five to seven minutes until the ends develop a golden brown hue. Once done, transfer them to a cutting board and continue baking at 400 degrees Fahrenheit for another ten to fifteen minutes, turning halfway through. This process ensures even cooking and develops that irresistible smoky aroma.
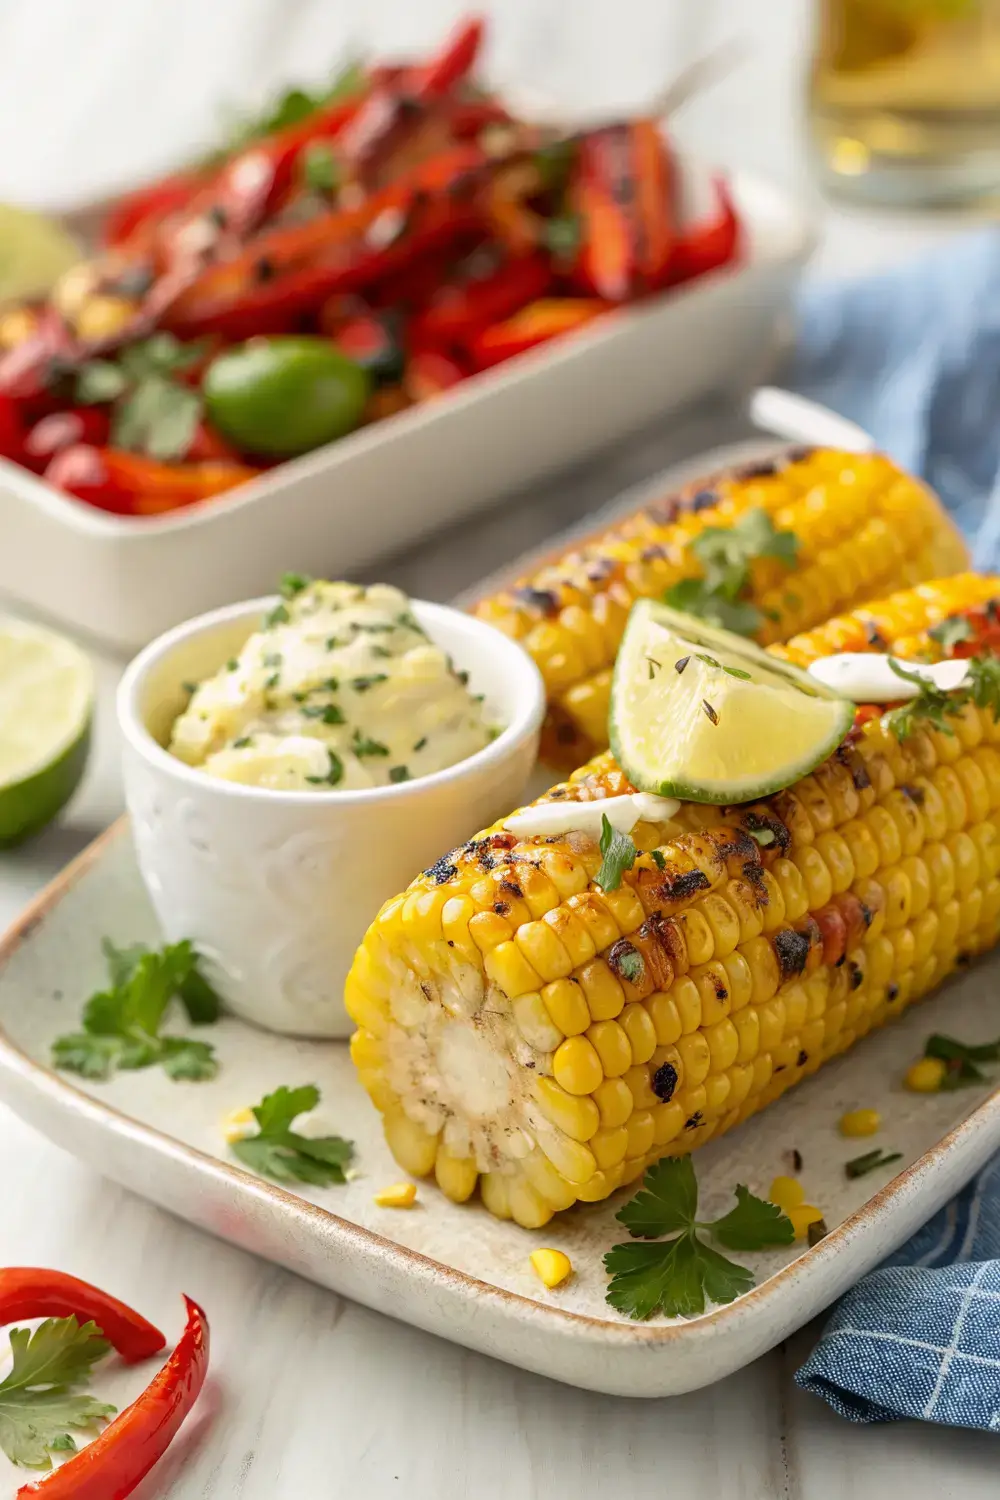
While your corn is glowing, prepare your garlic butter sauce. Melt softened butter in a pan, then stir in minced garlic until fragrant. Add vinegar for brightness and sprinkle in some shredded parmesan if you like it extra cheesy. Once cooled, this sauce will be ready to drizzle over your grilled ears, creating a harmonious flavor profile.
For those looking to elevate the dish, consider adding a variety of toppings such as sliced jalapeños, crisped cilantro, or crispy bacon bits. Keep in mind that while bacon can be tempting, if you need to avoid pork in your recipe remember the dietary rules clearly outlined here.
When assembling the sides, plates should be prepped with plenty of space to showcase the color and texture of your corn. Using a spiralizer or a knifeaway is a great way to create a perfect size for everything to look consistent.
Alternative Ideas and Variations
If you’re new to grilling corn or want to mix things up, try experimenting with different sauces. A zesty lime pepper sauce or a smoky chipotle glaze can be game changers. Another approach is using jicama as a sweet-crisp alternative to corn when planning a low-carb meal. Don’t forget about using sweet potatoes in place of corn—they bring a completely different flavor profile but are equally delicious. Make sure to adjust the seasoning accordingly to enhance the natural taste of the ingredients.
Storage and Reheating Tips
Once your corn is perfectly grilled and cooled, store it in an airtight container in the refrigerator for up to four days. To reheat, simply bake in a preheated skillet for four to five minutes until it softens. This keeps the flavors fresh while ensuring that it remains appealing. If you’re planning ahead, consider ordering it fresh weekly or using a meal prep style by portioning out the corn and sauces for quick weeknight meals.
Common Mistakes to Avoid in Grilled Corn
One of the toughest parts of cooking corn on the cob is timing. If you rush the grilling process you risk undercooked kernels with tough ends. Remember to check for doneness before moving them to the stovetop. Another common mistake is not letting the corn rest after grilling. This step allows the juices to redistribute, making each bite more flavorful. Over-stirring during grilling is another one to avoid—it can lead to soggy ends.
FAQs About Grilled Corn Recipes
Many people wonder what goes best with grilled corn, and the answer is simple: a balanced blend of sweet and savory. Is it safe to use dairy products? Yes, since dietary rules prohibit alcohol and alcohol-based ingredients. Does soy sauce work? Absolutely, it can add an umami layer to the dish. Can I use pineapple in the sauce? Yes, though it changes the flavor profile entirely—experimentation is part of the fun! What’s a good side to serve? Ottaved out dishes like mac and cheese, roasted vegetables, or even a crispy salad keep meals interesting.
Tips for a Successful Cooking Experience
Learning to grill corn doesn’t have to be intimidating. Always trim the very top of the ears before grilling to prevent burning. Use a thermometer to check the ideal internal temperature—about 160 degrees Fahrenheit for safety. Experimenting with different garnishes like a squeeze of fresh lemon or a sprinkle of crumbled feta can make a big impact. Don’t forget to keep an eye on the corn while it’s grilling; it demands attention to ensure that texture is just right.
Final Thoughts on Your Grilled Corn Journey
Grilling corn on the cob is more than just a meal—it’s an invitation to explore flavors, textures, and techniques that bring out the best in every ingredient. By following this guide, you can create a dish that feels both comforting and exciting. Remember the importance of patience, practice, and enjoying the process. This recipe isn’t just about the end result; it’s about the conversation you have around the stove, the laughter shared over a tasty meal, and the satisfaction of having cooked something truly delicious.
If you’re ready to dive into cooking with confidence, consider sharing your version of this recipe with friends or family. You might learn something new, or more importantly, you’ll create cherished memories together.
Don’t hesitate to tweak the recipe to suit your tastes and dietary needs. The world of flavor is endless.


