Table of Contents
- 1 Preserve Summer Sunshine in a Jar
- 2 📌 Why Apricot Jam Makes the Perfect Gift
- 3 🍑 Ingredients for Homemade Apricot Jam
- 4 🔪 How to Make Apricot Jam in Mason Jars
- 5 🎁 How to Turn Your Jam Into a Gift
- 6 🍽 How to Use Apricot Jam
- 7 📦 Storage and Shelf Life
- 8 ❓ FAQs – DIY Apricot Jam in Mason Jars
- 9 💛 Final Thoughts: A Gift from the Heart (and Kitchen)
Preserve Summer Sunshine in a Jar
There’s something undeniably special about homemade gifts—especially the kind you can eat. This DIY Apricot Jam in Mason Jars captures the golden glow of summer and turns it into a sweet, fruity gift that feels both rustic and elegant. Whether you’re preparing thoughtful hostess gifts, holiday favors, or thank-you treats, a jar of homemade apricot jam dressed in gingham fabric and twine is sure to charm anyone who receives it.
Made with just a few ingredients, this small-batch jam is ideal for canning beginners, gift givers, and fruit lovers alike.
📌 Why Apricot Jam Makes the Perfect Gift
✅ Bright and flavorful – like summer in a spoon
✅ Shelf-stable – great for making ahead
✅ Customizable presentation – fabric lids, handwritten tags, twine bows
✅ Affordable and heartfelt
✅ Works for any occasion – birthdays, holidays, housewarmings, or teacher gifts
🍑 Ingredients for Homemade Apricot Jam
Small-Batch Apricot Jam (Yields ~4 Half-Pint Jars)
2 lbs fresh apricots, halved and pitted
1½ cups granulated sugar
2 tbsp fresh lemon juice
Optional: ¼ tsp ground cinnamon or vanilla extract
💡 Want a low-sugar option? Use as little as ¾ cup sugar and simmer a bit longer.
🔪 How to Make Apricot Jam in Mason Jars
Step-by-Step Instructions
1. Prep Your Equipment
You’ll need:
4–5 half-pint mason jars (sterilized)
Lids and rings (new lids if canning)
A large pot or Dutch oven
A jar funnel (optional but helpful)
A water bath canner or deep pot with rack for sealing
Wash jars and lids in hot, soapy water. Sterilize by boiling jars for 10 minutes and keeping them hot until ready to fill.
2. Prepare the Fruit
Chop apricots into small pieces. You can leave the skin on—apricot skin softens during cooking and adds natural pectin.
If desired, mash some of the fruit with a fork or potato masher for a more textured jam.
3. Cook the Jam
In a large pot, combine chopped apricots, sugar, and lemon juice. Bring to a simmer over medium heat, stirring frequently.
Cook for 25–35 minutes, stirring often, until thickened and jammy. The mixture should coat the back of a spoon and wrinkle slightly when dropped on a chilled plate.
🌡️ Jam Setting Tip: Test doneness with the “freezer plate test”—a dollop on a cold plate should gel lightly after cooling for 30 seconds.
4. Fill the Mason Jars
Using a funnel, ladle the hot jam into hot, sterilized jars, leaving ¼-inch headspace. Wipe the rims clean with a damp cloth. Apply the lids and screw on rings until just finger-tight.
5. Process (Optional for Shelf Storage)
If gifting now or storing short-term, refrigerate. For shelf-stable jars:
Place jars in a boiling water bath for 10 minutes (adjust time for altitude if needed). Remove and let cool undisturbed for 12–24 hours. You should hear the pop of the lids sealing.
🎁 How to Turn Your Jam Into a Gift
Dress It Up for Gifting
It’s all about presentation. Here’s how to make your jars gift-ready:
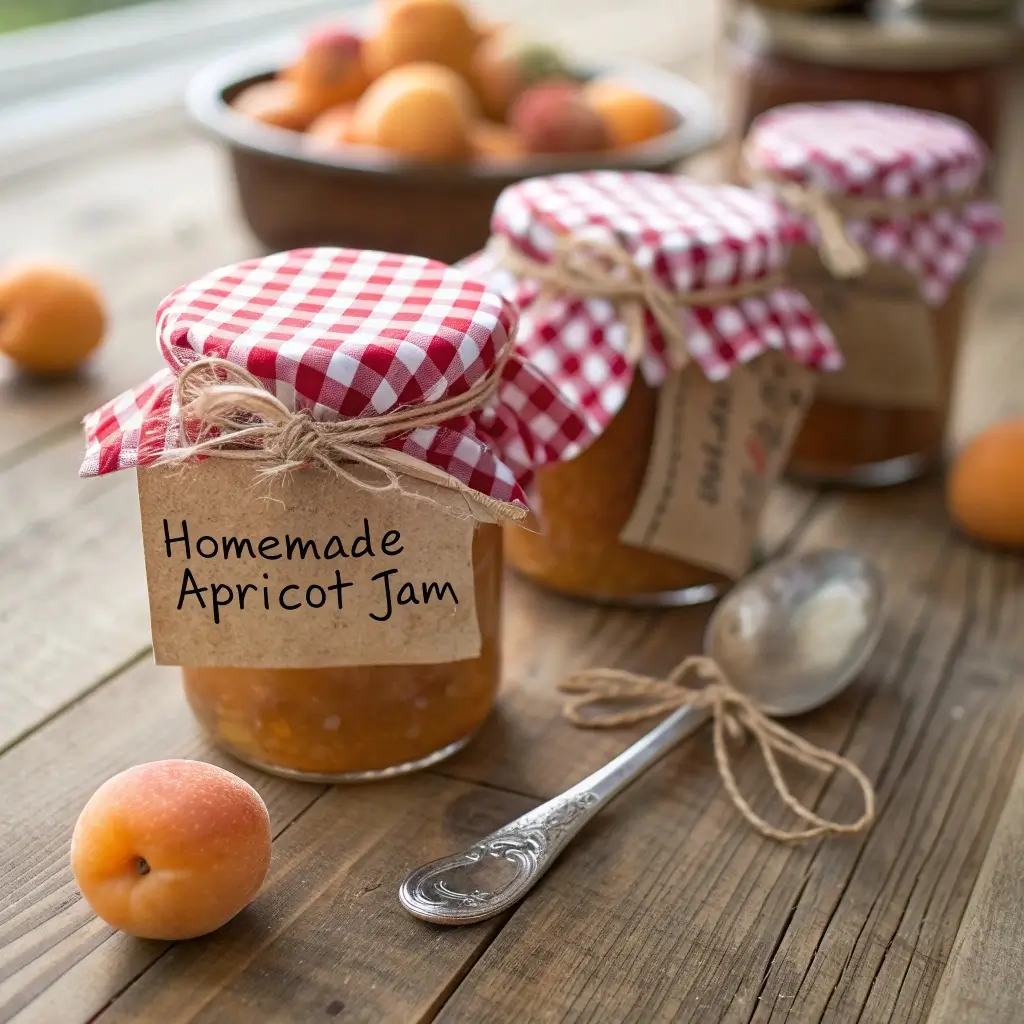
1. Add a Fabric Lid Cover
Cut 5-inch squares of gingham, linen, or cotton fabric. Center over the jar lid and secure with twine or a rubber band under the ring. It adds instant cottagecore charm.
2. Tie With Twine or Ribbon
Wrap natural jute twine or colored ribbon around the lid ring and tie into a bow. For holidays, use festive seasonal colors.
3. Include a Label or Tag
Use printable sticker labels or handmade kraft tags to write:
“Homemade Apricot Jam”
The date it was made
Optional: “Refrigerate after opening”
4. Gift Pairing Ideas
Make your jam gift even more memorable by pairing it with:
A small wooden spreader or butter knife
A loaf of sourdough bread
Cheese and crackers for a mini charcuterie gift
A tea towel or breakfast basket
🍽 How to Use Apricot Jam
Once gifted or enjoyed at home, here are a few delicious ways to enjoy apricot jam:
Spread on toast or croissants
Swirl into Greek yogurt or oatmeal
Glaze roast chicken or pork
Use in baking: thumbprint cookies, crumble bars, danishes
Serve with cheese boards—pairs beautifully with Brie, goat cheese, or cheddar
📦 Storage and Shelf Life
| Storage Type | Duration |
|---|---|
| Pantry (sealed, canned) | Up to 12 months |
| Refrigerator (unsealed) | 3–4 weeks |
| Freezer (if not canned) | 4–6 months |
Once opened, always store in the fridge.
❓ FAQs – DIY Apricot Jam in Mason Jars
Can I double this recipe?
Yes! Just use a wide, heavy-bottomed pot and stir often to prevent sticking or burning.
Can I make this without canning?
Absolutely. Just refrigerate the jars and gift them with a note that says “Keep refrigerated and enjoy within 3 weeks.”
What type of apricots are best?
Use ripe but firm fresh apricots. Too soft and they become watery, too hard and they won’t break down properly.
Can I make this recipe with frozen apricots?
Yes. Thaw completely and drain any excess liquid before cooking. You may need a slightly longer cook time.
Can I use less sugar?
Yes! The jam will be slightly looser but still delicious. Just make sure to simmer a bit longer for a proper set.
💛 Final Thoughts: A Gift from the Heart (and Kitchen)
Homemade Apricot Jam in Mason Jars is more than just a sweet spread—it’s a simple, heartfelt gift that brings sunshine into someone’s day. Whether for a hostess gift, holiday treat, or just because, these golden jars of jam say “I made this with love”—and they taste as good as they look.
With a little effort and a lot of charm, you can preserve summer’s best flavors and share them all year long.