Table of Contents
Halloween isn’t just about scares—it’s also about sweet smiles, festive colors, and adorable treats that light up the room. If you’re planning a party for kids, family, or just want some Instagram-worthy Halloween baking ideas, you’ve come to the right place.
These cute Halloween desserts are fun to make, easy to decorate, and (most importantly) delicious. No need for complicated techniques or fancy ingredients—just simple, spooky-sweet creations you can make at home without stress.
Whether you’re prepping for a classroom party, family movie night, or a neighborhood gathering, these desserts will turn your Halloween table into a celebration of color, charm, and flavor. Plus, they’re made without any alcohol, pork, or gelatin—so they’re perfect for a variety of dietary needs and age groups.
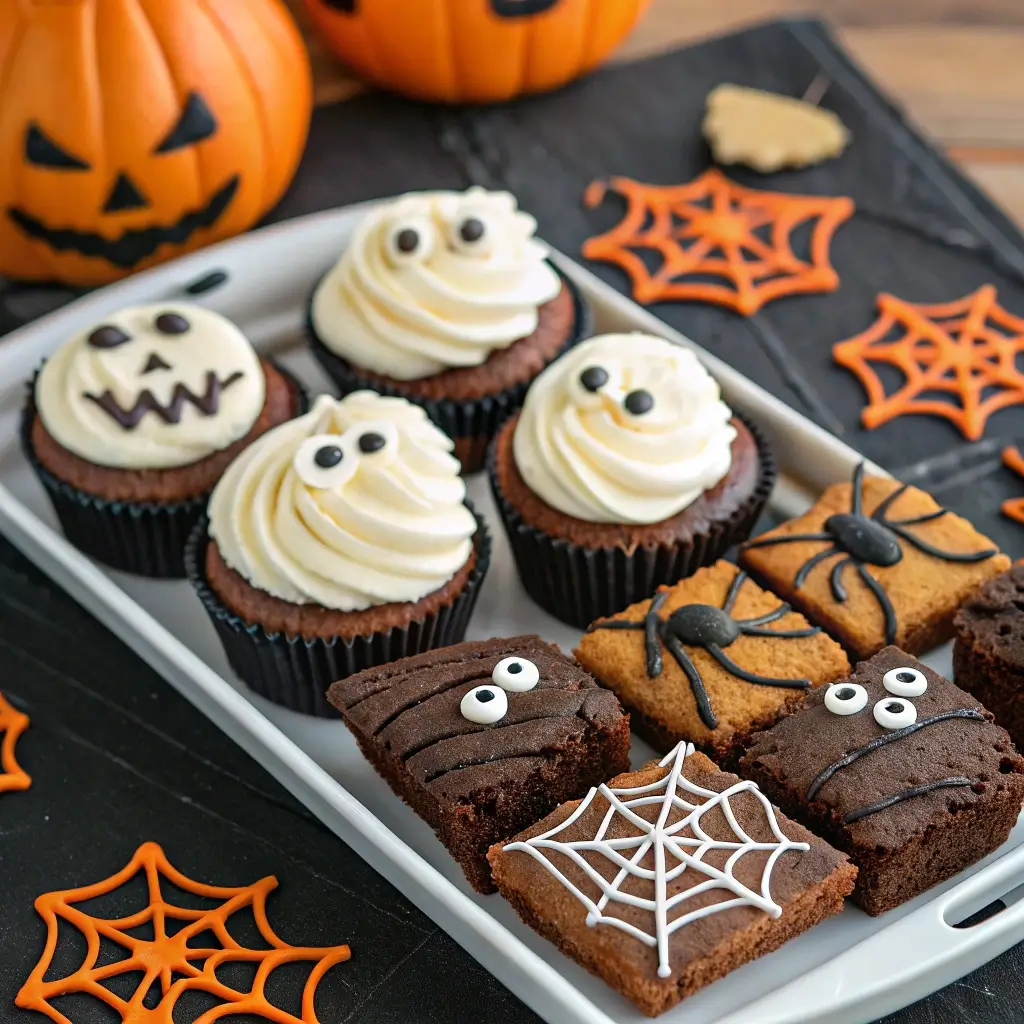
Ghost Cupcakes
Fluffy cupcakes topped with swirls of ghostly white frosting and cute little candy eyes.
Ingredients:
12 chocolate or vanilla cupcakes (homemade or boxed mix)
2 cups white buttercream or whipped frosting
Candy eyes or mini chocolate chips
Piping bag with large round tip (or zip-top bag with snipped corner)
Instructions:
Bake and cool cupcakes completely.
Fill a piping bag with white frosting.
Pipe a tall swirl in the center of each cupcake to form the ghost’s “body.”
Press two candy eyes into the front of the swirl.
Optional: Sprinkle with edible glitter for ghostly sparkle!
Tips:
Use dairy-free or vegan frosting if needed.
No piping bag? Use a spoon and swirl the frosting into peaks.
Monster Brownies
Fudgy brownie squares decorated like cute, colorful monsters.
Ingredients:
1 pan of brownies (boxed mix or homemade)
Assorted candy eyes (small, large, googly-style)
Colored frosting (green, purple, orange, blue)
Sprinkles or mini marshmallows for monster “hair”
Optional: black licorice or cookie sticks for arms
Instructions:
Bake and cool brownies. Cut into squares or rectangles.
Frost each brownie with a fun-colored frosting.
Add candy eyes—one, two, or even five!
Decorate with sprinkles or marshmallows on top to create monster “hair.”
Add licorice pieces for arms or fangs if desired.
Tips:
Use natural food coloring to tint white frosting.
Create a “build-your-own-monster” dessert bar for kids.
Candy Corn Parfaits
Layered orange, yellow, and white dessert cups inspired by everyone’s favorite Halloween candy.
Ingredients:
1 package instant vanilla pudding
1 cup whipped cream or whipped topping
Orange and yellow food coloring
Clear plastic cups or dessert glasses
Crushed graham crackers or cookies (optional)
Instructions:
Prepare pudding according to the package directions.
Divide pudding into two bowls. Tint one yellow, one orange.
Layer yellow pudding at the bottom of each cup.
Add a layer of orange pudding.
Top with whipped cream.
Optional: Sprinkle crushed graham crackers or Halloween sprinkles on top.
Tips:
Chill until ready to serve.
Add a candy corn on top for a finishing touch.
Sweet, buttery cookies decorated with cute icing spiderwebs.
Ingredients:
1 batch sugar cookie dough (store-bought or homemade)
Royal icing or thick white icing
Black food gel or black icing
Toothpick or skewer
Instructions:
Roll out and bake sugar cookies as directed.
Once cool, frost cookies with a white base.
Pipe small black icing circles in the center.
Drag a toothpick from the center outward to create a spiderweb design.
Optional: Add a small candy spider or chocolate chip on the web.
Tips:
Use circle-shaped cookies for best effect.
Let icing set completely before stacking or storing.
Marshmallow Witches
A no-bake, edible craft made with just a few simple ingredients.
Ingredients:
Large marshmallows
Pretzel sticks
Chocolate wafers or cookies
Green candy melts or frosting
Candy eyes or edible marker
Candy hats (use candy kisses + mini cookies)
Instructions:
Dip marshmallows in melted green candy melts and let dry.
Draw on faces with edible markers or add candy eyes.
Attach a pretzel stick at the bottom for a “broomstick” handle.
Make a witch hat by sticking a chocolate kiss onto a mini cookie with icing.
Stick the hat on top with a dab of frosting.
Tips:
Get creative with expressions—make some silly, some sleepy, some spooky.
Display upright in a foam block covered with green tissue paper.
Halloween Rice Krispie Monsters
A classic treat turned into a Halloween favorite.
Ingredients:
6 cups crispy rice cereal
3 tbsp butter (or dairy-free alternative)
4 cups mini marshmallows
Food coloring (green, purple, orange)
Candy eyes, sprinkles, mini M&Ms
Instructions:
In a pot, melt butter and marshmallows together.
Add food coloring and stir until evenly mixed.
Mix in cereal and stir to coat.
Press into a greased pan and let set for 30 minutes.
Cut into squares and decorate with candy eyes and fun sprinkles.
Tips:
Use different colors for different monster “flavors.”
Let kids help decorate with frosting pens and candy toppings.
Banana Mummies
A healthy-ish option with a spooky twist.
Ingredients:
3 bananas
1/2 cup white chocolate or yogurt chips
Candy eyes
Optional: drizzle of dark chocolate
Instructions:
Cut bananas in half.
Melt white chocolate and drizzle over bananas in crisscross “bandage” patterns.
Stick on candy eyes while the chocolate is still warm.
Chill for 10 minutes until set.
Tips:
Serve on popsicle sticks for easy handling.
Use yogurt coating for a non-chocolate version.
No-Bake Bat Bites
Adorable chocolate bites shaped like little bats.
Ingredients:
Chocolate sandwich cookies
Cream cheese (or dairy-free alternative)
Mini chocolate chips
Pretzel crisps or broken cookies (for wings)
Candy eyes
Instructions:
Crush sandwich cookies into fine crumbs.
Mix with softened cream cheese until doughy.
Roll into 1-inch balls.
Press broken pretzels or cookies into sides for wings.
Stick on candy eyes using a dab of melted chocolate.
Chill until firm.
Tips:
Keep them small and cute—bite-sized works best.
Add colored sugar or sprinkles for extra flair.
Halloween Dessert Table Styling Tips
Want your dessert table to wow your guests? Try these display tips:
Color Code It: Stick to Halloween colors—orange, black, green, purple, and white.
Use Levels: Display desserts on cake stands, boxes, or stacked trays to create visual height.
Add Props: Include mini pumpkins, LED lights, paper bats, or small cauldrons for decoration.
Name Your Treats: Create cute labels like “Ghost Cakes,” “Monster Bites,” or “Candy Corn Cups.”
Make-Ahead Tips & Storage
Cupcakes and Cookies: Bake up to 2 days in advance and store in an airtight container. Decorate the day of for best freshness.
Brownies and Krispie Treats: These can be made the day before and stored at room temp.
Parfaits and Puddings: Assemble a few hours ahead and keep refrigerated.
Fruit-Based Desserts: Make shortly before serving to keep them fresh.
Frequently Asked Questions
Can I make these desserts allergen-friendly?
Yes! Use dairy-free, gluten-free, or nut-free substitutions where needed. Many recipes are naturally adaptable.
Do these desserts need to be refrigerated?
Only items with whipped cream, cream cheese, or pudding (like parfaits and cheese balls) should be kept chilled. Cookies, cupcakes, and brownies are fine at room temperature for a few hours.
What are good Halloween desserts for school parties?
Opt for nut-free and individually portioned options like cupcakes, brownies, banana mummies, or krispie treats. Avoid glassware or anything requiring utensils.
Can kids help make these Halloween treats?
Absolutely! Kids love helping with decorating. Let them add eyes, sprinkles, or create faces. It’s a fun Halloween activity and snack in one.
Final Treat
Whether you’re throwing a full-on haunted bash or just enjoying the spooky season at home, these cute Halloween desserts bring the perfect balance of festive fun and delicious flavor. From gooey ghost cupcakes to no-bake monster bites, there’s something for every age, skill level, and sweet tooth.
Cute doesn’t mean complicated. These treats are designed to be fun to make, fun to eat, and sure to be remembered. So grab your frosting, gather the candy eyes, and let the cuteness creep in!


