Table of Contents
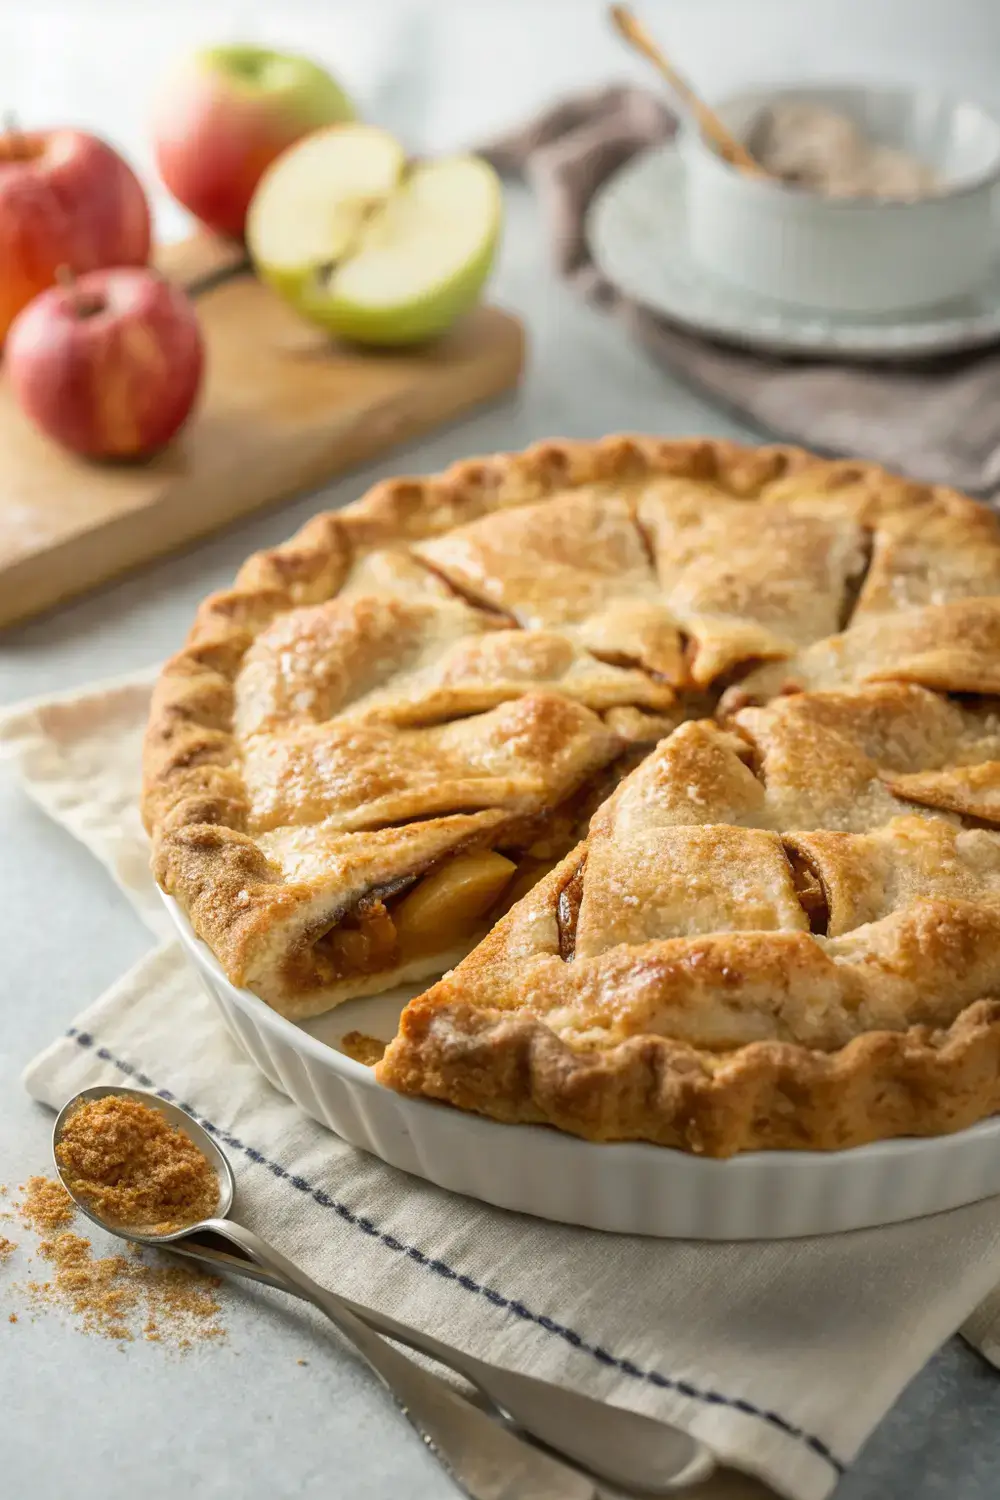
There’s something undeniably comforting about a slice of classic apple pie. Warm, tender filling drizzled with a sugary cascade and nestled inside a perfectly flaky crust—it’s a dessert that feels like a hug from home. Whether you’re baking for a cozy family dinner, a holiday celebration, or simply craving a sweet escape, this recipe is designed to deliver that nostalgic, irresistible flavor. Let’s dive into the details of creating a pie that’s not just good but unforgettable.
Why This Recipe Stands Out
While there are countless apple pie recipes out there, this one focuses on simplicity without sacrificing depth of flavor. We’re talking about quality over complexity—using trusted ingredients and techniques that bring out the best in each bite. No gimmicks, no overly obscure steps. Just a pie that bakes up so well it’ll make you forget store-bought options exist.
Ingredients You’ll Need
The Crust: Building a Foolproof Foundation
A great crust is the backbone of any pie. For this recipe, we’re using a classic all-butter crust that balances richness with flakiness. The key is using cold ingredients to prevent the butter from melting too soon, which helps create the signature layers.
- 2 ½ cups all-purpose flour: This provides structure. AP flour works best for a tender crumb.
- <1 cup unsalted butter, cubed: Cold and well-chilled. The butter creates steam as it bakes, lifting the crust layers.
- <1 teaspoon fine sea salt: Enhances flavor without overpowering the sweetness.
- <¾ cup ice water: Add a bit at a time—you want a dough that holds together but isn’t sticky.
Why Cold Ingredients Matter
If the butter is too warm, the crust risks becoming dense. Keep everything in the fridge until you start working the dough. A pastry cutter or two forks can help evenly distribute the fat into the flour.
The Filling: Balancing Sweet, Tangy, and Spicy
The apples and spices should shine. We’re using a mix of Granny Smith for their tartness and Fuji for sweetness, but feel free to experiment with other varieties. The spices will complement them without masking their natural flavors.
- <4 large Granny Smith apples, peeled, cored, and sliced
- <3 medium Fuji apples, peeled, cored, and sliced
- <3 tablespoons granulated sugar: Adjust based on apple sweetness. You want a balance of sweet and tart.
- <1 tablespoon light corn syrup (optional): Helps with caramelization and gloss.
- <1 teaspoon ground cinnamon: Warm, earthy notes.
- <½ teaspoon ground nutmeg: A hint of warmth and subtle sweetness.
- <¼ teaspoon ground vanilla extract: Aromatic depth. Use a vanilla bean for extra richness if desired.
- <2 tablespoons all-purpose flour: Acts as a thickener for the filling.
- <2 tablespoons unsalted butter, cut into small pieces
Pro Tip: Apple Selection and Prep
Granny Smith’s firmness holds up well during baking, while Fuji’s sweetness rounds out the flavor profile.-core the apples thoroughly to remove bitterness, and slice them uniformly so they cook evenly. Toss them with a bit of lemon juice to prevent browning.
Prep Work Before You Start Baking
Before you preheat the oven, gather all your ingredients and tools. This ensures a smoother workflow. Line a baking sheet or parchment paper with foil to catch any juices. Pre-chill your bowl of flour and water to keep ingredients cold as long as possible.
Step-by-Step Instructions
Making the Crust
Start by cutting the butter into small cubes—about the size of a peppercorn. This ensures even distribution when you mix the dough.
Step 1: Combine Dry Ingredients
In a large bowl, whisk together the flour and salt. Add the cubed butter. Use a pastry cutter or your fingers to work the butter into the flour until the mixture resembles coarse crumbs. The goal is to avoid overworking the dough, which can lead to a tough crust.
Step 2: Add Water Gradually
Sprinkle ice water over the mixture, a tablespoon at a time. Mix gently with a fork until the dough begins to clump together. You shouldn’t knead it—just until it holds its shape. Overworking will develop gluten, making the crust dense.
Step 3: Shape and Chill
Divide the dough into two equal portions. Shape each into a disc, wrap in plastic wrap, and refrigerate for at least 30 minutes. This resting period allows the gluten to relax, making the crust easier to roll out later.
Preparing the Filling
Step 1: Toss the Apples
In a large bowl, combine the sliced apples with sugar, corn syrup (if using), cinnamon, nutmeg, vanilla, and flour. Toss until evenly coated. The flour helps thicken the juices so they don’t make the crust soggy.
Step 2: Add Butter and Mix
Cut the butter into small pieces and fold it into the apple mixture. This adds extra flavor and richness while helping to create a tender filling.
Assembling the Pie
Step 1: Roll Out the Crust
On a lightly floured surface, roll out one disc of dough into an 11-inch circle. Carefully transfer it to a 9-inch pie dish, pressing it into the edges. Trim any excess dough, leaving about a ½-inch overhang.
Step 2: Fill the Pie
Mound the apple mixture in the center of the crust. Avoid packing it too tightly—this ensures even cooking and prevents shrinking.
Step 3: Create the Top Crust
Roll out the second disc of dough. You can either place it directly on top of the apples (a classic single crust) or create a lattice design for a decorative finish. If making a lattice, start by cutting strips of dough and weaving them over the filled crust.
Baking to Perfection
Preheat the Oven
Set your oven to 375°F (190°C). Place the pie on the lower rack to ensure the crust bakes evenly without burning the top.
Step 1: Initial Bake
Bake the pie for 45 minutes. The crust should be golden brown, and the edges will start to set. If the top begins to brown too quickly, cover it loosely with aluminum foil.
Step 2: Check the Filling
After 45 minutes, open the oven and check the filling. The apples should be bubbly. If not, continue baking for 10-15 minutes, covered if needed.
Step 3: Final Touches
Once the crust is golden and the filling is bubbly, remove the pie from the oven. Let it cool on a wire rack for at least 15 minutes before serving. This allows the filling to set.
Tips for Success
Avoid Common Pitfalls
- Don’t overmix the dough: This leads to a tough crust.
- Use cold butter: Warm butter will prevent flakiness.
- Don’t skip chilling: A cold pie crust holds up better during baking.
- Prevent soggy crusts: Lining the bottom with flour or starch helps absorb excess moisture.
Variations and Substitutions
This recipe is flexible! Here are some ideas to tailor it to your needs:
Apples: Play with Varieties
Mix other apples like Honeycrisp (sweet) or Pink Lady (firm) for different flavor profiles.
Gluten-Free Option
Replace all-purpose flour with a 1:1 gluten-free baking blend. The crust may be slightly more crumbly, but it still works well.
Dairy-Free Crust
Use vegan butter and a gluten-free flour blend. Keep the rest of the ingredients as is.
Storage and Reheating
Store leftovers in an airtight container at room temperature for up to two days. For longer storage, freeze the cooled pie. Reheat slices in the oven at 350°F (175°C) for 10-15 minutes to restore crispness.
Common Mistakes to Avoid
1. Overfilling the Pie
Too much filling can cause the crust to collapse. Fill it to about ¾ of the pan’s depth.
2. Using Warm Apples
Apples release moisture as they bake. Cold apples hold their shape better.
3. Not Letting the Pie Cool
Cutting into a warm pie can lead to a soggy slice. Patience is key!
4. Skipping the Thickener
Without flour or cornstarch, juices won’t set properly, leading to a watery filling.
FAQs
1. Can I use only one type of apple?
Absolutely! You can make this pie with all Granny Smith, all Fuji, or any combination. Just adjust the sugar to balance sweetness and tartness.
2. How do I fix a broken crust?
If the crust cracks during baking, brush the edges with an egg wash or a mixture of milk and corn syrup. This helps seal it during the last 10 minutes of baking.
3. Is it possible to make this pie ahead of time?
Yes! The pie tastes even better the next day as the flavors deepen. Bake it a day in advance and reheat slices before serving.
4. Can I use a food processor for the crust?
You can, but there’s a risk of overworking the dough. If using a processor, pulse the butter and flour just until combined, then add water gradually.
5. How do I prevent the filling from leaking?
Make sure the filling isn’t too wet, and consider using a second crust or a double crust to contain the juices.
6. What if I don’t have vanilla extract?
You can skip it, but the pie will lack that extra layer of flavor. Alternatively, add a scraped vanilla bean to the filling for a stronger note.
Conclusion
This classic apple pie isn’t just a recipe—it’s a celebration of tradition and homemade joy. The combination of buttery crust and perfectly spiced apples creates a dessert that’s as much about the experience as it is about taste. Whether you’re baking for the first time or the hundredth, follow these steps, take pride in your efforts, and savor every bite. Your kitchen will be filled with the scent of cinnamon, and your guests will be asking for seconds. Happy baking!


