Why These Cherry Pie Bars Will Steal the Show at Your 4th of July Gathering
There’s something irresistible about dessert that ties an outdoor celebration together, and cherry pie bars are the unsung hero of summer feasts. These handheld treats capture the essence of a classic pie but skip the fuss of individual servings. Picture a buttery, golden crust cradling a burst of tart cherries—sweet, juicy, and perfectly balanced with a hint of acidity. No guilt-trip apron required, and no need to wrestle with flaky dough moments. Whether you’re a new baker or a seasoned kitchen whiz, these bars ensure a crowd-pleasing centerpiece without the stress of a 9-to-5 pie.
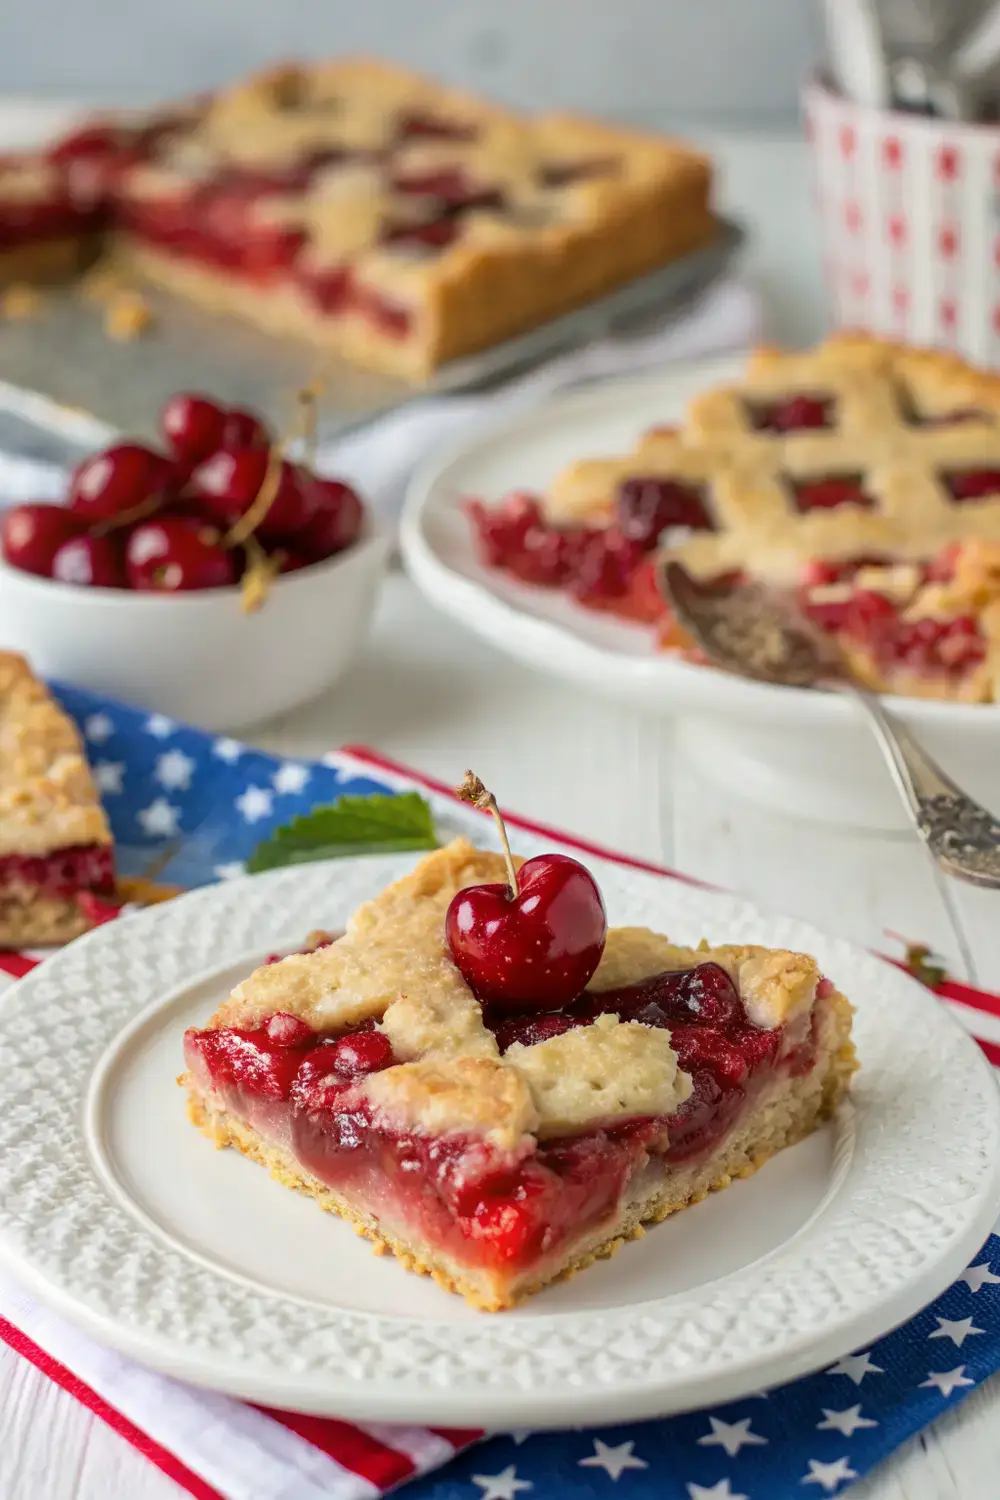
What makes them a 4th of July staple? They’re portable, easy to share, and pair effortlessly with patriotic drinks (or mocktails!) on the table. Plus, their handheld format means no one has to miss the fun while a slice cools in the fridge. Let’s dive into how to make them shine.
The Secret to Success: Choosing the Right Ingredients
The backbone of these bars is simple, but the details matter. Let’s break down each component to ensure you’re not just throwing ingredients into a bowl but crafting a dessert that tastes like it’s straight from grandma’s recipe book.
Shortbread Crust: The Flaky Foundation
A buttery shortbread crust is your first impression. It should be tender enough to crumble slightly when you bite into it but hold its shape so each bar stays intact. For this, you’ll need high-quality all-purpose flour, unsalted butter (melted and then chilled), and a touch of sugar. The key is cold butter—it creates pockets of air as it gets mixed into the dough, giving you that classic crumbly texture. If you’re new to crusts, handle the dough minimally. Overworking it turns the butter into oil, which ruins the flakiness.
Cherry Filling: Tangy and Lush
Fresh tart cherries are ideal, but if they’re out of season, frozen pits-removed cherries work in a pinch. Look for varieties like Montmorency or Rainier for the best flavor. The filling relies on a balance of dry sugar, cornstarch to thicken, and lemon juice to brighten the cherries’ natural sweetness. Avoid using too much sugar, as it can mellow the tartness you want. If you’re avoiding refined sugar, a plant-based sweetener like coconut sugar can work, but adjust gradually.
Optional Enhancements
A pinch of cinnamon or nutmeg adds warmth, while a splash of vanilla extract amplifies the cherries’ aroma. Some recipes call for a touch of bourbon or cherry liqueur for depth, but we’ll skip that here to keep it clean. Instead, a teaspoon of almond extract can mimic that nuanced flavor without breaking any rules.
Step-by-Step: Crafting Your Bars
Now that the ingredients are sorted, let’s assemble them. Patience and precision will take you far here.
Prepping the Crust
1. Mix Dry Ingredients First: In a bowl, combine flour and sugar. Cut in the cold butter until the mixture resembles coarse crumbs. Add a dash of salt if your flour lacks it.
2. Chill the Dough: Shape the dough into a disc, wrap it in plastic wrap, and refrigerate for at least 30 minutes. This step is non-negotiable. Cold dough resists spreading and loses less flavor.
3. Pour into a Specific Pan: Press the dough into a 9×13-inch baking dish (lined with parchment paper for effortless removal) until it’s fully covered. Bake at 350°F (175°C) for 12-15 minutes until golden. Let it cool completely before adding filling.
Building the Filling
1. Simmer the Cherries: In a saucepan, cook cherries over medium heat until they plump (about 5-7 minutes). Don’t add sugar yet—this step softens the fruit and releases juices.
2. Thicken the Mixture: Remove from heat and whisk in cornstarch, sugar, and lemon juice. Return to the stove and simmer until nearly thickened (10-15 minutes). The filling should coat a spoon without dripping.
3. Cool Completely: Pour the filling into a bowl and let it sit until it thickens slightly. This prevents it from weeping into the crust.
Assembling with Care
1. Layer the Filling: Spoon the cooled cherry mixture into the cooled crust. Aim for an even layer, but a slight unevenness is okay—it adds charm.
2. Chill Before Serving: Refrigerate the bars for at least 1 hour. This lets the flavors meld and the filling set.
Customizing Your Recipe
Baking should feel flexible. Here’s how to tweak this recipe without deviating from its soul.
Fruit Swaps
Replace cherries with raspberries, strawberries, or peaches. For berries, increase the sugar slightly to counteract their natural acidity. Stone fruits like peaches or plums can add a unique twist—simply halve them and toss with a bit of sugar before simmering.
Crust Variations
Grab a gluten-free crust mix (check for no dairy or alcohol-based binders) or make your own by blending almond flour, GF oat flour, and cold butter. The texture won’t be identical, but it’ll hold up well. For a denser crust, add a teaspoon of cornstarch to the dry ingredients.
Dietary Adjustments
For a vegan version, use plant-based butter and a vegan sweetener. Ensure your cornstarch is certified vegan, though most are. Dairy-free isn’t an issue here, as the recipe doesn’t call for milk or cream.
Storing and Reheating Tips
These bars taste best fresh from the fridge, but leftovers are a bonus. Store them in an airtight container for up to 3 days. To reheat, warm them gently at 300°F (150°C) for 5-8 minutes—this revives the crust’s crispness without making the filling soggy. Avoid the microwave, as it can break down the structure.
Common Pitfalls to Avoid
Even the best recipes can falter if you’re not mindful of these mistakes.
Overloading the Crust
Too much filling leads to spillage. Aim for a thickness of 1/2 inch. If you’ve added too much, don’t panic—let the excess set in the fridge and add it to the next batch.
Skipping the Chill Time
A warm crust or filling won’t set properly. resist the urge to serve them immediately after baking.
Using Warm Cherries
Fresh cherries from the fridge need to come to room temperature before simmering. Warm ones can make the filling too thick, while icy ones might water it down.
Ignoring the Cornstarch
Cornstarch is your thickening hero. Skipping it or using too little results in a runny mixture.
FAQs About Cherry Pie Bars
1. Can I make these ahead of time?
Absolutely. Assemble the bars a day in advance and refrigerate. They often taste better after resting.
2. Are these individual servings or family-sized?
They’re kid-friendly and ideal for groups. Adjust the size of your pan based on your crowd.
3. How do I prevent the cherries from bleeding into the crust?
Ensure the filling is completely cold and set before refrigerating. If it’s still warm, it’ll seep through.
4. Can I use canned cherries?
Drain and rinse them to remove excess syrup. They’ll work, but fresh or frozen are better for texture.
5. Why did my crust brown too much?
Lower the oven temperature slightly or cover the crust edges with foil during baking.
6. Is there a way to make these dairy-free?
Use a dairy-free margarine in the crust, and skip any butter-based fillings.
A Sweet Ending to Your Celebration
These cherry pie bars are more than just a dessert—they’re a testament to how flavor and simplicity can coexist. They’re a crowd-saver, a summer staple, and a reminder that you don’t need an elaborate setup to create something memorable. Whether you’re fielding a question about the best 4th of July treat or simply enjoying a moment with loved ones, these bars bring joy in every bite.
Now go ahead, roll up your sleeves, and let the aroma of cherries and butter fill your kitchen. Your guests will taste the love in every slice, and you’ll never need to worry about a messy pie again. Happy baking—and happy 4th of July!


