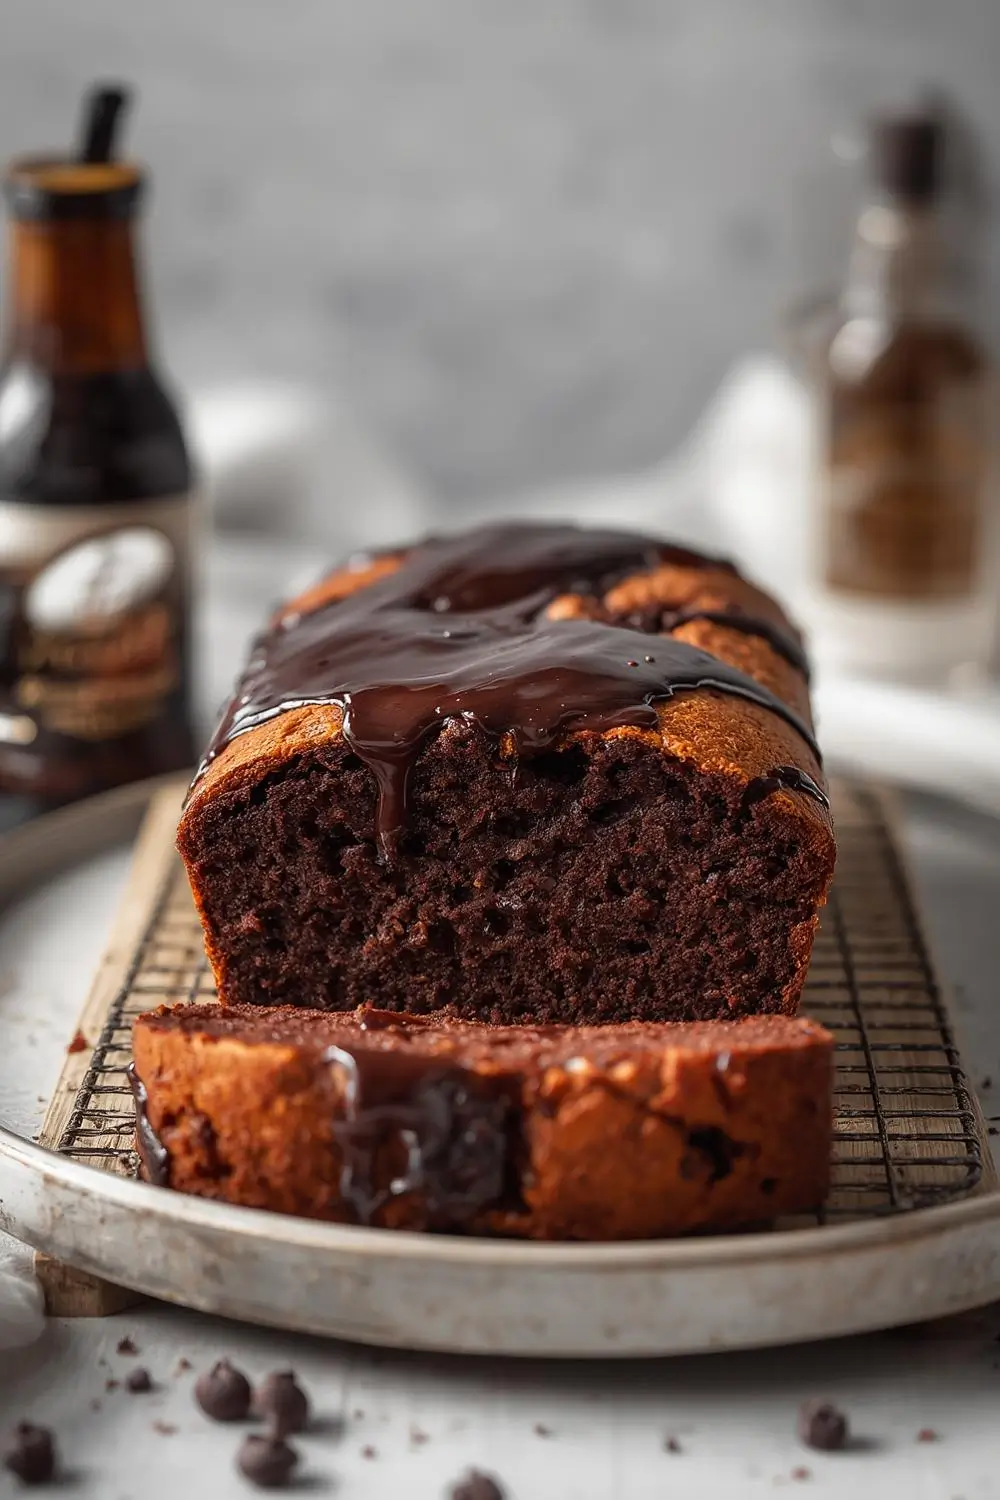
Imagine a bread that’s crispy on the outside, meltingly soft and gooey on the inside, bursting with the savory depth of sourdough and the fresh, aromatic punch of herbs. Now imagine it bakes in a single cast-iron skillet in under 30 minutes. That’s the magic of this Crispy Sourdough Discard Cheesy Herb Skillet Bread. It’s the ultimate solution for using up that pesky sourdough discard, transforming it into something utterly irresistible. Perfect for a quick weeknight dinner, a cozy weekend lunch, or the star side dish for your favorite soup or salad, this bread is pure comfort in a skillet. Forget about wasting discard – tonight, it becomes your new baking obsession.
Why This Bread is a Must-Make Tonight
- Zero Waste Win: Utilizes sourdough discard that might otherwise be discarded, turning it into pure gold.
- Speed & Simplicity: Ready in under 30 minutes from start to finish. Minimal prep, maximum flavor.
- One-Pan Wonder: Baked entirely in a single cast-iron skillet, meaning less cleanup and maximum crispy crust potential.
- Crowd-Pleasing Flavor: The tangy sourdough base perfectly complements the rich, salty cheese and the bright, fresh notes of rosemary, thyme, and chives. It’s a flavor explosion in every bite.
- Versatile Companion: Pairs beautifully with soups, salads, stews, or simply enjoyed warm with a pat of butter.
The Secret Weapon: Sourdough Discard
Don’t let the name fool you. Sourdough discard isn’t waste; it’s a treasure trove of flavor. This leftover starter, often unfed and discarded by sourdough bakers, is packed with wild yeast and lactic acid bacteria. These elements are the key to the bread’s distinctive tangy depth and complex flavor profile. Using discard ensures you’re not wasting precious starter while adding incredible character to your bread. The discard also contributes to the bread’s tender crumb and helps create that beautiful golden crust when baked in a hot skillet.
Gathering Your Ingredients: Simplicity at Its Finest
This recipe relies on a handful of high-quality, accessible ingredients. Here’s what you’ll need:
- Sourdough Discard: The star of the show! Aim for about 1 cup (240ml) of discard. It should be relatively thick, similar to pancake batter consistency. If your discard is very thin, you can mix in a tablespoon or two of all-purpose flour to thicken it slightly. The discard should smell pleasantly sour, not off.
- All-Purpose Flour: Provides structure. You’ll need about 1 1/2 cups (190g) for the dough.
- Salt: Essential for flavor and controlling yeast activity. Use about 1 teaspoon (5g).
- Olive Oil or Neutral Oil: Adds richness and helps with tenderness. About 2 tablespoons (30ml) will do.
- Fresh Herbs: The aromatic heart of this bread. Finely chop about 1/4 cup (15g) each of fresh rosemary, thyme, and chives. These herbs infuse the bread with incredible freshness and depth.
- Shredded Cheese: The gooey, melty element. Sharp cheddar, Monterey Jack, or a blend work wonderfully. You’ll need about 1 1/2 cups (150g) shredded. Avoid pre-shredded cheese with anti-caking agents if possible, as it can sometimes melt less smoothly.
- Baking Powder: A small amount (1 teaspoon or 5g) helps the bread rise slightly and achieve a tender crumb, especially important since discard can sometimes be dense.
- Water: Just a splash (1-2 tablespoons or 15-30ml) might be needed if your discard is very thick to help bring the dough together.
The Magic Begins: Mixing the Dough
This dough is incredibly forgiving and easy to mix by hand. There’s no need for a stand mixer or kneading on a floured surface.
1. Combine Dry Ingredients: In a large bowl, whisk together the all-purpose flour, baking powder, and salt.
2. Add Sourdough Discard & Oil: Pour the sourdough discard and olive oil into the dry ingredients.
3. Mix Until Combined: Using a sturdy spatula or your hands, mix everything together. The dough will be shaggy and sticky at first. Don’t worry! It will come together. If it seems too dry, add the splash of water, one teaspoon at a time, until it forms a cohesive, slightly sticky dough that holds together when pinched.
4. Fold in Cheese & Herbs: Gently fold in the shredded cheese and chopped fresh herbs until just combined. Be careful not to overmix, as this can make the bread tough.
Shaping & Preparing for the Skillet
This is where the cast-iron skillet truly shines. It provides the perfect environment for achieving that coveted crispy bottom crust.
1. Preheat Your Skillet: Place your cast-iron skillet (8-10 inches is ideal) in a cold oven. Preheat the oven to 425°F (220°C). This step is crucial – it ensures the skillet is piping hot when the dough hits it, creating maximum steam and crispiness.
2. Shape the Dough: Once the oven is preheated, carefully remove the hot skillet from the oven. Using a bit of oil or a paper towel, lightly grease the bottom and sides of the skillet. Pour the dough into the skillet. Use your spatula or wet hands to gently press and spread the dough evenly into the bottom of the skillet, smoothing the top as much as possible. It doesn’t need to be perfectly smooth.
3. The First Bake: Place the skillet back into the preheated oven and bake for 15 minutes.
The Golden Transformation: Baking to Perfection
After the initial 15 minutes, the bread will look set but still pale. This is where the magic happens.
1. Increase Heat & Add Cheese: Carefully remove the skillet from the oven. Sprinkle the remaining shredded cheese evenly over the top of the dough.
2. Boost the Heat: Increase the oven temperature to 450°F (230°C). This higher heat is key for melting the cheese and achieving that deep golden-brown color.
3. Final Bake: Return the skillet to the oven and bake for another 10-15 minutes, or until the top is deeply golden brown and the cheese is beautifully melted and bubbly. The bottom crust should be incredibly crisp. The internal temperature should reach around 190-200°F (88-93°C) for doneness.
4. Rest & Serve: Remove the skillet from the oven. Let the bread rest for at least 10 minutes before slicing. This resting period is vital! It allows the internal structure to set, preventing a gummy texture and ensuring clean slices. The cheese will also firm up slightly, making it easier to handle. Serve warm, straight from the skillet if you can resist!
Variations & Substitutions: Making it Your Own
- Herb Swap: Feel free to experiment! Use a mix of parsley, oregano, basil, or dill instead of or in addition to the rosemary, thyme, and chives. Dried herbs can be used (reduce to 1 tablespoon total), but fresh is always best for brightness.
- Cheese Variations: Swap the cheddar for Gruyère, Swiss, pepper jack, or a blend. Add a handful of crumbled cooked bacon (if not avoiding pork) or sautéed mushrooms for extra flavor.
- Adding Crunch: Mix in a 1/4 cup of finely chopped toasted nuts (walnuts, pecans) or seeds (sunflower, pumpkin) with the cheese and herbs.
- Sweet Twist: For a sweet version, omit the cheese and herbs. Add 1/4 cup of sugar, 1 teaspoon cinnamon, and 1/2 teaspoon nutmeg to the dry ingredients. Fold in 1/2 cup of raisins or dried cranberries. Bake at 400°F (200°C) for 25-30 minutes.
- Gluten-Free Option: Unfortunately, a truly authentic sourdough discard cheesy herb skillet bread using a standard gluten-free flour blend won’t achieve the same texture and rise. The structure provided by gluten is essential. You might try a dedicated gluten-free sourdough discard recipe using a GF flour blend, but the results will differ significantly from this classic version.
Storage & Reheating: Keeping the Magic Alive
- Cooling Completely: Allow the bread to cool completely on a wire rack before storing. This prevents condensation and sogginess.
- Room Temperature: Store any leftovers in an airtight container at room temperature for up to 2 days. The crust will soften slightly, but it will still be delicious.
- Reheating: To restore crispiness, reheat slices in a preheated skillet over medium heat for a few minutes on each side, or place slices on a baking sheet and reheat in a 350°F (175°C) oven for 5-10 minutes. Microwaving can make the crust soggy.
- Freezing: Slice the cooled bread and freeze in an airtight container or freezer bag for up to 3 months. Reheat slices directly from frozen in a skillet or oven as above.
Common Mistakes to Avoid: Ensuring Success
1. Using Too Thin Discard: If your discard is very runny, the bread will be dense and might not hold together well. Mix in a tablespoon or two of flour to thicken it slightly.
2. Overmixing the Dough: Overmixing develops gluten, leading to a tough, chewy bread instead of the tender crumb you want. Mix just until the ingredients are combined.
3. Skipping the Hot Skillet Preheat: This is non-negotiable for achieving that incredible crispy bottom crust. Don’t skip preheating the skillet in the cold oven.
4. Cutting Too Soon: Resist the urge to slice immediately! The 10-minute rest is crucial for the bread to set properly.
5. Overloading with Cheese: While delicious, too much cheese can make the bread greasy and potentially prevent it from cooking through evenly. Stick to the recommended 1 1/2 cups.
6. Using Cold Ingredients: Room temperature discard and oil incorporate more easily and help the dough come together smoothly. If your discard is cold from the fridge, let it sit at room temperature for 30-60 minutes before using.
Frequently Asked Questions: Your Sourdough Discard Cheesy Herb Skillet Bread Guide
- Q: What if I don’t have a cast-iron skillet?
A: While a cast-iron skillet is ideal for its heat retention and crispy crust, you can use a heavy-bottomed oven-safe skillet or a baking sheet lined with parchment paper. However, the crust won’t be quite as crispy. Bake on the middle rack for even heat.
- Q: Can I use frozen sourdough discard?
A: Yes! Thaw frozen discard in the refrigerator overnight. It might be slightly thinner than fresh discard. If it’s very thin, mix in a tablespoon or two of flour to thicken it before using.
- Q: Why is my bread dense?
A: Common causes are using too thin discard, overmixing the dough, not preheating the skillet properly, or cutting the bread too soon. Ensure your discard is thick enough, mix gently, preheat the skillet well, and let it rest.
- Q: Can I make this ahead of time?
A: Absolutely! Bake it up to a day ahead. Store it wrapped at room temperature. Reheat slices as needed for that fresh-baked feel.
- Q: Is this bread suitable for people with gluten sensitivities?
A: No, this recipe contains wheat flour and is not gluten-free. It’s not suitable for those with celiac disease or gluten intolerance.
- Q: Can I add other mix-ins?
A: Yes! Try finely diced cooked vegetables (bell peppers, onions), olives, sun-dried tomatoes, or even a handful of cooked sausage (if not avoiding pork). Fold them in with the cheese and herbs.
- Q: How do I know when it’s done baking?
A: The top should be a deep golden brown, the cheese should be melted and bubbly, and the internal temperature should reach 190-200°F (88-93°C). The bottom crust should sound hollow when tapped.
- Q: Can I use a different type of cheese?
A: Definitely! Sharp cheddar is classic, but Monterey Jack, Gruyère, Swiss, or a blend work wonderfully. Avoid cheeses that melt very slowly or have strong flavors that overpower the herbs.
- Q: What if my discard smells sour but not pleasant?
A: If it smells overly sour, vinegary, or off, it’s best to discard it and use fresh starter. Sourdough discard should smell pleasantly tangy, like yogurt or sourdough bread, not like vinegar or something spoiled.
- Q: Can I make this in a regular loaf pan?
A: You can, but the texture and crust will be different. It won’t have the same crispy bottom crust. Bake in a greased loaf pan at 375°F (190°C) for 35-45 minutes, or until a toothpick inserted comes out clean.
The Final Slice: A Celebration of Simplicity
There’s something deeply satisfying about creating something so delicious and comforting with just a few simple ingredients and minimal effort. This Crispy Sourdough Discard Cheesy Herb Skillet Bread embodies that spirit. It’s a triumph of using what you have, transforming humble sourdough discard into a centerpiece worthy of any meal. The aroma of baking sourdough, the sight of the golden crust, the gooey cheese, and the burst of fresh herbs – it’s pure culinary joy. It’s the perfect example of how everyday ingredients, handled with care, can create extraordinary results. So, the next time you have sourdough discard, don’t hesitate. Grab your cast-iron skillet, gather your herbs and cheese, and bake up a batch of this irresistible skillet bread. Your taste buds (and your sourdough starter) will thank you. Enjoy every crispy, cheesy, herbaceous bite!