Table of Contents
- 1 Why This Chili Recipe is Perfect for Camping
- 2 Why Cook Chili in a Dutch Oven or Cast Iron?
- 3 Ingredients for the Best Campfire Chili
- 4 Equipment You’ll Need
- 5 Step-by-Step Campfire Chili Cooking Guide
- 6 Pro Tips for Making Perfect Campfire Chili
- 7 Nutritional Info (Per Serving Estimate)
- 8 Variations for Campfire Chili
- 9 Frequently Asked Questions (FAQs)
- 10 Why This Campfire Chili Recipe is a Must-Try
- 11 Final Thoughts
Why This Chili Recipe is Perfect for Camping
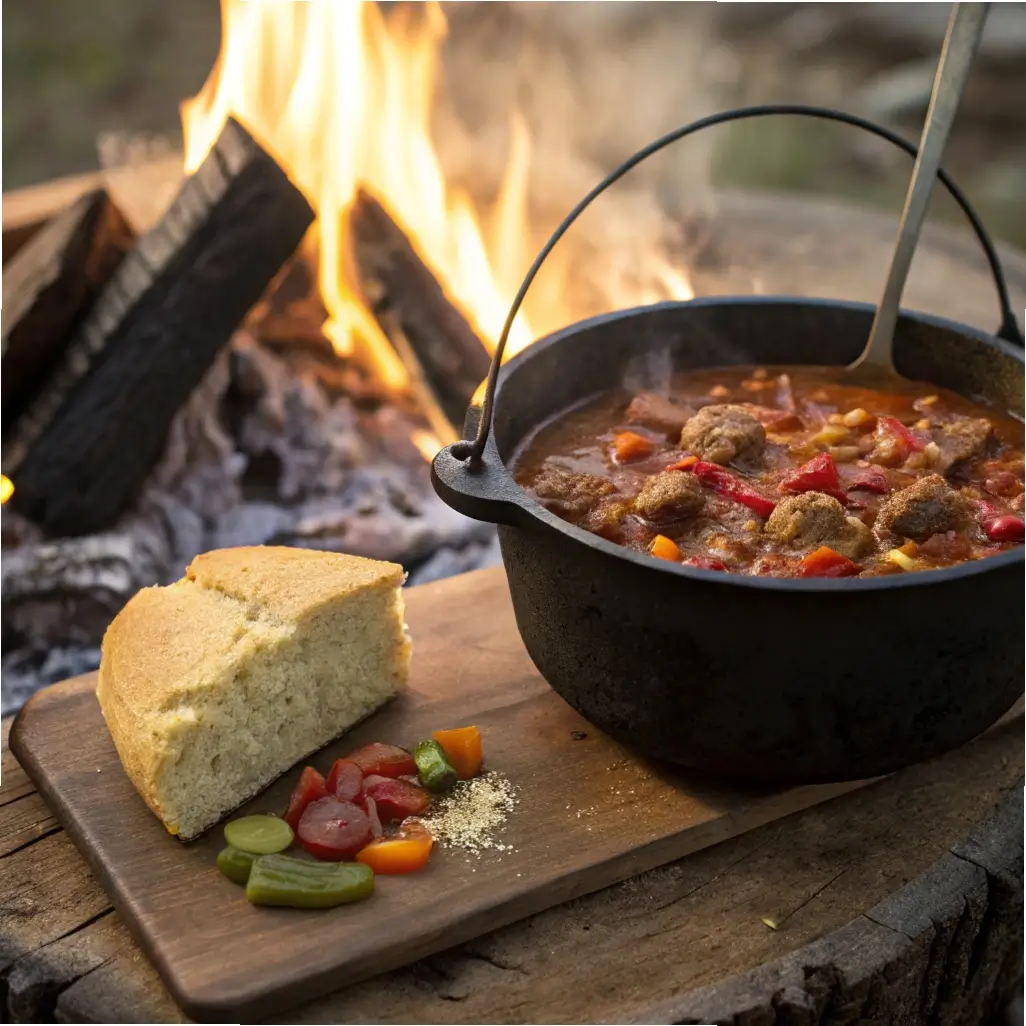
Few things compare to the satisfaction of a warm, hearty meal after a day outdoors, and this campfire chili recipe is the ultimate crowd-pleaser for your next camping trip. Whether you’re nestled in the woods, gathered around a backyard fire pit, or tailgating before the big game, this chili is designed to be made in a Dutch oven or cast iron pot—tools that thrive in outdoor cooking conditions.
This chili recipe combines robust spices, tender ground beef, beans, and vegetables to create a rich, smoky, and filling meal that feeds a crowd. Best of all? It’s easy to prepare, requires minimal ingredients, and delivers maximum flavor with that unmistakable campfire aroma. No need for complicated equipment—just a reliable cast iron pot and your favorite camping spot.
Why Cook Chili in a Dutch Oven or Cast Iron?
Durability and Heat Retention
Dutch ovens and cast iron pots excel in outdoor cooking because they hold and distribute heat evenly, perfect for slow-simmering chili over campfire coals or flames. Their heavy lids seal in moisture and flavor, producing tender meat and a thick, rich sauce.
Versatility
These pots are excellent for one-pot meals. They allow you to sauté, brown, and simmer all in one vessel, minimizing cleanup and maximizing convenience.
Portability
Though heavy, cast iron is incredibly durable and versatile—ideal for rugged camping environments. Dutch ovens come with handles for easy hanging over fires or placement on grills and coals.
Ingredients for the Best Campfire Chili
2 lbs lean ground beef (or ground turkey for a leaner option)
1 large onion, chopped
4 cloves garlic, minced
2 cans (15 oz each) kidney beans, drained and rinsed
2 cans (14.5 oz each) diced tomatoes with juice
1 cup beef broth (or vegetable broth for lighter taste)
2 tablespoons tomato paste
2 tablespoons chili powder
1 tablespoon smoked paprika
1 teaspoon ground cumin
1 teaspoon dried oregano
1/2 teaspoon crushed red pepper flakes (optional for heat)
Salt and black pepper, to taste
2 tablespoons olive oil or vegetable oil
Optional toppings: shredded cheddar cheese, diced onions, sour cream, sliced jalapeños, chopped cilantro
Equipment You’ll Need
Dutch oven or large cast iron pot with lid
Campfire with hot coals or a camping stove
Stirring spoon
Knife and cutting board
Step-by-Step Campfire Chili Cooking Guide
Step 1: Prepare Your Campfire and Setup
Build a medium-hot fire and allow it to burn down until you have a bed of glowing coals—this ensures steady heat for cooking. Position a grill grate or place your Dutch oven directly on the coals, or use a tripod and hang the pot above the fire.
Step 2: Brown the Meat
Add olive oil to the Dutch oven and let it heat for a minute or two. Add the ground beef and cook, stirring frequently, until browned and cooked through. Use a wooden spoon to break up the meat into small pieces. Once browned, remove excess fat if desired.
Step 3: Sauté Aromatics
Add chopped onions and garlic to the pot. Stir and cook until softened and fragrant, about 4-5 minutes. This step builds a flavorful base for your chili.
Step 4: Add Spices and Tomato Paste
Sprinkle in chili powder, smoked paprika, cumin, oregano, crushed red pepper, salt, and pepper. Stir well to coat the meat and veggies with spices. Then, stir in the tomato paste and cook for 2 minutes, allowing the paste to caramelize slightly and deepen the flavor.
Step 5: Add Beans, Tomatoes, and Broth
Pour in the diced tomatoes (with juices), drained kidney beans, and beef broth. Stir everything together thoroughly, scraping the bottom to prevent burning.
Step 6: Simmer Over the Campfire
Cover the Dutch oven with its lid. Let the chili simmer gently over the coals for 45 minutes to 1 hour. Stir occasionally to prevent sticking and to help flavors meld. Add a little more broth or water if the chili thickens too much.
Step 7: Taste and Adjust Seasoning
Remove the chili from heat and taste. Add more salt, pepper, or chili powder if needed. For a smoky kick, a dash more smoked paprika or a chipotle pepper can be added.
Step 8: Serve and Enjoy
Scoop the chili into bowls and offer optional toppings like shredded cheese, sour cream, jalapeños, diced onions, or fresh cilantro. Serve with cornbread, tortilla chips, or crusty bread for the perfect rustic meal.
Pro Tips for Making Perfect Campfire Chili
Pre-chop ingredients at home: To save time and avoid messy prep outdoors, chop onions, garlic, and peppers ahead of your trip. Store in airtight containers or zip-top bags.
Use canned beans and tomatoes: They’re easy to transport and perfect for camp cooking.
Adjust cooking heat by moving coals: If your chili is cooking too fast, move some coals away from under the pot or raise the pot above the fire.
Bring a good ladle and sturdy spoons: Essential for stirring and serving.
Keep the lid on: Retains heat and moisture for tender chili.
Try adding chopped bell peppers or jalapeños for extra texture and flavor.
Make it a day ahead: Chili tastes even better the next day, so cook it early and reheat over the fire when ready to eat.
Nutritional Info (Per Serving Estimate)
Calories: ~350-400
Protein: ~30g
Carbs: ~25g (mainly from beans and tomatoes)
Fiber: ~8g
Fat: ~12g (depending on meat and oil used)
This recipe offers a hearty, protein-rich meal that’s perfect for refueling after an active day outdoors.
Variations for Campfire Chili
Vegetarian Camping Chili
Replace ground beef with plant-based crumbles or extra beans, and use vegetable broth.
Spicy Chipotle Chili
Add 1-2 chopped chipotle peppers in adobo sauce for smoky heat.
Beef and Sweet Potato Chili
Add diced sweet potatoes with the tomatoes for a slightly sweet, hearty twist.
Chili Verde Style
Swap red tomatoes for tomatillos and add green chilies and cilantro for a bright, tangy flavor.
Frequently Asked Questions (FAQs)
Can I make this chili without a Dutch oven?
Yes! Use a heavy-bottomed cast iron pot or a deep pan that’s safe over open flames or a camping stove.
How do I keep the chili from burning on the bottom?
Stir regularly and adjust the pot’s position relative to the heat source. If coals are too hot, move some aside.
What if I want to cook chili in a slow cooker at the campsite?
If you have access to electricity, slow cookers are convenient but don’t provide that authentic campfire flavor.
Can this chili be made ahead of time?
Absolutely! Make it at home and reheat over the fire. Chili flavors improve after resting.
How long will leftover chili last?
Store leftovers in an airtight container in a cooler for up to 3 days. Reheat thoroughly before serving.
Why This Campfire Chili Recipe is a Must-Try
This chili brings all the comfort and bold flavor of your favorite chili recipe to the outdoors. Using a Dutch oven or cast iron pot enhances the experience with authentic smoky notes and the rustic charm of cooking over open flames. It’s simple enough for beginner campers but delicious enough to impress your whole crew.
Perfect for chilly nights under the stars, tailgating parties, or backyard bonfires, this chili is a hearty, flavorful dish that embodies the spirit of outdoor cooking.
Final Thoughts
Next time you head into the great outdoors, pack your cast iron or Dutch oven and make this best camping chili recipe. It’s an easy, filling meal that brings warmth and comfort after a day of adventure. From the smoky aromas to the hearty texture, this chili captures the magic of campfire cooking in every bite.
Enjoy your outdoor feast!