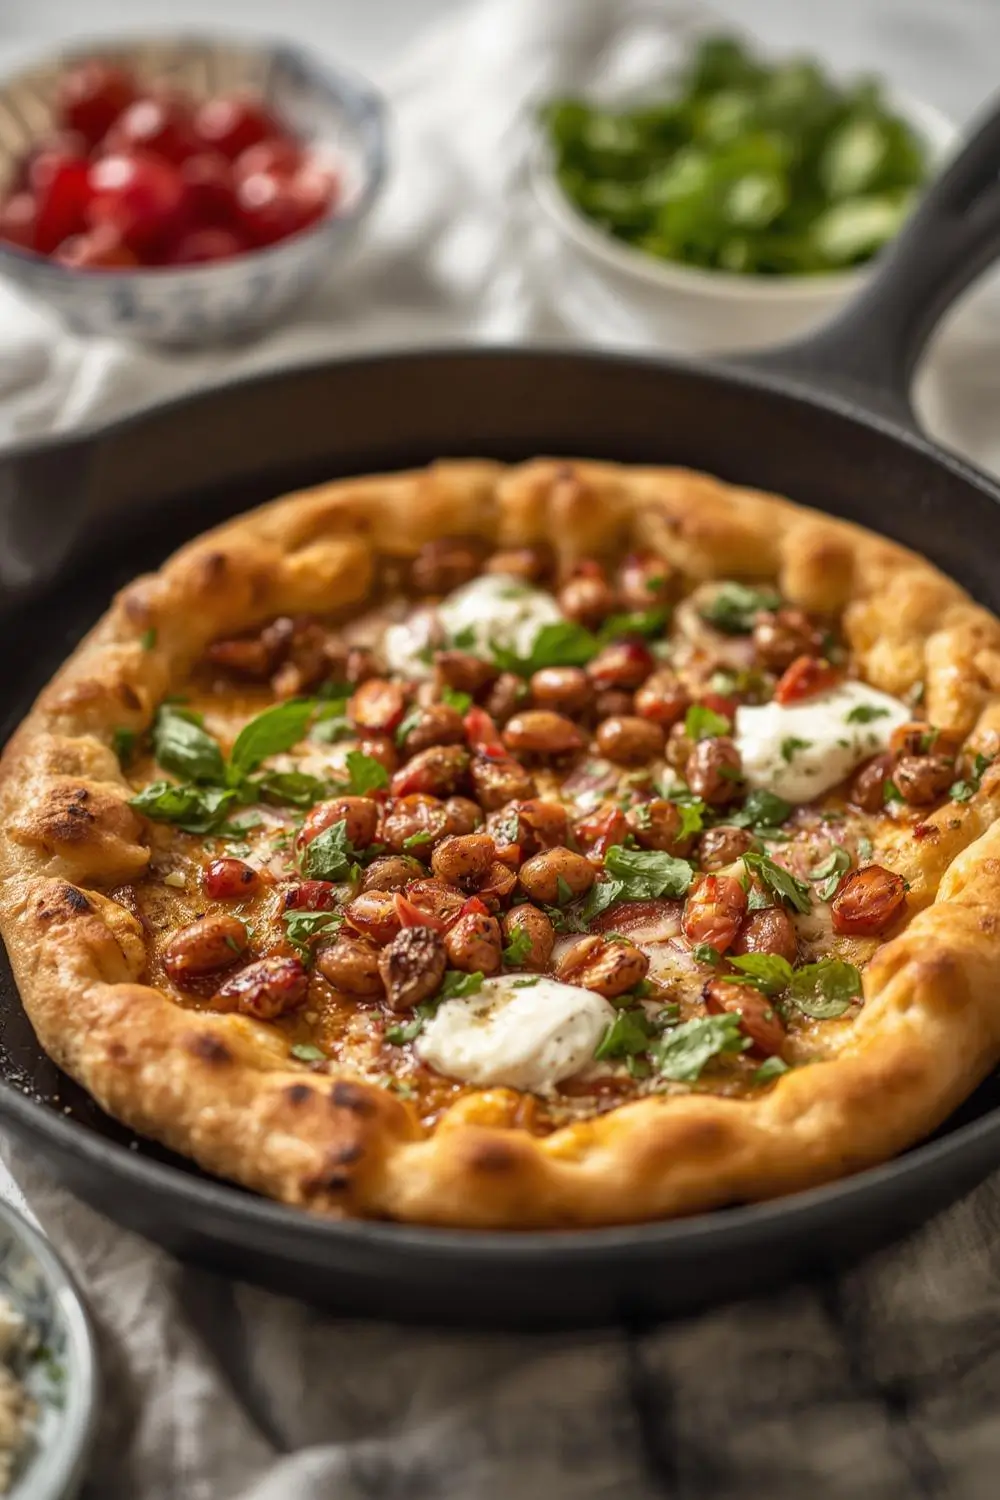
Imagine transforming that mysterious jar of sourdough discard sitting in your fridge into something utterly delicious and incredibly convenient. This isn’t just any flatbread; it’s a revelation. In a single, well-seasoned skillet, you can whip up a batch of incredibly fluffy, golden-brown sourdough flatbread in under 15 minutes. No yeast required, just the magic of your active starter and everyday pantry staples. This buttery, subtly tangy bread is your new breakfast hero, perfect for scooping up eggs, layering with avocado, or simply enjoying with a generous smear of honey. It’s gluten-friendly, incredibly versatile, and utterly satisfying – a game-changer for busy mornings or unexpected cravings.
Why This Flatbread is a Must-Try:
- Lightning Fast: From mixing bowl to skillet to table in roughly 15 minutes.
- Zero Yeast Needed: Leverages the natural leavening power of your sourdough starter.
- Pantry Staples: Uses ingredients most home cooks already have on hand.
- Incredibly Fluffy & Tender: The unique combination of sourdough discard and baking powder creates a texture that’s light as air yet sturdy enough to hold toppings.
- Golden Perfection: Cooks up beautifully in a hot skillet, developing a crisp, golden crust.
- Incredibly Versatile: The perfect canvas for sweet or savory toppings – think avocado and everything bagel seasoning, scrambled eggs and cheese, or a simple drizzle of honey and jam.
- Gluten-Friendly Option: Naturally gluten-free when made with gluten-free flour (see variations).
The Magic Behind the Fluffiness
The secret lies in the unique properties of sourdough discard combined with a touch of baking powder. The discard provides the characteristic tangy sourdough flavor and some natural fermentation activity, while the baking powder acts as a powerful, quick-acting leavener. This dual-action leavening system, along with the gentle cooking method in a skillet, creates those irresistible air pockets and a tender crumb. It’s a beautiful example of how sourdough discard can be used creatively beyond just bread.
Ingredients: Simplicity at Its Finest
This recipe relies on just a handful of ingredients, most of which you likely have. The beauty is in their simplicity and the way they work together.
- 1 1/2 cups (180g) All-Purpose Flour (or Gluten-Free 1:1 Baking Flour): The foundation. All-purpose gives a classic texture; gluten-free flour works beautifully for a gluten-free option.
- 1/2 cup (120g) Sourdough Discard: This is the star! Use discard that’s been fed recently (not too thin or too thick). It provides flavor, tang, and some natural leavening.
- 1/2 cup (120ml) Warm Water: Just warm enough to activate the baking powder and make the dough pliable. Too hot can kill the baking powder.
- 1 tablespoon (15g) Neutral Oil (like Vegetable, Canola, or Grapeseed) OR Melted Butter: Adds richness, tenderness, and helps with browning. Butter adds extra flavor.
- 1 teaspoon Baking Powder: The key to the rapid rise and fluffy texture.
- 1/2 teaspoon Fine Sea Salt: Enhances all the flavors beautifully.
- Optional: 1 tablespoon (15g) Honey or Maple Syrup (for a touch of sweetness), 1/2 teaspoon Onion Powder or Garlic Powder (for savory depth), 1/4 teaspoon Smoked Paprika (for a subtle kick).
Equipment You’ll Need:
- A Large Bowl: For mixing the dough.
- A Whisk or Fork: To combine ingredients smoothly.
- A 10-inch (25cm) Non-Stick or Well-Seasoned Cast Iron Skillet: This is crucial for even cooking and achieving that perfect golden crust. Ensure it’s large enough to hold the dough comfortably.
- A Spatula or Large Spoon: For spreading the dough in the skillet.
- A Lid (Optional but Recommended): Helps trap steam for a softer crust if desired.
Step-by-Step Instructions: From Bowl to Skillet in Minutes
1. Combine Dry Ingredients: In your large bowl, whisk together the flour, baking powder, salt, and any optional dry seasonings (like onion powder or smoked paprika) until evenly distributed.
2. Add Wet Ingredients: Pour in the sourdough discard, warm water, and oil (or melted butter). If using honey/maple syrup, add it now.
3. Mix Until Combined: Using your whisk or fork, mix the ingredients together. You want a soft, slightly sticky dough. It shouldn’t be dry or crumbly. If it seems too thick, add a tiny splash more warm water (1/2 tsp at a time). If it’s too sticky, sprinkle in a little more flour (1/2 tsp at a time). The dough should be pliable and hold together when pressed.
4. Rest the Dough (Optional but Recommended): Let the dough rest for 5-10 minutes. This allows the flour to fully hydrate and the baking powder to start working, leading to a slightly more tender crumb.
5. Prepare the Skillet: Place your 10-inch skillet over medium-high heat. Let it get nice and hot – you should see a shimmer or feel significant heat when you hover your hand a few inches above it. A properly heated skillet is essential for that initial sizzle and golden crust.
6. Shape the Flatbread: Once the skillet is hot, carefully pour the dough into the center. Using your spatula or spoon, gently spread the dough out to the edges of the skillet. It will be soft and pliable, so don’t worry about making it perfectly smooth yet. Aim for a thickness of about 1/2 to 3/4 inch.
7. Cook the First Side: Let the flatbread cook undisturbed for 2-3 minutes. You’ll see the edges start to set, the bottom turn a beautiful golden brown, and bubbles forming on the surface. This is the magic moment where the baking powder activates and the sourdough begins to set.
8. Flip with Confidence: Carefully slide your spatula completely under the flatbread. If it feels loose and releases easily, give it a confident flip. If it sticks, let it cook for another 30 seconds to a minute. The goal is a golden-brown bottom.
9. Cook the Second Side: Cook the flipped flatbread for another 2-3 minutes, or until the bottom is also golden brown and cooked through. The top should look set and slightly puffed in spots. If the flatbread seems to be browning too quickly on the bottom but not cooking through on top, reduce the heat slightly to medium.
10. Transfer and Rest: Carefully slide the cooked flatbread out of the skillet onto a cutting board or plate. Let it rest for 2-3 minutes before slicing or topping. This allows the crumb to set slightly and makes it easier to handle.
Tips for Perfect Results Every Time
- Hot Skillet is Key: Don’t skip preheating! A lukewarm skillet leads to a flatbread that steams rather than crisps.
- Don’t Overmix: Mix the dough just until the flour is incorporated. Overmixing develops gluten, leading to a tougher texture.
- Rest the Dough: The 5-10 minute rest makes a noticeable difference in tenderness.
- Flip with Confidence: A hot skillet and a well-spread dough make flipping easier. Use a thin, flexible spatula.
- Adjust Heat: If the bottom browns too fast and the top isn’t set, lower the heat. If it’s taking too long to brown, increase it slightly.
- Don’t Overcrowd: Cook flatbreads one at a time in your skillet for best results. If you need to cook multiple, let the skillet cool slightly between batches.
- Use a Lid for Soft Crust (Optional): If you prefer a softer crust, place a lid on the skillet during the last minute or two of cooking the second side. This traps steam.
Variations and Flavor Boosters
The beauty of this flatbread is its incredible adaptability. Here are some ideas to customize it:
- Savory Powerhouses: Mix in 1/4 cup finely chopped cooked bacon (if allowed), 1/2 cup shredded cheese (like cheddar or mozzarella), 2 tablespoons chopped fresh herbs (chives, parsley, dill), or 1/4 cup finely diced onion or bell pepper.
- Sweet Indulgences: Stir in 1/4 cup chocolate chips, 1/4 cup dried fruit (cranberries, raisins), or 1/4 cup chopped nuts (walnuts, pecans). Drizzle with honey or maple syrup after cooking.
- Herb & Garlic: Add 1 tablespoon chopped fresh rosemary or thyme, and 1 minced garlic clove to the wet ingredients.
- Everything Bagel: Sprinkle with everything bagel seasoning or a mix of sesame seeds, poppy seeds, garlic powder, and onion powder before cooking.
- Spicy Kick: Add 1/4 teaspoon cayenne pepper or a pinch of red pepper flakes to the dry ingredients.
- Cheese Lover’s Dream: Fold in 1/2 cup shredded cheese (cheddar, mozzarella, pepper jack) into the dough before cooking.
Storage and Reheating: Keeping it Fresh
- Room Temperature: Let the flatbread cool completely, then wrap it tightly in plastic wrap or place it in an airtight container. It will stay fresh at room temperature for up to 2 days.
- Refrigeration: For longer storage (up to 4 days), wrap tightly and refrigerate. The texture may soften slightly.
- Reheating: To restore its crispness:
* Skillet Method: Place slices in a dry, preheated skillet over medium heat for 1-2 minutes per side.
* Oven Method: Wrap slices in foil and heat in a 350°F (175°C) oven for 5-10 minutes.
* Toaster Oven: Place slices in a toaster oven set to “toast” or “bake” for 2-4 minutes.
* Microwave (Use with Caution): Place a slice on a microwave-safe plate and heat for 15-20 seconds. This can make it slightly chewy but is quick. For best results, wrap the slice in a damp paper towel first.
Common Mistakes to Avoid
- Skillet Too Cold: Results in a pale, dense, and soggy flatbread.
- Skillet Too Hot: Causes the bottom to burn before the inside cooks through.
- Overmixing the Dough: Creates a tough, chewy texture.
- Using Too Much Flour: Leads to a dry, crumbly flatbread.
- Using Too Much Water: Results in a sticky, difficult-to-handle dough that may spread too thin.
- Not Letting the Dough Rest: Misses out on the potential for a slightly more tender crumb.
- Flipping Too Soon: Causes the flatbread to tear or stick.
- Overcrowding the Skillet: Prevents proper browning and crisping.
Frequently Asked Questions (FAQs)
1. Can I use discard that’s very thick or very thin?
* Answer: Yes, but adjust the water slightly. If your discard is very thick (like peanut butter), you might need a tiny bit more warm water (1/2 tsp at a time) to achieve the right dough consistency. If it’s very thin (like soup), you might need a tiny bit more flour. The goal is a soft, pliable dough that holds together.
2. What if I don’t have a 10-inch skillet?
* Answer: A 9-inch skillet will work, but the flatbread will be slightly thicker. A 12-inch skillet will make thinner flatbreads. Just adjust the cooking time slightly – thinner ones cook faster, thicker ones take a minute or two longer.
3. Can I make this with whole wheat flour?
* Answer: Yes, but the texture will be denser and heartier. Start with 1 cup whole wheat flour and 1/2 cup all-purpose flour. The dough may be slightly drier, so you might need a tiny bit more water. The flavor will be nuttier.
4. How do I know when it’s done cooking?
* Answer: The flatbread is done when the bottom is a deep golden brown and cooked through (no raw dough in the center when you peek underneath), and the top is set and slightly puffed. It should feel firm when you press it gently in the center.
5. Can I freeze the cooked flatbread?
* Answer: Absolutely! Let the flatbread cool completely, then wrap individual slices tightly in plastic wrap or place them in a freezer bag. Freeze for up to 1 month. Thaw at room temperature or reheat directly from frozen in a skillet or oven.
6. Is this suitable for people with gluten sensitivities?
* Answer: Yes! Simply substitute the all-purpose flour with a high-quality 1:1 gluten-free baking flour blend. The texture will be slightly different (often slightly denser), but it will still be delicious and fluffy.
7. What’s the best way to top it?
* Answer: The possibilities are endless! For breakfast: Scrambled eggs, cheese, avocado, everything bagel seasoning, or a fried egg. For lunch: Sliced turkey, lettuce, tomato, mayo, or hummus. For a snack: Butter and jam, honey, or nut butter. Get creative!
Conclusion: Your New Kitchen Staple
This Ultra-Fluffy Skillet Sourdough Discard Flatbread is more than just a recipe; it’s a revelation. It transforms what might otherwise be discarded into something extraordinary, ready in a flash. It’s a testament to the magic of sourdough and the power of simple ingredients. Whether you’re craving a quick breakfast, a satisfying lunch, or an easy appetizer, this golden, crispy-on-the-outside, tender-on-the-inside flatbread delivers. It’s gluten-friendly, endlessly customizable, and guaranteed to become a beloved staple in your kitchen. So, don’t let that sourdough discard linger – give this recipe a try and experience the joy of sourdough in a whole new, incredibly convenient way. Enjoy every fluffy, flavorful bite!


