The Ultimate Small Batch Cinnamon Rolls: Perfect for Two
There’s something undeniably magical about the aroma of cinnamon rolls baking. That sweet, spicy scent promises warmth and comfort, a little slice of pure indulgence. But what if you crave that experience without the pressure of baking an entire pan? What if you just want a few gooey, fluffy rolls to share on a cozy date night, or to satisfy a sudden sweet craving without leftovers haunting your fridge? Enter the Small Batch Cinnamon Rolls: Perfect for Two. This recipe is your secret weapon for effortless, delicious cinnamon roll bliss designed specifically for smaller households or moments when you just need a taste of something special.
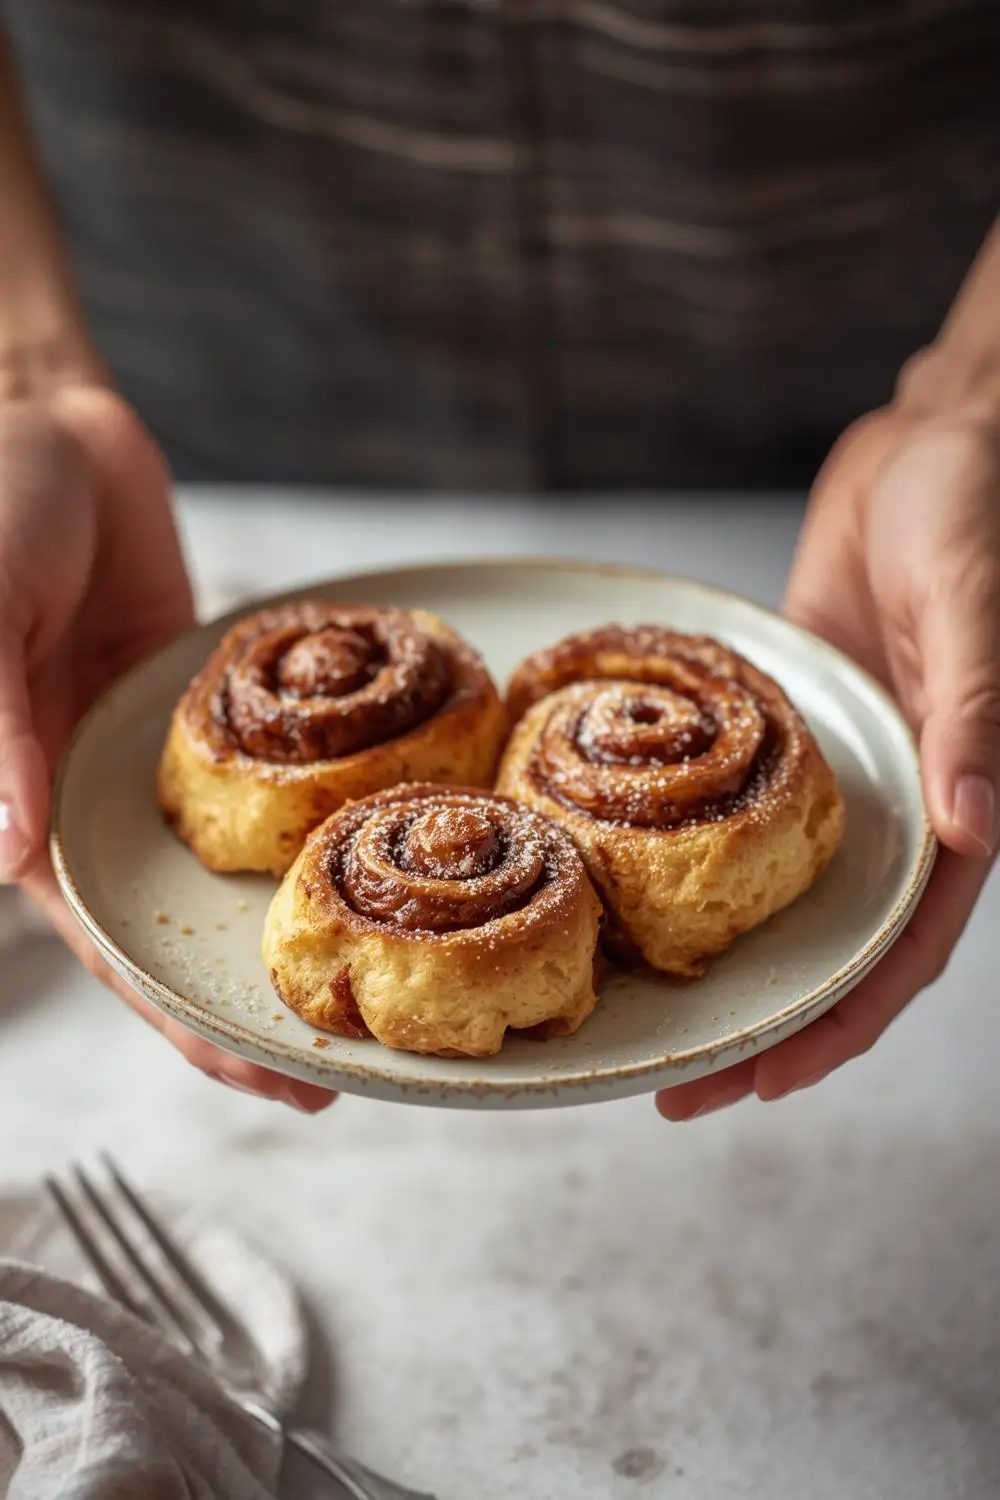
Forget complicated techniques or intimidating recipes. This version strips cinnamon rolls down to their most essential, delicious elements, focusing on simplicity and maximum flavor. You’ll use everyday ingredients you likely already have on hand, and the steps are straightforward enough for even baking beginners to feel confident. The result? Soft, pillowy rolls bursting with cinnamon-sugar goodness, topped with a simple, luscious cream cheese glaze – all ready in under an hour. It’s the perfect balance of effort and reward, designed purely for the joy of two.
Why This Small Batch Recipe Wins:
- No Leftovers, No Waste: Bake exactly what you need, when you need it.
- Effortless & Quick: Ready in under an hour, perfect for spontaneous cravings.
- Beginner-Friendly: Simple steps, no fancy equipment required.
- Pure Cinnamon Roll Flavor: Focuses on the classic, beloved taste without unnecessary complexity.
- Perfect Sharing: Ideal for a cozy date night, a quiet weekend morning, or a sweet treat for yourself.
Gather Your Ingredients: Simplicity is Key
The beauty of this recipe lies in its simplicity. You won’t need any exotic ingredients or specialized tools. Here’s what you’ll need:
- All-Purpose Flour: The foundation of your dough. Gives structure and a tender crumb.
- Warm Milk: Essential for activating the yeast. Use whole milk for the richest flavor, but any milk works.
- Active Dry Yeast: The leavening agent that makes your rolls rise. Ensure it’s fresh.
- Granulated Sugar: Sweetens the dough and feeds the yeast.
- Salt: Balances the sweetness and enhances flavor.
- Unsalted Butter: Melted and cooled slightly for the dough and the cinnamon sugar filling. Adds richness.
- Large Egg: Binds the dough together.
- Cream Cheese: For the decadent, tangy glaze. Full-fat is best.
- Powdered Sugar: Sweetens the glaze and gives it that perfect smooth texture.
- Vanilla Extract: Enhances the overall flavor profile.
- Cinnamon: The star of the show! Use pure ground cinnamon for the best flavor.
- Softened Butter: For spreading on the dough and making the cinnamon sugar filling spreadable.
Step-by-Step: From Bowl to Oven in No Time
Now, let’s transform these simple ingredients into pure cinnamon roll heaven. This process is remarkably straightforward.
1. Activate the Yeast (5-10 mins): In a small bowl or measuring cup, combine the warm milk (around 110°F / 43°C – test with your finger, it should feel warm, not hot), 1 tablespoon of granulated sugar, and the active dry yeast. Stir gently and let it sit for 5-10 minutes. You’ll see it become foamy on top – this means your yeast is alive and active! If it doesn’t foam, your yeast might be expired, and you’ll need fresh yeast.
2. Make the Dough Base: In a large mixing bowl, whisk together the all-purpose flour and salt. Make a well in the center.
3. Combine Wet Ingredients: In a separate bowl, whisk together the melted (but cooled) butter, the egg, and the remaining granulated sugar. Pour this mixture into the well of the dry ingredients.
4. Add the Yeast Mixture: Pour the activated yeast mixture into the well. Using a wooden spoon or your hands, mix everything together until a shaggy dough forms. It will be sticky at first.
5. Knead the Dough (5 mins): Turn the dough out onto a lightly floured surface. Knead for about 5 minutes. Push the dough away with the heel of your hand, fold it over, give it a quarter turn, and repeat. The dough will become smoother, less sticky, and more elastic. Add only a tiny bit more flour if absolutely necessary to prevent sticking – too much flour makes tough rolls. The goal is a soft, slightly tacky dough.
6. First Rise (1 hour): Place the kneaded dough in a lightly oiled bowl, turning it once to coat. Cover the bowl tightly with plastic wrap or a damp kitchen towel. Let it rise in a warm, draft-free spot until doubled in size. This usually takes about 45-60 minutes, but time can vary slightly depending on your kitchen temperature. You can test if it’s ready by gently pressing two fingers into the dough; if the indentation stays, it’s risen enough.
7. Prepare the Filling: While the dough rises, make the cinnamon sugar filling. In a small bowl, combine the remaining granulated sugar, the ground cinnamon, and a pinch of salt. Set aside. Soften 2 tablespoons of butter by beating it with a fork until pliable.
8. Shape the Rolls (15 mins): Once the dough has doubled, punch it down gently to release the air. Turn it out onto a lightly floured surface. Roll the dough into a rectangle roughly 12 inches long and 8 inches wide. It should be about 1/4 inch thick.
9. Add the Filling: Spread the softened butter evenly over the entire surface of the dough. Sprinkle the cinnamon sugar mixture evenly over the butter.
10. Roll Up & Cut: Starting from the long edge, carefully roll the dough up tightly into a log. Pinch the seam gently to seal. Using a sharp knife or dental floss (for a cleaner cut), cut the log into 6 equal pieces (about 2 inches thick each). Place the rolls cut-side up in a small, lightly greased baking dish (like an 8×8 inch pan or a round 9-inch pie dish). They should fit snugly.
11. Second Rise (20-30 mins): Cover the dish loosely with plastic wrap or a towel and let the rolls rise again for 20-30 minutes. They should look puffy and almost doubled in size.
12. Bake (18-22 mins): Preheat your oven to 375°F (190°C). Bake the rolls for 18-22 minutes, or until they are golden brown on top and the edges look set. The centers should still be soft and fluffy. Baking time can vary slightly depending on your oven and pan size.
13. Make the Glaze: While the rolls bake, make the cream cheese glaze. In a medium bowl, beat the softened cream cheese until smooth. Gradually beat in the powdered sugar until combined. Beat in the vanilla extract. The glaze should be thick but spreadable. If it’s too thick, add a tiny splash of milk; if too thin, add a bit more powdered sugar.
14. Glaze & Serve: As soon as the rolls come out of the oven, spread or drizzle the warm glaze over the hot rolls. The heat helps the glaze melt slightly and seep into the rolls, creating that irresistible gooey texture. Serve immediately while warm and gooey. Enjoy every bite!
Variations & Substitutions: Making it Your Own
This recipe is wonderfully adaptable. Here are some ideas to tweak it to your taste:
- Flavor Boosters: Add 1 teaspoon of pure vanilla extract to the dough. For a richer dough, substitute 2 tablespoons of the milk with heavy cream. Add 1/2 teaspoon of ground nutmeg or cardamom to the cinnamon sugar filling for a warm twist.
- Nutty Addition: Fold 1/2 cup of chopped pecans, walnuts, or almonds into the cinnamon sugar filling before rolling.
- Fruit Twist: Add 1/2 cup of finely chopped apples (tossed with a bit of lemon juice to prevent browning) or raisins to the filling.
- Savory Option: Omit the cinnamon and sugar filling. Instead, spread the dough with softened butter, sprinkle with garlic powder, dried herbs (like rosemary or thyme), and a pinch of salt. Bake and serve warm with a drizzle of olive oil or a simple herb butter.
- Glaze Variations: Use lemon juice and zest instead of vanilla for a bright glaze. Add a tablespoon of orange juice for a citrus kick. Stir in 1/2 cup of crushed pineapple (drained) into the glaze for a tropical twist. For a chocolate fix, mix in 1/4 cup of cocoa powder with the powdered sugar before adding the cream cheese.
- Dairy-Free: Use almond milk or oat milk instead of dairy milk. Use a dairy-free cream cheese alternative (ensure it’s soft and spreadable). Use a dairy-free butter substitute. The glaze can be made with dairy-free cream cheese and powdered sugar.
- Gluten-Free: Use a high-quality gluten-free all-purpose flour blend (check for xanthan gum). You may need to adjust liquid slightly (start with 3/4 cup milk, add more if needed). The dough will be stickier, so handle gently. Bake time might be slightly longer.
Storage & Reheating: Keeping the Magic Alive
Want to enjoy these rolls beyond the first day? Here’s how:
- Room Temperature: Store any leftover rolls in an airtight container at room temperature for up to 2 days. They will stay soft and delicious.
- Refrigerator: For longer storage (up to 4 days), refrigerate the rolls in an airtight container. They might firm up slightly.
- Reheating: To reheat, place a roll on a microwave-safe plate and heat for 15-20 seconds for a quick warm-up. For a softer texture, wrap the roll in a damp paper towel before microwaving. Alternatively, reheat in a preheated 350°F (175°C) oven for 5-8 minutes until warmed through. Avoid overheating, as they can dry out.
Freezing: You can freeze the baked rolls. Let them cool completely, then wrap individually in plastic wrap and place in a freezer bag. Freeze for up to 1 month. To reheat, thaw at room temperature for a few hours, then reheat as above. You can also freeze the unbaked* rolls (after cutting and placing in the pan). Cover the pan tightly with plastic wrap and freeze. When ready to bake, let the rolls thaw in the pan at room temperature for 1-2 hours, then bake as directed, adding 2-3 minutes to the baking time.
Common Mistakes to Avoid: Ensuring Perfect Rolls Every Time
Even simple recipes can trip us up. Here’s how to avoid pitfalls:
- Yeast Issues: Using milk that’s too hot (kills yeast) or too cold (doesn’t activate). Ensure milk is lukewarm (110°F/43°C). Using expired yeast is a common culprit for no rise.
- Over-Kneading: Overworking the dough makes it tough. Knead just until smooth and elastic (about 5 minutes). Stop when it passes the windowpane test (thin enough to see light through a stretched piece).
- Too Much Flour: Adding too much flour during kneading makes the rolls dense. Use minimal flour on your surface and add only as needed. The dough should be soft and slightly tacky.
- Under-Baking: Rolls need to be golden brown and cooked through. Under-baked rolls are doughy in the center. Bake until they sound hollow when tapped on the bottom.
- Skipping the Second Rise: This is crucial for light, fluffy rolls. Don’t rush this step.
- Glaze Too Thick/Thin: Adjust the glaze consistency by adding a tiny bit of milk (a teaspoon at a time) if too thick, or more powdered sugar if too thin. The rolls should be warm when glazing for the best texture.
- Not Letting Dough Rise in a Warm Spot: If your kitchen is cool, place the covered bowl near a warm oven or on the counter in a slightly warmed (turned off) oven with the light on.
FAQs: Your Burning Questions Answered
- Q: Can I make these rolls ahead of time?
A: Absolutely! You can make the dough through the first rise, punch it down, shape the rolls, and let them rise in the pan for the second rise. Cover tightly and refrigerate overnight. In the morning, let them come to room temperature for 30-45 minutes, then bake as directed (adding 2-3 minutes to the baking time). You can also freeze the shaped rolls (after the second rise) before baking – thaw and rise as above.
- Q: Why are my rolls dense?
A: This is often due to over-kneading, using too much flour, under-rising, or under-baking. Ensure you knead just until smooth, use minimal flour, let them rise fully, and bake until golden brown.
- Q: Can I use instant yeast instead of active dry yeast?
A: Yes! You can use instant yeast (also called rapid-rise or bread machine yeast) in the same amount. You don’t need to activate it in warm milk first; just add it directly to the dry ingredients with the flour and salt.
- Q: How do I know when the dough has risen enough?
A: The dough should look noticeably puffy and doubled in size. A simple test is to gently press two fingers about 1 inch into the dough. If the indentation stays, it’s risen enough. If it springs back immediately, it needs more time.
- Q: Can I use a bread machine?
A: Yes! You can use the dough cycle on your bread machine. Add the ingredients in the order recommended by your machine (usually liquids first, then dry ingredients, with yeast last). Once the cycle finishes, proceed with shaping, rising, and baking the rolls as directed.
- Q: What if my kitchen is cold and the dough isn’t rising?
A: Place the covered bowl in a slightly warmed (turned off) oven with the light on, or near a warm appliance like a dishwasher or refrigerator. You can also place a bowl of hot water next to the rising dough to create a warm, humid environment.
- Q: Can I make these rolls without a mixer?
A: Definitely! You can mix and knead the dough entirely by hand using a sturdy wooden spoon and your hands. It might take a bit more effort, but it’s perfectly achievable.
- Q: Why is my glaze runny?
A: If your glaze is too thin, simply beat in more powdered sugar, a tablespoon at a time, until it reaches a thick, spreadable consistency. If it’s too thick, add a tiny splash of milk or cream.
- Q: Can I use a different pan?
A: Yes! While an 8×8 inch pan or a 9-inch pie dish works perfectly, you could also use a round cake pan or even a small cast-iron skillet. Just ensure it’s oven-safe and the right size for 6 rolls.
- Q: Are these rolls suitable for people with dietary restrictions?
A: This recipe is naturally dairy-free (using dairy-free milk and cream cheese alternative) and egg-free (using a flax egg or just omitting the egg if using a dairy-free alternative). It can be made gluten-free using a suitable flour blend. Always check labels on substitutes to ensure they meet specific dietary needs.
The Perfect Ending: A Slice of Home
There’s a profound comfort in baking something simple, something that brings warmth and sweetness into your home. These small batch cinnamon rolls capture that essence perfectly. They’re a testament to the fact that incredible flavor doesn’t require complexity or excess. With just a handful of ingredients and a little bit of time, you can create a moment of pure, gooey, cinnamon-scented joy. Whether it’s a quiet morning treat, a special date night dessert, or a simple answer to a sudden sweet craving, these rolls deliver. They’re a reminder that sometimes, the smallest batches hold the biggest hearts. So go ahead, preheat your oven, gather your ingredients, and bake a little bit of happiness. Enjoy every warm, cinnamon-kissed bite!