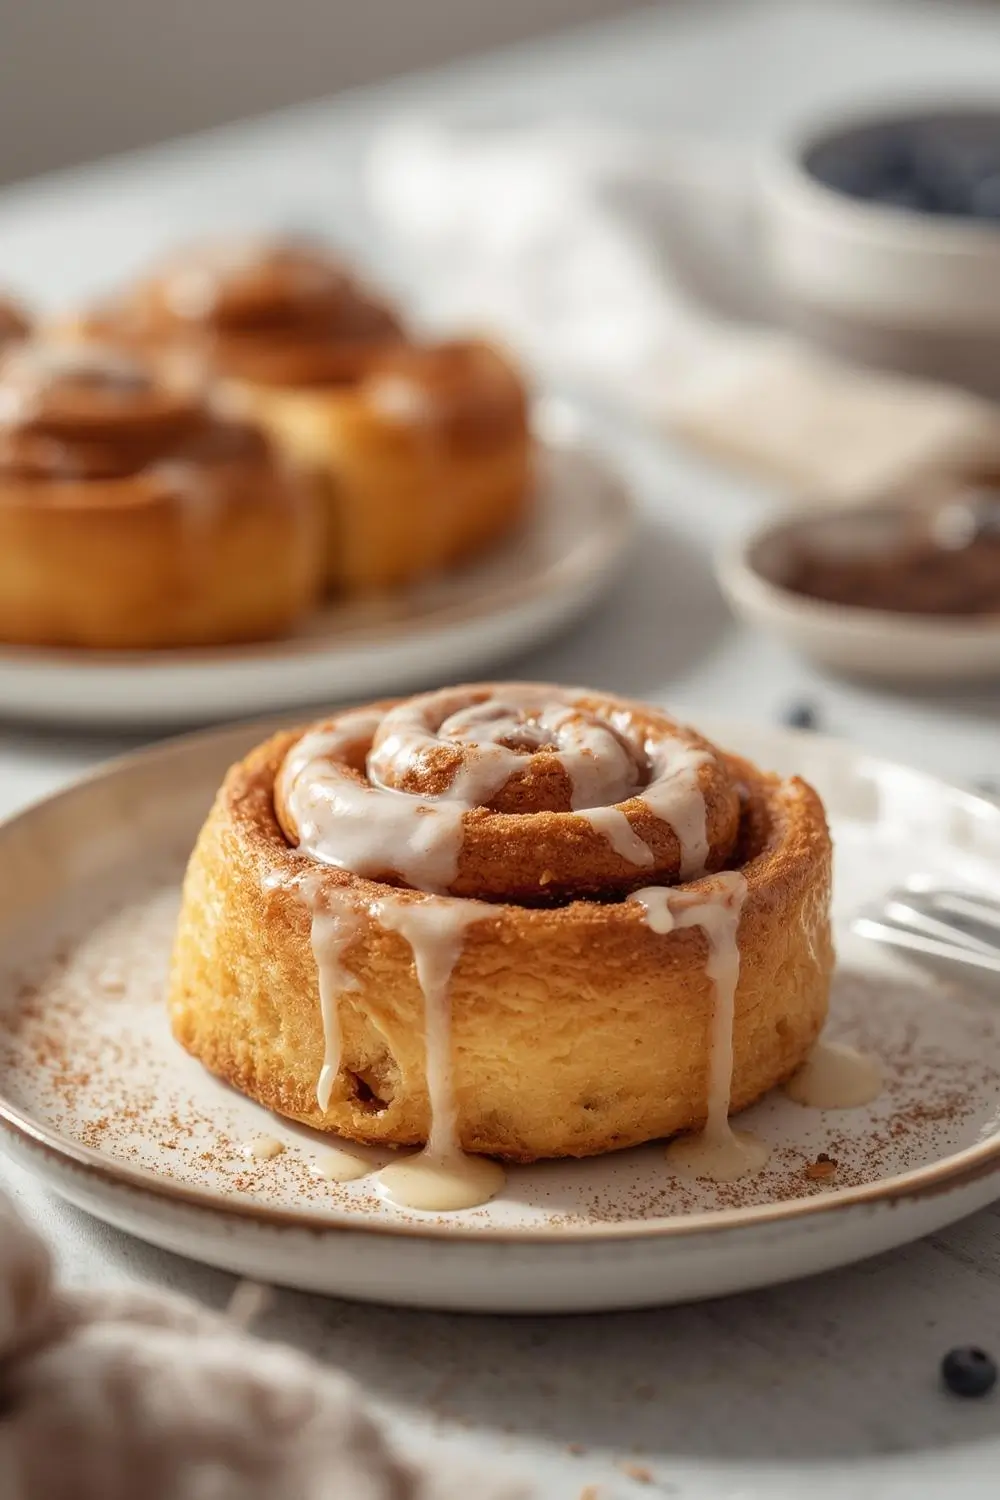
There’s something undeniably magical about the scent of cinnamon rolls baking in the oven. That warm, spicy-sweet aroma promises comfort and indulgence. But let’s be honest, sometimes you just don’t need a whole pan. Maybe you’re cooking for two, or perhaps you want to avoid the temptation of a dozen leftover rolls staring you down. That’s where these small batch cinnamon rolls from scratch come in. They deliver all the fluffy, gooey, cinnamon-spiced joy of a classic roll, but in a perfectly portioned, manageable size. Forget complicated recipes or massive batches; this easy cinnamon rolls recipe is designed for simplicity and success, ensuring you get restaurant-worthy results without the fuss.
Why Small Batch Wins
Making a full pan of cinnamon rolls is a fantastic treat, but it’s not always practical. These small batch rolls solve that problem beautifully. You get the satisfaction of baking from scratch, the thrill of that incredible aroma filling your kitchen, and the pure pleasure of biting into a warm, gooey roll – all without the overwhelming quantity. They’re ideal for a cozy weekend breakfast, a special treat for two, or even a thoughtful gift. Plus, mastering this small batch version gives you the confidence to tackle the full recipe later!
The Heart of the Roll: The Dough
The foundation of any great cinnamon roll is a soft, slightly sweet, and incredibly tender dough. This recipe uses a simple combination of flour, yeast, milk, butter, sugar, eggs, and a touch of salt. The key is patience – letting the dough rise properly ensures lightness and flavor. Don’t be tempted to rush this step; good things come to those who wait!
Ingredients Explained
- All-Purpose Flour (2 1/4 cups / 280g): The workhorse of the dough. All-purpose flour provides the right balance of structure and tenderness. Bread flour (2 1/4 cups / 280g) can be used for an even chewier texture, but all-purpose works wonderfully here.
- Active Dry Yeast (2 1/4 tsp / 1 standard packet): The leavening agent that makes the dough rise. Ensure it’s fresh for best results.
- Warm Milk (3/4 cup / 180ml): Warm to about 110°F (43°C). This activates the yeast. Whole milk adds richness, but 2% or even plant-based milk (like oat or almond) works fine. Avoid ultra-hot milk, which can kill the yeast.
- Unsalted Butter (1/4 cup / 56g), melted: Adds richness and tenderness. Let it cool slightly before adding to the warm milk mixture.
- Granulated Sugar (1/4 cup / 50g): Sweetens the dough and feeds the yeast.
- Large Egg (1), room temperature: Adds structure, richness, and helps the dough rise.
- Salt (1 tsp): Essential for flavor balance. Don’t skip it!
- Softened Unsalted Butter (4 tbsp / 57g): For the filling. Softened means pliable but not melted or greasy.
- Light Brown Sugar (1/2 cup / 100g): Packed down firmly. Adds deeper caramel notes than white sugar.
- Ground Cinnamon (2 tbsp): The star of the show. Use a good quality cinnamon for the best flavor.
- Cream Cheese (4 oz / 115g), softened: For the frosting. Full-fat cream cheese gives the best texture and flavor.
- Powdered Sugar (2 cups / 240g): For the frosting. Sift it for a smooth finish.
- Vanilla Extract (1 tsp): Enhances all the flavors.
- Salt (1/4 tsp): A tiny pinch balances the sweetness in the frosting.
Step-by-Step: Bringing It All Together
1. Activate the Yeast: In a large mixing bowl, combine the warm milk, melted butter, and granulated sugar. Stir gently until the sugar dissolves. Sprinkle the yeast evenly over the top. Let it sit undisturbed for 5-10 minutes. You’ll see it become foamy and bubbly – this means your yeast is active and ready to work!
2. Combine Wet Ingredients: Once the yeast is foamy, add the room-temperature egg and a pinch of salt. Whisk everything together until smooth.
3. Incorporate the Flour: Gradually add the flour to the wet mixture, stirring with a wooden spoon or sturdy spatula after each addition. Mix until a shaggy dough forms and no dry flour remains. The dough will be sticky.
4. Knead the Dough: Turn the dough out onto a lightly floured surface. Knead for about 8-10 minutes. This develops the gluten, giving the rolls their structure. Push the dough away with the heel of your hand, fold it over, rotate, and repeat. The dough is ready when it becomes smooth, elastic, and springs back when you gently poke it. It should be soft but not overly sticky (add a tiny bit more flour if needed during kneading).
5. First Rise: Lightly grease a large bowl with a little oil or butter. Place the kneaded dough ball into the bowl, turning it once to coat it lightly with oil. Cover the bowl tightly with plastic wrap or a damp kitchen towel. Let it rise in a warm, draft-free spot for 1 to 1.5 hours, or until it has roughly doubled in size. The time can vary depending on room temperature.
6. Prepare the Filling: While the dough rises, make the cinnamon sugar filling. In a small bowl, combine the softened butter, brown sugar, and cinnamon. Mix until it forms a thick, spreadable paste. Set aside.
7. Shape the Rolls: Once the dough has risen, punch it down gently to release the air. Turn it out onto a lightly floured surface. Roll the dough into a 12×16 inch rectangle (roughly). It should be about 1/4 inch thick.
8. Add the Filling: Spread the cinnamon sugar filling evenly over the entire surface of the dough, leaving a 1/2 inch border along one of the longer edges. This border helps seal the roll.
9. Roll Up: Starting from the long edge covered in filling, carefully roll the dough up tightly into a log. Pinch the seam closed firmly to seal. Use a sharp knife or dental floss to cut the log into 6 equal pieces (about 2 inches thick each). Place the rolls cut-side up in a lightly greased 8-inch round or square baking pan.
10. Second Rise: Cover the pan loosely with plastic wrap or a towel. Let the rolls rise again for 30-45 minutes, or until they look puffy and have expanded slightly, touching each other.
11. Bake: Preheat your oven to 375°F (190°C). Bake the rolls for 18-22 minutes, or until they are golden brown on top and the edges look set. The internal temperature should reach about 190°F (88°C) if you have a thermometer. They should sound hollow when tapped on the bottom.
12. Make the Frosting: While the rolls bake, make the cream cheese frosting. In a medium bowl, beat the softened cream cheese and butter together until smooth and creamy. Gradually add the sifted powdered sugar, beating well after each addition. Beat in the vanilla extract and a pinch of salt until the frosting is light and fluffy.
13. Frost and Serve: As soon as the rolls come out of the oven, spread the frosting generously over the warm rolls. The heat from the rolls will melt the frosting slightly, creating that perfect gooey layer. Serve immediately while warm and gooey. Enjoy the pure bliss!
Variations and Substitutions: Making it Your Own
- Flavor Boosters: Add 1/2 tsp of vanilla extract to the dough. Stir 1/2 cup of chopped pecans, walnuts, or raisins into the filling before rolling. For a citrus twist, add 1 tbsp of orange or lemon zest to the filling.
- Plant-Based: Use plant-based milk (oat, almond, soy) and a plant-based butter substitute in the dough. Ensure your yeast is suitable for vegan baking. Use a vegan cream cheese alternative for the frosting.
- Nut-Free: Omit nuts from the filling or frosting. Ensure any flavorings (like vanilla) are nut-free.
- Sweetener Swap: Replace granulated sugar in the dough with coconut sugar or brown sugar. Use maple syrup or agave in place of granulated sugar in the filling, adjusting slightly.
- Spice It Up: Add 1/2 tsp of ground cardamom or nutmeg to the filling for a different flavor profile.
- Make Ahead: Prepare the rolls up to the point of the second rise. Cover the pan tightly and refrigerate overnight. Let them come to room temperature (about 1 hour) before baking as directed. They might need an extra 5-10 minutes in the oven.
- Freeze: Bake the rolls completely, let them cool completely, then wrap tightly in plastic wrap and foil. Freeze for up to 2 months. To reheat, thaw overnight in the fridge, then warm in a 300°F (150°C) oven for 10-15 minutes, or microwave for 30-60 seconds.
Storage and Reheating: Keeping the Magic Alive
- Room Temperature: Store frosted or unfrosted rolls in an airtight container at room temperature for up to 2 days. The frosting might soften slightly.
- Refrigerator: Store frosted or unfrosted rolls in an airtight container in the fridge for up to 4 days. Frost before serving.
- Freezer: Freeze frosted or unfrosted rolls in an airtight container or heavy-duty freezer bag for up to 2 months. Thaw overnight in the fridge, then warm gently in a 300°F (150°C) oven for 10-15 minutes, or microwave for 30-60 seconds.
- Reheating: For the best texture, reheat frosted rolls in a 300°F (150°C) oven for 10-15 minutes. For individual rolls, microwave for 30-60 seconds. Avoid overheating, which can dry them out.
Common Mistakes to Avoid: Ensuring Success Every Time
1. Killing the Yeast: Using milk that’s too hot (above 110°F / 43°C) or adding salt directly to the yeast mixture before the milk/sugar can kill the yeast. Always dissolve yeast in warm milk/sugar first.
2. Under-Kneading: A dough that isn’t kneaded enough won’t develop the necessary gluten, resulting in dense, tough rolls. Knead until smooth and elastic.
3. Over-Kneading: While kneading is important, over-kneading can make the dough tough. Stop when it’s smooth and springs back.
4. Rushing the Rise: Yeast needs time to work. Don’t skip the first rise or rush the second rise. Cold environments slow it down significantly.
5. Too Much Flour During Kneading: Adding too much extra flour while kneading makes the dough dry and tough. Use just enough to prevent sticking, and aim for a soft, slightly tacky dough.
6. Filling Leakage: Ensure your filling paste is thick enough and that you leave a border when spreading it. Overfilling can cause it to leak out during baking.
7. Frosting Too Thick or Thin: If the frosting is too thick, beat in a tiny bit more cream cheese or milk. If too thin, add a little more powdered sugar. The ideal consistency should be spreadable but not runny.
8. Frosting Too Early: Frost the rolls after they come out of the oven. Frosting them while hot will melt the frosting completely. Wait until they are warm but not scalding hot.
FAQs: Your Small Batch Cinnamon Roll Questions Answered
1. Can I use bread flour instead of all-purpose flour? Yes! Bread flour has more protein, which creates a slightly chewier texture. It works beautifully in this recipe.
2. My dough is too sticky to knead. What should I do? Add flour very sparingly, a teaspoon at a time, while kneading. The dough should be soft and slightly tacky, not wet or dry. Don’t add too much!
3. My rolls didn’t rise much. Why? Check your yeast – it might be expired. Ensure the milk wasn’t too hot. The dough needs a warm, draft-free spot to rise. If your kitchen is cold, place the covered bowl in a slightly warm oven (with the light on) or near a warm appliance.
4. Can I make these without a mixer? Absolutely! You can mix the dough by hand with a sturdy spoon and knead it on a floured surface. It just takes a bit more elbow grease.
5. How do I know when the rolls are done baking? They should be golden brown on top and sound hollow when tapped on the bottom. An internal temperature of 190°F (88°C) is a good indicator.
6. Can I use a different milk? Yes! Whole milk, 2%, almond milk, oat milk, or soy milk all work. Avoid skim milk as it can make the dough drier.
7. Why is my frosting runny? You might have added too much liquid (milk, cream cheese, or butter). Beat in more sifted powdered sugar, a tablespoon at a time, until it thickens to a spreadable consistency.
8. Can I freeze the rolls unbaked? Yes! After shaping and placing them in the pan, cover the pan tightly with plastic wrap and foil. Freeze for up to 1 month. Bake from frozen, adding 5-10 minutes to the baking time, and ensure they are piping hot before serving.
9. Are these rolls dairy-free? This recipe uses butter and cream cheese, so it’s not dairy-free. You can substitute plant-based butter and a plant-based cream cheese alternative for a dairy-free version.
10. What’s the best way to reheat leftovers? The oven method (300°F / 150°C for 10-15 minutes) is best for maintaining texture. Microwaving works for a quick warm-up but can make them slightly softer.
The Final Touch: A Warm Embrace
There’s a profound comfort in baking something simple and delicious from scratch, especially when it’s perfectly portioned for sharing (or not sharing!). These small batch cinnamon rolls capture the essence of the classic treat – the tender, pillowy dough, the warm embrace of cinnamon and brown sugar, and the luxurious melt of cream cheese frosting. They’re a testament to the magic that happens when you take a little time and care. So, preheat your oven, gather your ingredients, and let the irresistible aroma of cinnamon and baking dough fill your home. Enjoy the pure, unadulterated joy of a perfectly baked, small batch cinnamon roll – a sweet reward for your efforts.