Table of Contents
- 1 What Makes Red Velvet Cookies Special
- 2 Why Use a Brownie Mix
- 3 Ingredients You’ll Need
- 4 Understanding the Ingredients
- 5 Step-by-Step Instructions
- 6 Enhancing the Flavor
- 7 Shaping the Cookies
- 8 Baking Instructions
- 9 Texture and Flavor Profile
- 10 Tips for Perfect Red Velvet Cookies
- 11 Creative Variations
- 12 Serving Suggestions
- 13 Storage and Shelf Life
- 14 Common Mistakes to Avoid
- 15 Perfect Occasions for Red Velvet Cookies
- 16 Beginner-Friendly Baking
- 17 Building Baking Confidence
- 18 Frequently Asked Questions
- 19 Final Thoughts
If you’re looking to bring something eye-catching and delicious to your dessert table, red velvet brownie mix cookies are the perfect solution. These cookies combine the soft, fudgy texture of brownies with the vibrant, signature color of red velvet. The result is a treat that feels festive, elegant, and completely satisfying—without requiring complicated steps or ingredients.
Red velvet desserts are known for their unique balance of mild cocoa flavor and subtle richness. When transformed into cookies using a brownie mix, they become even more approachable, making this recipe ideal for both beginners and experienced bakers. Whether you’re baking for a celebration, holiday, or just to try something different, these cookies offer a beautiful twist on a classic favorite.
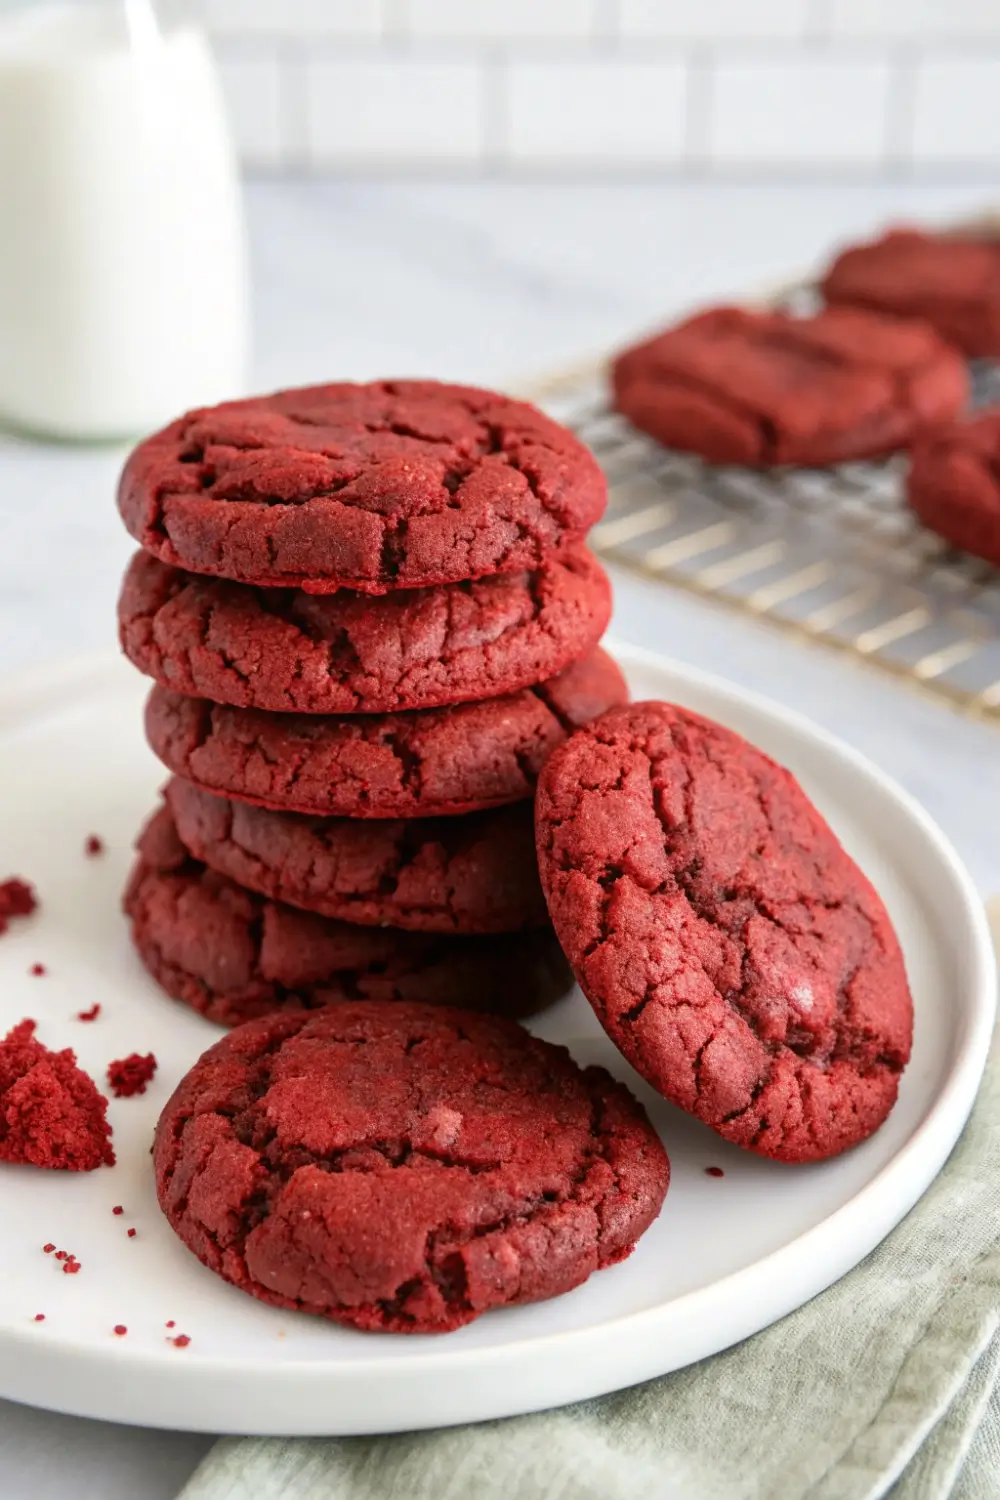
Red velvet cookies stand out not only for their flavor but also for their appearance and texture.
Vibrant Color
The rich red hue makes these cookies visually striking and perfect for special occasions.
Soft, Fudgy Texture
Like brownies, these cookies have a tender interior that melts in your mouth.
Subtle Chocolate Flavor
Red velvet offers a lighter chocolate taste compared to traditional chocolate cookies.
Elegant and Fun
They feel both playful and sophisticated, making them versatile for many events.
Why Use a Brownie Mix
Using a brownie mix simplifies the process while still delivering excellent results.
Consistent Results
The mix ensures balanced flavor and texture every time.
Time-Saving
You skip measuring multiple ingredients.
Beginner-Friendly
Perfect for those who want an easy yet impressive dessert.
Ingredients You’ll Need
This recipe keeps things simple while allowing room for creativity.
Main Ingredients
- 1 box red velvet brownie mix
- 2 large eggs
- 1/3 cup vegetable oil
- 1/2 cup all-purpose flour
Optional Add-Ins
- 1 teaspoon vanilla extract
- 1/2 cup white chocolate chips
- A pinch of salt
Understanding the Ingredients
Each ingredient contributes to the final result.
Red Velvet Brownie Mix
Provides the signature color, flavor, and sweetness.
Eggs
Help bind the dough and create structure.
Oil
Adds moisture and keeps the cookies soft.
Flour
Gives the dough enough thickness to form cookies instead of spreading like batter.
Step-by-Step Instructions
Follow these steps to create soft, vibrant cookies with ease.
Prepare Your Oven
Preheat your oven to 350°F (175°C). Line a baking sheet with parchment paper.
Mix the Wet Ingredients
In a large bowl:
- Combine the eggs and vegetable oil.
- Stir until smooth.
Add the Brownie Mix
Pour in the red velvet brownie mix and stir until fully combined.
Add Flour
Mix in the flour until a thick, soft dough forms.
Enhancing the Flavor
Vanilla Extract
Adds warmth and depth to the overall taste.
White Chocolate Chips
Provide a creamy contrast to the mild cocoa flavor.
Salt Balance
A small pinch of salt enhances the sweetness and richness.
Portion the Dough
Use a spoon or cookie scoop to create evenly sized portions.
Roll into Balls
Gently roll the dough for a smooth shape.
Space Evenly
Place cookies about 2 inches apart on the baking sheet.
Baking Instructions
Bake Time
Bake for 8–10 minutes.
Visual Cues
- Edges should be set
- Centers should remain soft
Cooling
Allow cookies to cool on the baking sheet for 5 minutes before transferring to a rack.
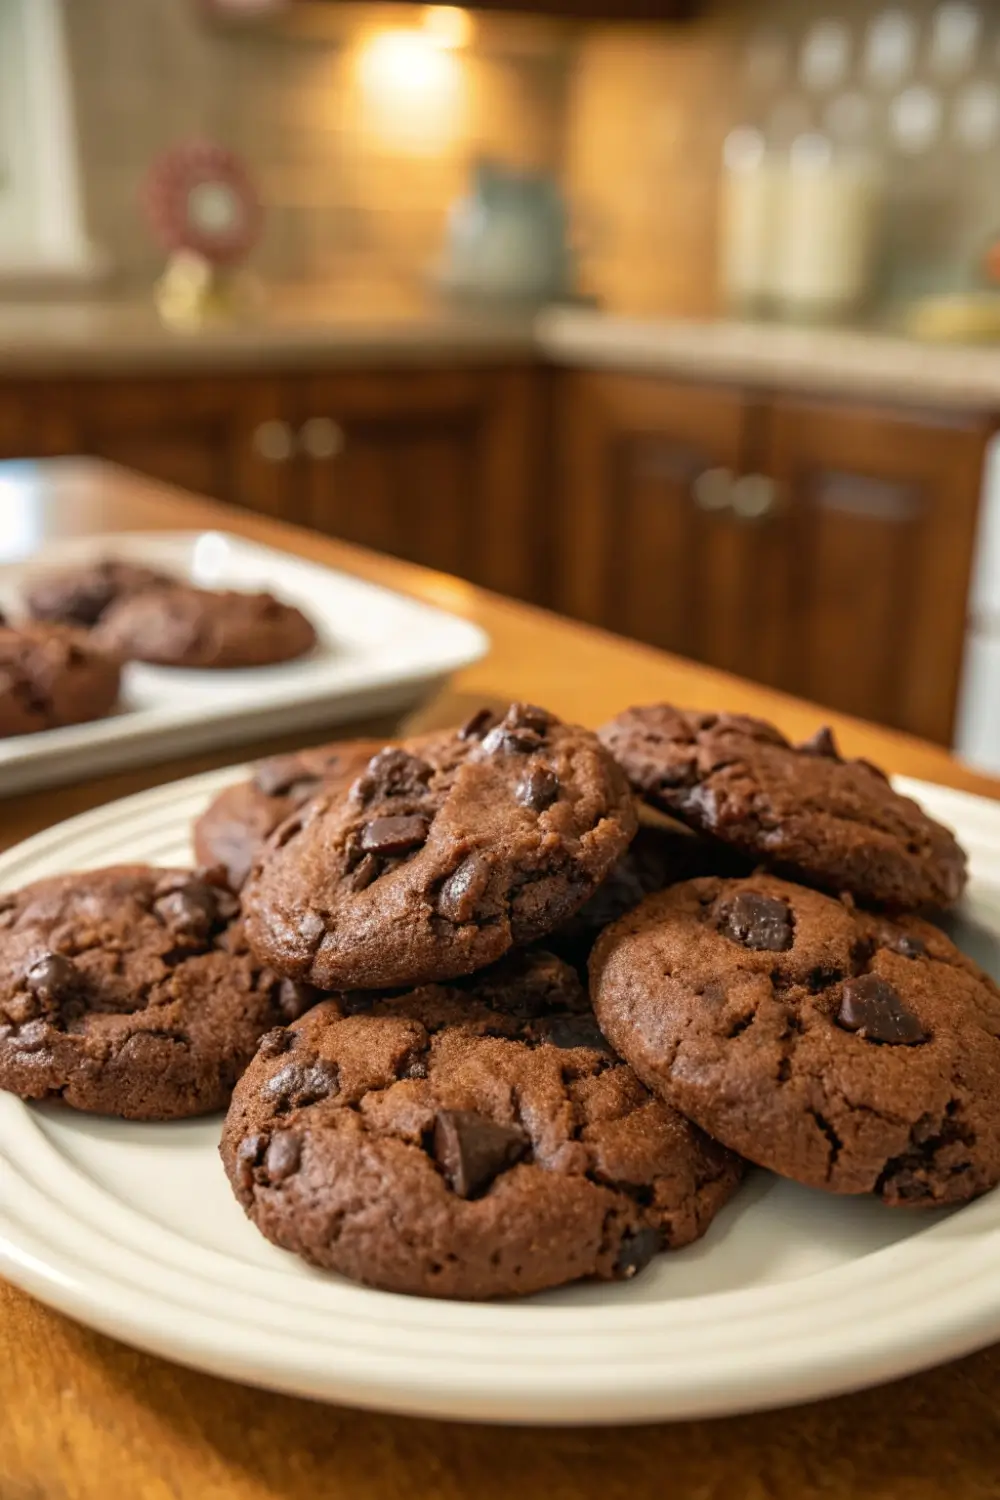
Texture and Flavor Profile
These cookies offer a unique and satisfying experience.
Soft and Tender Interior
The inside remains moist and slightly fudgy.
Lightly Crisp Edges
Provides a gentle contrast in texture.
Mild Chocolate Flavor
Less intense than traditional chocolate cookies, with a smooth finish.
Don’t Overbake
Keeping the center soft ensures the best texture.
Use Parchment Paper
Prevents sticking and helps maintain even baking.
Chill the Dough (Optional)
If the dough is too soft, chill it for 15–20 minutes.
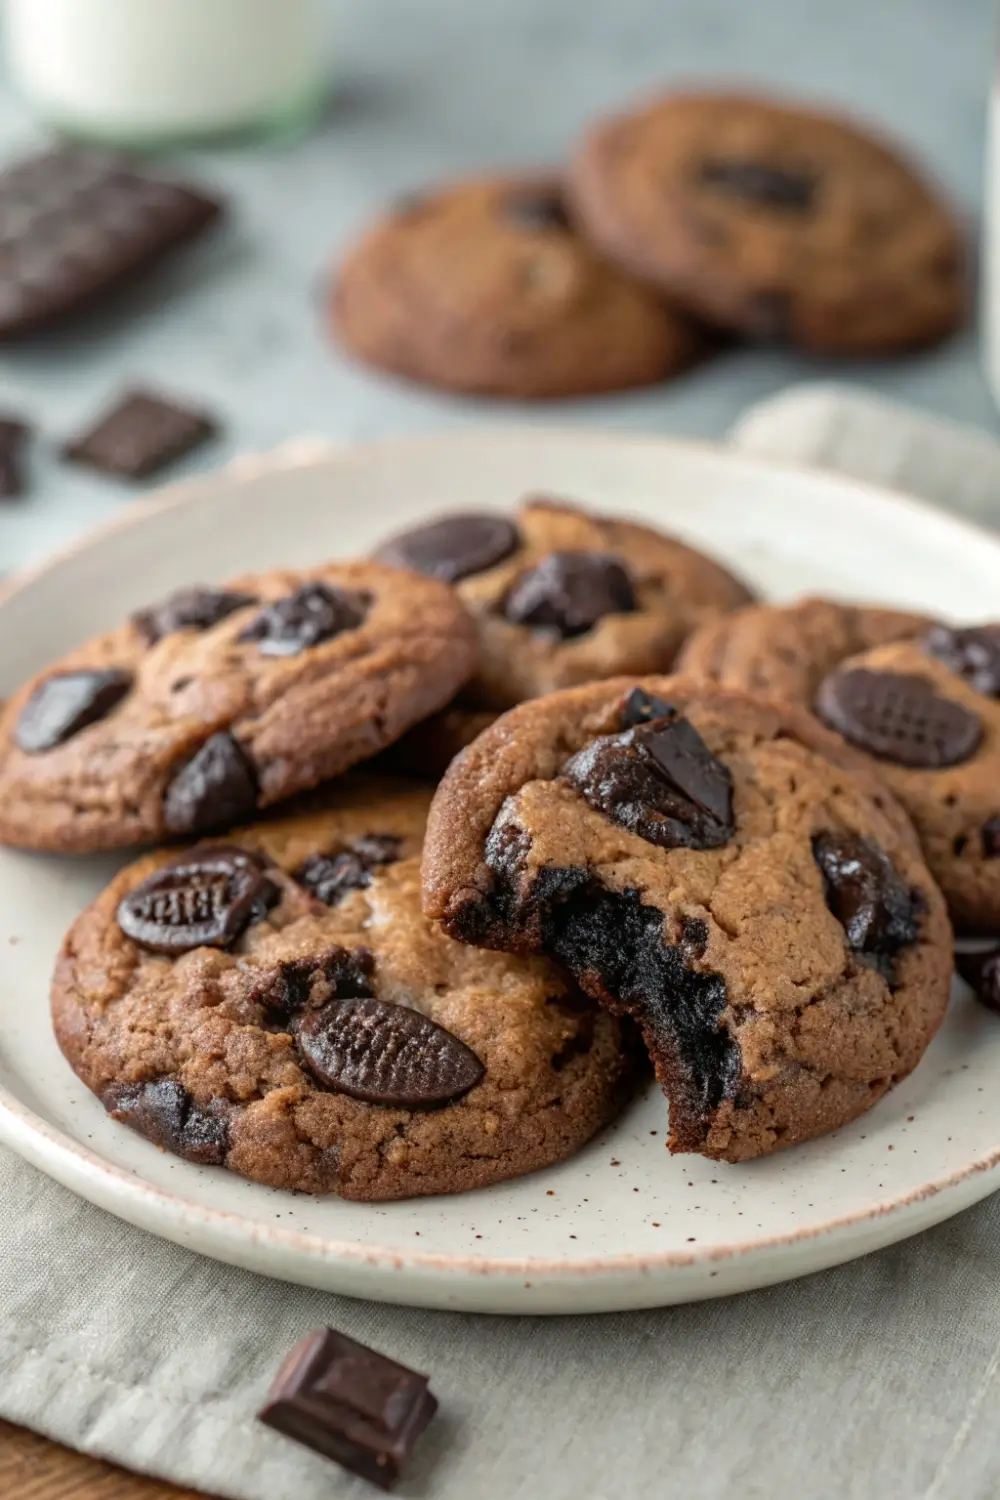
Use Quality Add-Ins
White chocolate chips or other additions can elevate the flavor.
Creative Variations
These cookies are easy to customize for different occasions.
Cream Cheese Drizzle
Add a simple cream cheese glaze for a classic red velvet pairing.
Holiday-Themed Cookies
Decorate with seasonal sprinkles or toppings.
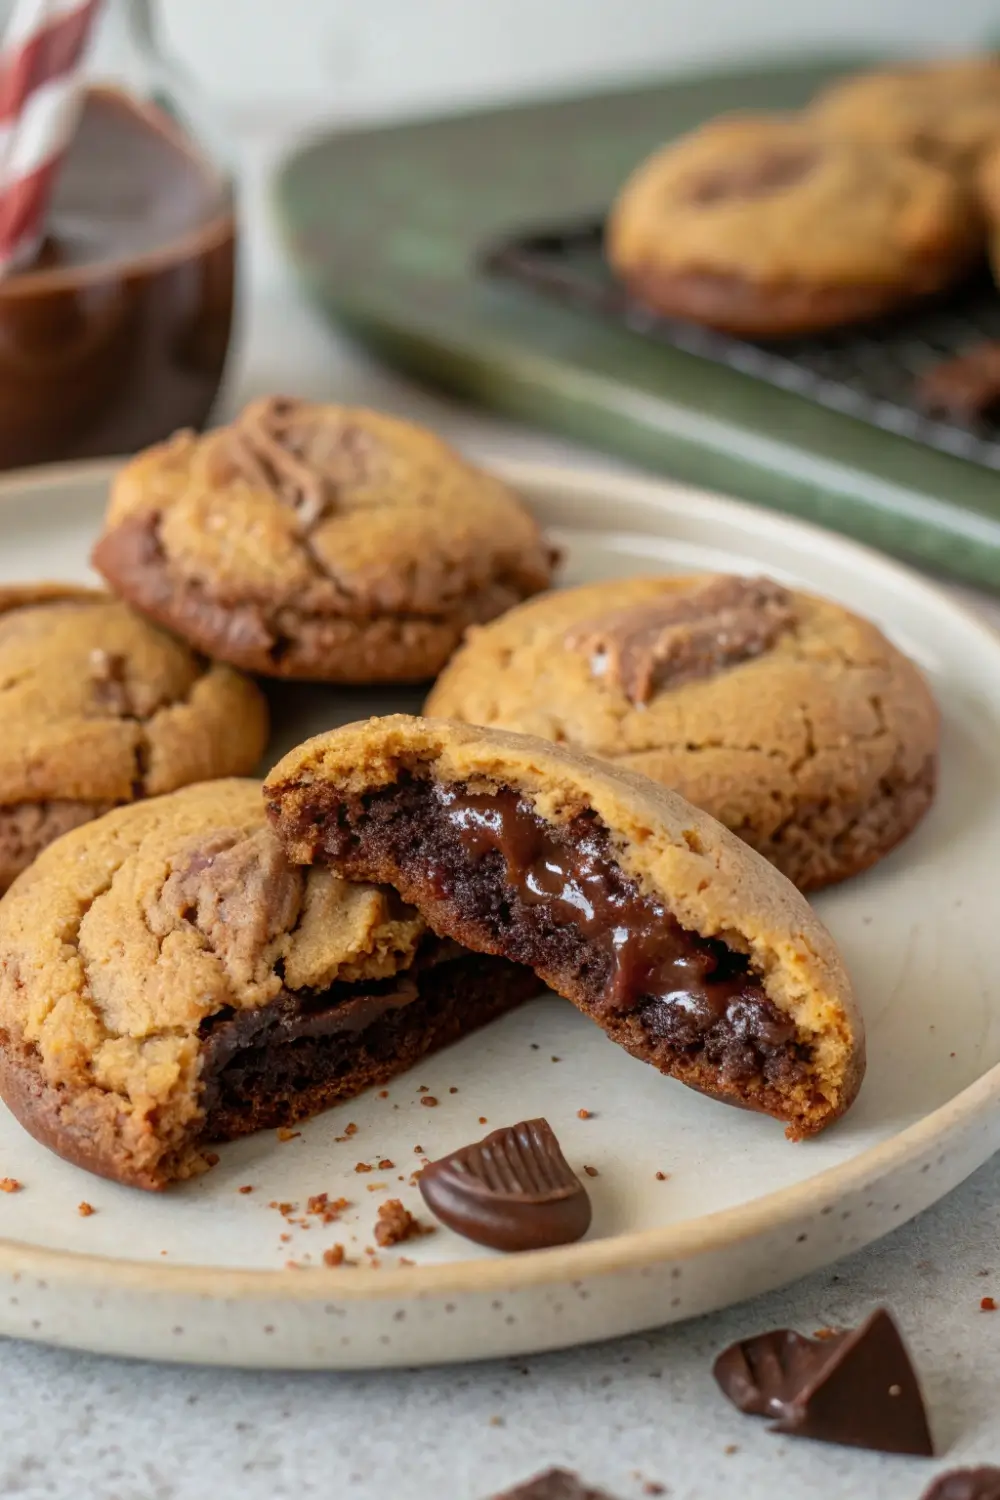
Stuffed Cookies
Add a small cream filling inside for a surprise center.
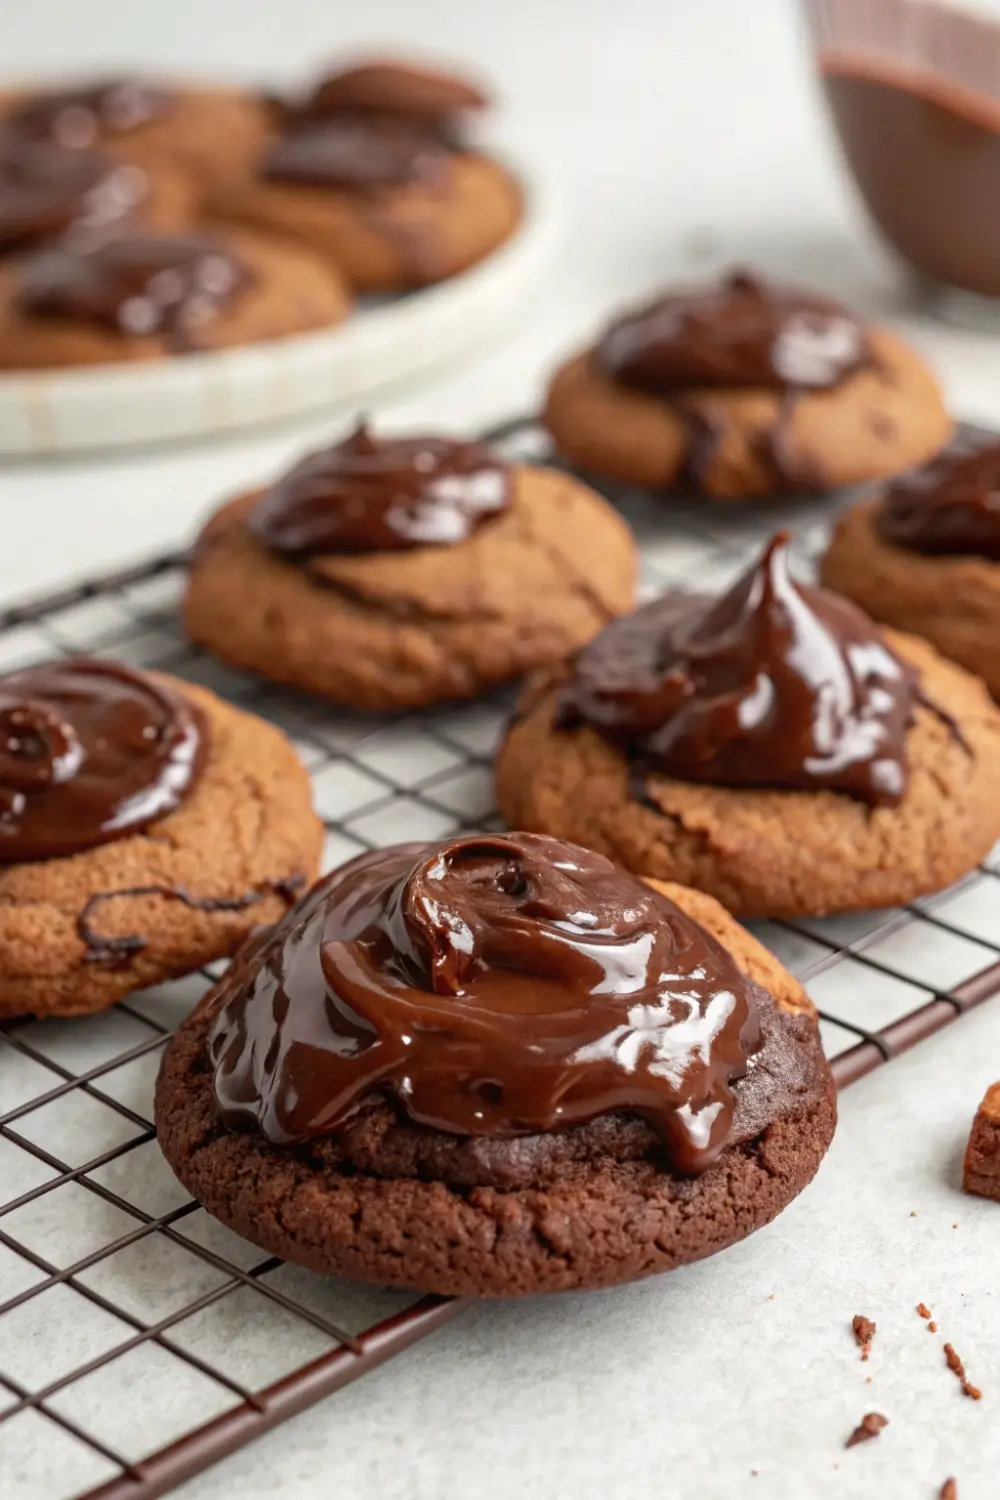
Chocolate Drizzle
Enhance the look with a dark or white chocolate drizzle.
Serving Suggestions
These cookies are perfect for a variety of occasions.
Dessert Tables
Their bright color makes them stand out.
Celebrations
Ideal for birthdays, holidays, and gatherings.
With Beverages
Pair with milk, tea, or coffee.
Gift Giving
Package them for a thoughtful homemade gift.
Storage and Shelf Life
Room Temperature
Store in an airtight container for up to 5 days.
Refrigeration
Optional, especially in warmer environments.
Freezing
- Freeze baked cookies for up to 2 months
- Freeze dough for future use
Common Mistakes to Avoid
Overmixing the Dough
Can lead to dense cookies.
Overbaking
Removes the soft, fudgy texture.
Using Too Little Flour
May cause cookies to spread too much.
Skipping Cooling Time
Cookies may break if moved too soon.
Holidays
Their color makes them ideal for festive celebrations.
Parties
A unique and eye-catching dessert option.
Everyday Treats
Simple enough to enjoy anytime.
Beginner-Friendly Baking
This recipe is perfect for those new to baking.
Simple Steps
Easy to follow and understand.
Minimal Ingredients
No complicated preparation required.
Reliable Results
Consistent and forgiving.
Building Baking Confidence
Learn Basic Techniques
Mixing, shaping, and baking fundamentals.
Experiment with Flavors
Try different add-ins and decorations.
Enjoy the Process
Baking should be fun and rewarding.
Frequently Asked Questions
Can I use a regular brownie mix instead?
Yes, but you won’t get the signature red velvet color and flavor.
Why are my cookies too flat?
You may need to add a bit more flour or chill the dough.
Can I add frosting?
Yes, a light frosting or drizzle pairs well with these cookies.
How do I keep the color vibrant?
Avoid overbaking and use a good-quality mix.
Can I make smaller cookies?
Yes, just adjust the baking time slightly.
Can I prepare the dough in advance?
Yes, refrigerate for up to 24 hours.
Are these cookies beginner-friendly?
Absolutely, they are simple and easy to make.
Final Thoughts
Red velvet brownie mix cookies are a fun and elegant twist on traditional chocolate cookies. With their vibrant color, soft texture, and subtle flavor, they offer a dessert experience that feels both special and effortless.
Perfect for celebrations or everyday baking, these cookies are easy to make and always impressive. Whether you’re sharing them with others or enjoying them yourself, they bring a touch of creativity and indulgence to any moment.
Once you try them, you’ll discover how simple it is to create a dessert that looks beautiful, tastes amazing, and feels just a little bit different from the usual.