Quick Sourdough Discard BananaBread – Moist & Delicious!
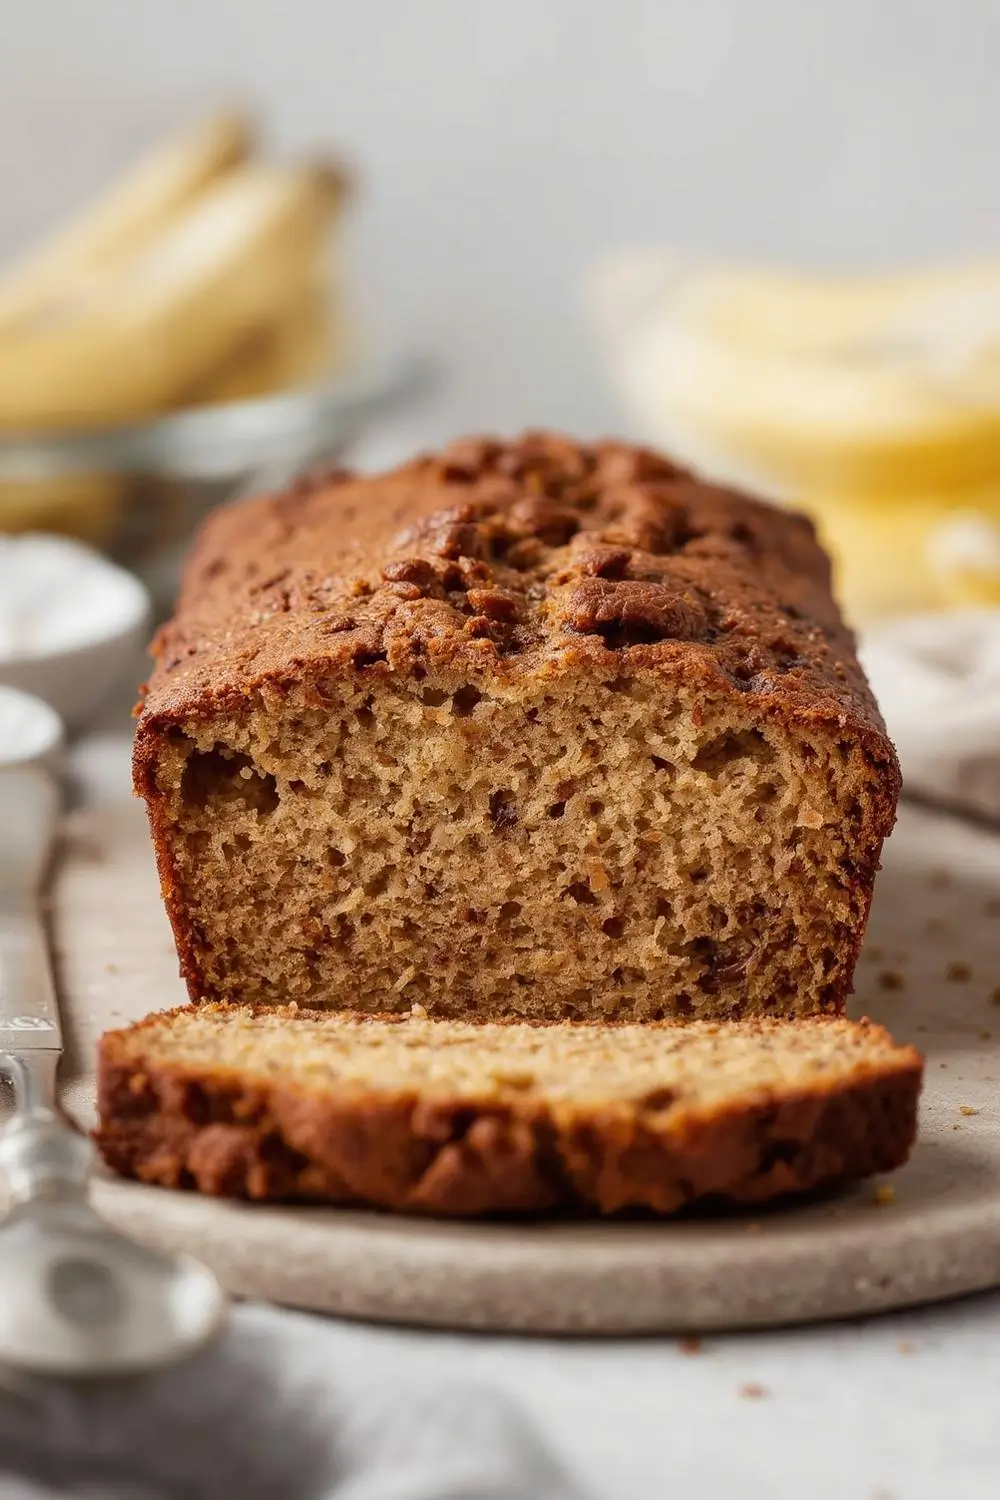
Imagine transforming a simple bowl of leftover sourdough starter into a warm, fragrant loaf of banana bread that disappears faster than you can say “breakfast.” This Quick Sourdough Discard Banana Bread isn’t just a recipe; it’s a delicious solution for reducing waste and creating something truly special. Bursting with the natural sweetness of ripe bananas and the subtle tang of sourdough, this bread stays wonderfully moist thanks to the unique properties of your discard. Perfect for a quick breakfast, a satisfying snack, or even a thoughtful gift, it’s incredibly easy to make and guaranteed to become a staple in your baking repertoire. Let’s dive into creating this fluffy, flavorful loaf together.
Why Sourdough Discard Makes Magic
Using sourdough discard isn’t just about being resourceful; it actively enhances your banana bread. The discard introduces beneficial acids and enzymes that interact beautifully with the bananas and flour. This interaction contributes to a finer crumb structure, a subtle tangy depth that complements the sweetness, and crucially, an incredibly moist texture that lasts. You’ll find this bread stays soft and inviting for days, far longer than many traditional banana bread recipes. It’s a win-win: you reduce waste, and you elevate your baking.
Gathering Your Ingredients: The Power of Simplicity
This recipe relies on pantry staples and your trusty sourdough discard. Here’s what you’ll need:
- Ripe Bananas (2-3): The star of the show! Look for bananas that are deeply speckled with brown spots. Their natural sugars are at their peak, ensuring maximum sweetness and moisture. Overripe bananas are perfect here.
- Sourdough Discard (1 cup): This is the magic ingredient! Use your discard straight from the fridge. If it’s very thick, give it a quick stir to loosen it slightly. The discard provides the unique tang and moisture.
- All-Purpose Flour (1 3/4 cups): Provides the structure. You can use bread flour for a slightly chewier texture, or whole wheat flour for a nuttier flavor and denser crumb.
- Granulated Sugar (1/2 cup): Balances the banana’s sweetness. Brown sugar adds extra moisture and a deeper caramel note.
- Large Eggs (2): Bind the ingredients together and add richness.
- Unsalted Butter (1/2 cup, melted & slightly cooled): Adds tenderness and flavor. You can use neutral oil like canola or vegetable oil for a slightly different texture.
- Vanilla Extract (1 teaspoon): Enhances all the other flavors beautifully.
- Baking Soda (1 teaspoon): The primary leavener, reacting with the acids in the sourdough discard and bananas to create lift.
- Salt (1/2 teaspoon): Balances the sweetness and enhances flavor.
- Optional Add-ins: This is where you can get creative! Consider adding 1 cup of chopped walnuts, pecans, or chocolate chips. A sprinkle of cinnamon or a handful of dried cranberries can also be delightful.
Step-by-Step: Mixing, Baking, and Perfecting
Now, let’s transform these ingredients into a beautiful loaf. This process is straightforward and forgiving, ideal for bakers of all levels.
1. Prep & Preheat: Start by preheating your oven to 350°F (175°C). Grease a standard 9×5 inch loaf pan generously with butter or non-stick spray, or line it with parchment paper for easy removal. This step ensures your bread releases cleanly.
2. Mashing the Bananas: In a large mixing bowl, gently mash the ripe bananas with a fork until mostly smooth, with just a few small lumps remaining. Don’t over-mash them into a completely liquid state; some texture is good.
3. Combining Wet Ingredients: Add the melted butter (or oil), eggs, sugar (if using), and vanilla extract to the mashed bananas. Whisk these together until well combined and smooth. The mixture might look slightly separated at first – that’s normal.
4. Incorporating Sourdough Discard: Pour the sourdough discard into the wet banana mixture. Whisk gently until everything is fully incorporated. The discard might look a bit lumpy, but that’s fine. This is where the magic begins!
5. Dry Ingredients & Folding: In a separate medium bowl, whisk together the flour, baking soda, and salt. Gradually add the dry ingredients to the wet mixture. Using a spatula or wooden spoon, fold the ingredients together just until combined. Be careful not to overmix! A few streaks of flour are okay. Overmixing develops gluten, leading to a tough, dense loaf. The batter will be thick.
6. Adding Add-ins (Optional): If using nuts, chocolate chips, or dried fruit, gently fold them into the batter now, distributing them evenly.
7. Baking: Pour the batter into your prepared loaf pan, smoothing the top gently with the spatula. Place the pan in the center of your preheated oven.
8. The Bake: Bake for approximately 50-65 minutes. The exact time can vary slightly depending on your oven, pan size, and altitude. Start checking for doneness around the 50-minute mark. The bread is done when:
A toothpick or skewer inserted into the center* of the loaf comes out clean or with just a few moist crumbs attached (no wet batter).
* The top is a deep golden brown and springs back lightly when gently pressed in the center.
* The edges pull slightly away from the sides of the pan.
9. Cooling: Once baked, carefully remove the loaf pan from the oven. Place it on a wire cooling rack. Let the bread cool in the pan for at least 15-20 minutes. This allows it to set and makes it easier to remove. Then, carefully turn the loaf out onto the rack to cool completely before slicing. Slicing too soon can cause it to crumble. Patience here pays off with perfect slices!
Variations & Substitutions: Making it Your Own
This versatile recipe welcomes tweaks to suit your taste or what you have on hand:
- Sweetener Swap: Replace granulated sugar with an equal amount of brown sugar for extra moisture and caramel notes. You can also use a sugar substitute like honey or maple syrup, but reduce the liquid slightly (by about 1-2 tablespoons) and expect a slightly different texture.
- Flour Flexibility: Bread flour creates a slightly chewier crumb. Whole wheat flour adds nuttiness but can make the bread denser. A 50/50 blend offers a good compromise. Gluten-free flour blends work, but results may vary significantly.
- Fat Alternatives: Use neutral oil instead of melted butter for a slightly different flavor profile. Applesauce or mashed avocado can replace part of the butter for a lighter option, but expect a moister crumb.
- Add-ins Galore: Nuts (walnuts, pecans), chocolate chips, dried cranberries, blueberries, or even a sprinkle of cinnamon or nutmeg are fantastic additions. Fold them in gently after combining the wet and dry ingredients.
- Boosting Flavor: Add 1/2 teaspoon of ground cinnamon, 1/4 teaspoon of nutmeg, or a pinch of cardamom to the dry ingredients for extra warmth. A splash of bourbon or rum (though strictly non-alcoholic options are preferred) can be added to the wet ingredients for depth, but this is optional and not required.
Storage & Reheating: Keeping it Moist
One of the best things about this sourdough discard banana bread is its impressive shelf life thanks to the sourdough’s natural properties:
- Room Temperature: Store the completely cooled loaf, wrapped tightly in plastic wrap or placed in an airtight container, at room temperature. It will stay wonderfully moist and fresh for 3-4 days. The sourdough helps inhibit mold growth.
- Refrigeration: For longer storage (up to a week), wrap the loaf tightly and refrigerate. The flavor might mellow slightly, but it remains delicious. Bring it to room temperature before serving for the best texture.
- Freezing: This bread freezes exceptionally well! Wrap individual slices or the whole loaf tightly in plastic wrap, then place it in a heavy-duty freezer bag or wrap it again in foil. Freeze for up to 3 months. Thaw at room temperature or gently warm slices in the microwave or oven.
Reheating Tips:
- Room Temperature: Simply unwrap and enjoy at room temperature for the best flavor and texture.
- Oven: Wrap the slice in foil and warm in a 300°F (150°C) oven for 10-15 minutes.
- Microwave: Warm a slice on high for 15-20 seconds. Be cautious not to overheat, as it can make the bread tough.
Common Mistakes to Avoid: Ensuring Success
Even simple recipes can trip us up. Here’s how to avoid pitfalls:
Overripe Bananas: While very ripe bananas are ideal, extremely* overripe bananas (blackened skins) can make the bread too wet and dense. Aim for bananas with lots of brown spots but still somewhat firm.
Overmixing: This is the #1 culprit for tough bread. Mix just* until the dry ingredients are incorporated. Lumps in the batter are fine.
- Incorrect Baking Time: Ovens vary. Start checking at 50 minutes. Opening the oven door too frequently can cause the bread to fall. Use the toothpick test!
- Underbaking: An undercooked loaf will collapse and be gummy. Ensure the toothpick comes out clean.
- Not Greasing the Pan: Forgetting to grease the pan properly leads to a stuck loaf. Use plenty of butter or spray.
- Using Cold Sourdough Discard: If your discard is very cold from the fridge, let it sit at room temperature for 15-30 minutes before using, or give it a quick stir to loosen it. Cold discard can make the batter too thick initially.
Frequently Asked Questions: Your Sourdough Banana Bread Guide
- Q: Can I use sourdough starter instead of discard?
A: Yes! If your starter is thick and active, you can use it directly. You might need to adjust the liquid slightly (reduce milk or water by 1-2 tablespoons) as starter is often thicker than discard. Discard is perfectly fine and convenient.
- Q: My bread is dense. What went wrong?
A: This is usually due to overmixing the batter or using bananas that are too overripe. Ensure you mix only until combined and use bananas with good spots but not blackened skins.
- Q: Can I make this without sourdough discard?
A: Absolutely! You can substitute buttermilk, plain yogurt, or even milk for the discard. The flavor and texture will be slightly different, but it will still be delicious banana bread.
- Q: How do I know if my sourdough discard is ready to use?
A: Discard is ready when it’s thick, pourable, and smells pleasantly sour, not unpleasant. It should be the consistency of thick pancake batter. If it’s too thick, stir in a little water or milk.
- Q: Can I add nuts or chocolate chips?
A: Yes! Fold in 1 cup of chopped nuts, chocolate chips, or dried fruit after combining the wet and dry ingredients. Adjust the baking time by 5-10 minutes if adding moist add-ins like dried fruit.
- Q: Why is my bread so moist?
A: The sourdough discard is key! Its natural acids and enzymes help retain moisture. Using very ripe bananas also contributes significantly. This is a hallmark of sourdough discard banana bread.
- Q: Can I make mini loaves?
A: Yes! Pour the batter into greased mini loaf pans. Bake at 350°F (175°C) for 25-35 minutes, or until a toothpick comes out clean. Adjust time as needed.
- Q: How do I store sourdough discard?
A: Store discard in a clean jar in the refrigerator. It can be used for up to 2 weeks. Feed it regularly (add equal parts flour and water) to keep it active. Discard is perfect for this recipe!
A Final Slice of Inspiration
There’s something deeply satisfying about baking a loaf that starts with a simple bowl of leftover starter and transforms into a warm, fragrant, and utterly delicious treat. This Quick Sourdough Discard Banana Bread embodies the beauty of resourceful baking – turning what might be considered waste into something truly special. Its moist crumb, subtle tang, and pure banana flavor make it a standout. Whether enjoyed for breakfast with a cup of coffee, packed in a lunchbox, or shared as a homemade gift, it’s a recipe that celebrates simplicity, sustainability, and the pure joy of baking. Give it a try, embrace the process, and savor the delicious results of your sourdough journey. Happy baking!


