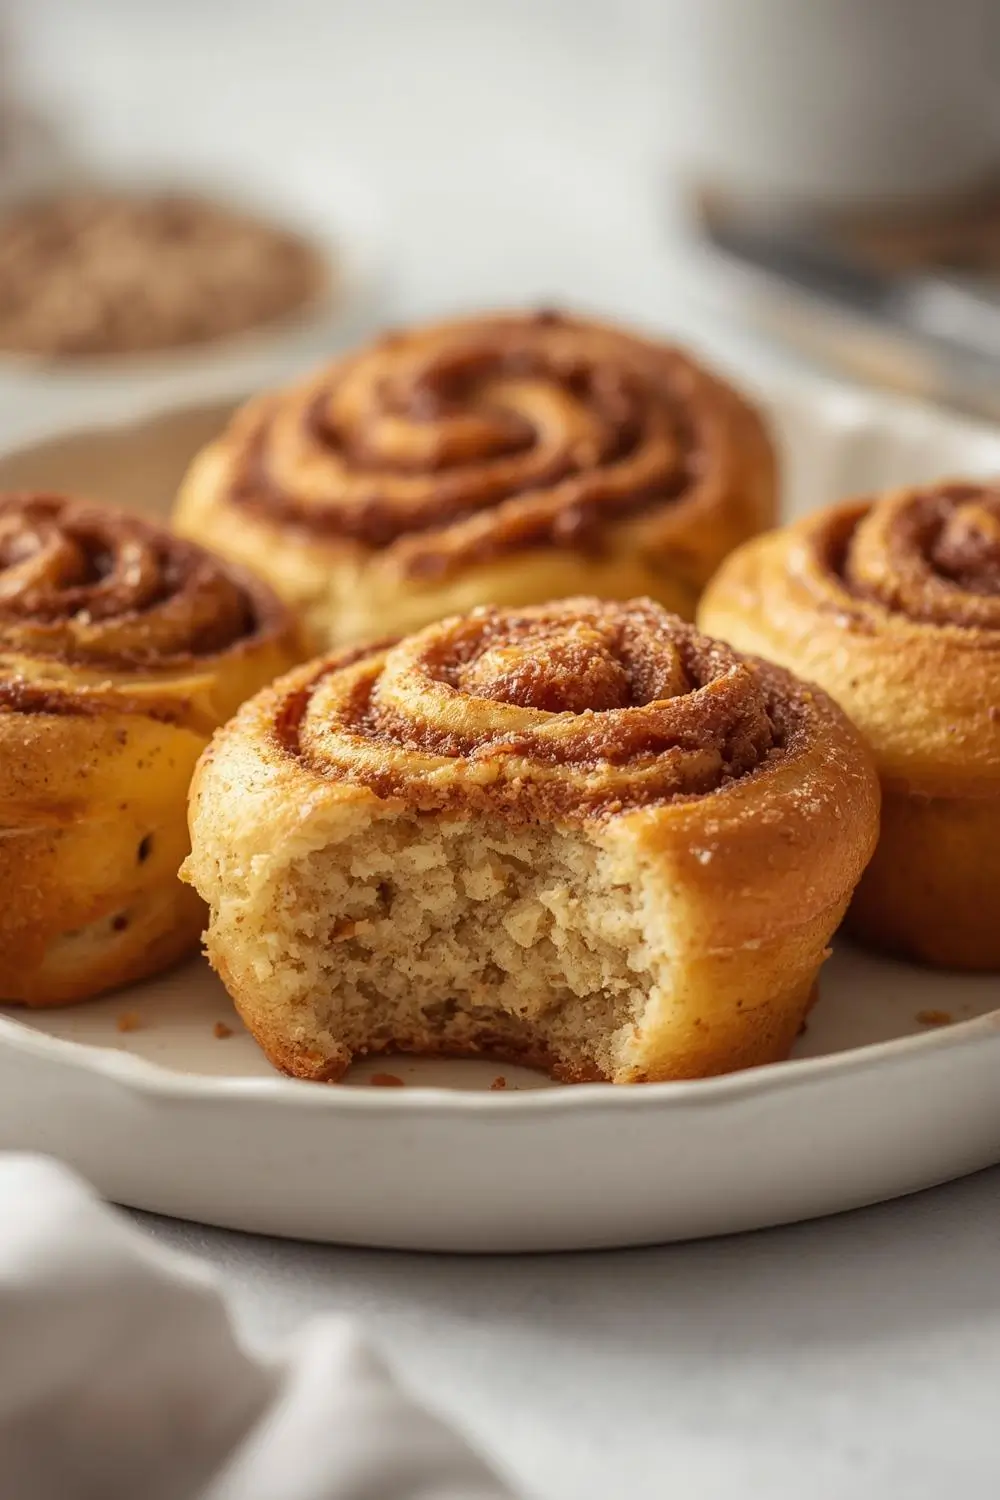
There’s something undeniably magical about the scent of cinnamon rolls baking. That warm, sweet, buttery aroma promises comfort and indulgence. But let’s be honest, traditional cinnamon rolls often feel like a weekend project, demanding hours of your time. What if you could capture that same bakery magic, that same comforting hug in a roll, without dedicating your entire Sunday? Enter the Quick Rise Cinnamon Roll. These aren’t just a shortcut; they’re a revelation for busy mornings, offering fluffy, bakery-style perfection in a fraction of the time. Perfect for those hectic weekdays when you crave a special treat, or for a relaxed weekend brunch that feels like a celebration without the stress.
Forget complicated yeast schedules and overnight rises. This recipe harnesses the power of instant yeast and a warm environment to get your dough rising fast. The result? Soft, tender rolls bursting with cinnamon-sugar goodness, ready to devour in under two hours. They’re incredibly versatile too – perfect plain, topped with classic cream cheese frosting, or even jazzed up with a drizzle of maple glaze. Whether you’re feeding a hungry family on a school morning, surprising your partner with a special breakfast, or simply treating yourself to a moment of pure sweetness, these Quick Rise Cinnamon Rolls are your answer.
Why This Recipe is a Game-Changer:
- Speed: From mixing to munching, these rolls take roughly 1 hour 45 minutes. That’s less time than most TV shows!
- Simplicity: Uses basic pantry staples. No exotic ingredients or specialized equipment needed.
- Fluffiness: The combination of instant yeast and a warm rise environment creates rolls that are light, airy, and incredibly tender.
- Versatility: Customize the filling with nuts, raisins, or even a swirl of chocolate. Frost with classic cream cheese, vanilla glaze, or a simple powdered sugar drizzle.
- Perfect for Any Occasion: Ideal for busy weekdays, lazy weekends, brunch gatherings, or even as a thoughtful gift.
The Magic Behind the Speed: Instant Yeast & Warm Proofing
The key to these lightning-fast rolls lies in two elements: instant yeast and warm proofing. Instant yeast (also called rapid-rise or bread machine yeast) doesn’t require a separate activation step with warm water. You can mix it directly into your dry ingredients. The real speed booster is creating a consistently warm environment for the dough to rise. This can be achieved by placing the dough in a turned-off oven with a bowl of hot water inside, or using a warm spot near a radiator or sunny window. This warm environment dramatically accelerates the yeast activity, getting your dough ready for shaping much faster than traditional methods.
Ingredients: Your Pantry Powerhouse
Here’s what you’ll need to create these fluffy delights. Don’t be intimidated by the list – it’s all straightforward baking staples:
- All-Purpose Flour: The backbone of the dough. Provides structure and chewiness. (About 4 1/2 cups / 560g)
- Granulated Sugar: Sweetens the dough and feeds the yeast. (About 1/2 cup / 100g)
- Salt: Essential for flavor balance. Don’t skip it! (1 1/2 teaspoons)
- Instant Yeast: The secret weapon for speed. (2 1/4 teaspoons / 1 standard packet)
- Warm Milk: Provides moisture and richness. Should be around 110°F (43°C) – warm to the touch, not hot. (1 cup / 240ml)
- Unsalted Butter: Melted and cooled slightly. Adds incredible tenderness and flavor. (1/2 cup / 115g)
- Large Eggs: Adds richness, structure, and helps with browning. (2 large eggs)
- Vanilla Extract: A touch of pure vanilla enhances the overall flavor. (1 teaspoon)
- For the Cinnamon Sugar Filling:
* Brown Sugar: Packed, for deeper molasses notes. (1/2 cup / 100g)
* Ground Cinnamon: The star of the show! (2 tablespoons)
* Salt: A pinch to balance the sweetness. (1/8 teaspoon)
* Unsalted Butter: Softened, for spreading. (2 tablespoons)
- For the Cream Cheese Frosting (Optional but Recommended):
* Cream Cheese: Full-fat, softened. (8 ounces / 225g)
* Unsalted Butter: Softened. (4 tablespoons / 57g)
* Powdered Sugar: Sifted, for sweetness and texture. (2 cups / 240g)
* Vanilla Extract: (1 teaspoon)
* Salt: A pinch. (1/8 teaspoon)
Step-by-Step: From Bowl to Beautiful Rolls
Now, let’s transform these ingredients into golden, cinnamon-scented perfection. This process is designed to be clear and achievable, even for baking beginners.
1. Preparing the Dough: The Foundation
- Combine Dry Ingredients: In a large mixing bowl (or the bowl of your stand mixer), whisk together the flour, granulated sugar, salt, and instant yeast. Give it a good stir to ensure even distribution.
- Warm the Milk & Melt the Butter: In a small saucepan or microwave-safe bowl, heat the milk until it’s warm (110°F / 43°C). Remove from heat and stir in the melted, slightly cooled butter until fully combined. It should feel comfortably warm, not hot.
- Add Wet Ingredients: Pour the warm milk-butter mixture into the dry ingredients. Add the eggs and vanilla extract. Using a wooden spoon, sturdy spatula, or the paddle attachment of your stand mixer, mix until a shaggy dough forms. It will be sticky at first.
- Knead for Tenderness: Turn the dough out onto a lightly floured surface. Knead for about 5-7 minutes, adding small amounts of flour only if absolutely necessary to prevent sticking. The dough should become smooth, elastic, and slightly tacky but not sticky. Alternatively, knead with the dough hook on medium-low speed in your stand mixer for 5-7 minutes. The goal is to develop the gluten just enough for structure without overworking it, which can make the rolls tough.
- First Rise (The Fast Track): Lightly grease a large bowl with a little oil or non-stick spray. Place the dough ball in the bowl, turning it once to coat lightly with oil. Cover the bowl tightly with plastic wrap or a damp kitchen towel. Place it in your chosen warm spot (oven with bowl of hot water, warm corner, etc.). Let it rise for 30-45 minutes, or until it has roughly doubled in size. This is much faster than traditional methods!
2. Shaping the Rolls: Filling & Rolling
- Prepare the Filling: While the dough rises, make the cinnamon sugar filling. In a small bowl, whisk together the brown sugar, cinnamon, and salt. Add the softened butter and rub it in with your fingers until the mixture resembles coarse crumbs. Set aside.
- Punch Down & Roll Out: Once the dough has risen, punch it down gently to release the air. Turn it out onto a lightly floured surface. Roll the dough into a 12×18 inch rectangle. Aim for a relatively even thickness, about 1/4 to 1/2 inch thick. Use a ruler or just your eye – it doesn’t have to be perfect!
- Spread the Butter & Sprinkle the Filling: Spread the softened butter evenly over the entire surface of the dough, leaving a small border around the edges. Sprinkle the cinnamon sugar mixture evenly over the butter, pressing it down gently so it adheres.
- Roll Up & Cut: Starting from the long edge closest to you, carefully roll the dough up tightly into a log. Pinch the seam closed firmly. Using a sharp knife, dental floss, or a piece of kitchen twine, cut the log into 12 equal pieces (about 1 1/2 inches thick each). Place the rolls cut-side up in a lightly greased 9×13 inch baking pan or two 8-inch round pans. They should fit snugly but not be crammed together.
- Second Rise (The Final Proof): Cover the pan loosely with plastic wrap or a damp towel. Let the rolls rise again in the warm spot for 20-30 minutes, or until they look puffy and have expanded noticeably.
3. Baking: Golden Perfection
- Preheat & Bake: While the rolls are proofing, preheat your oven to 375°F (190°C). Once the rolls are puffed and golden, place them in the center of the preheated oven.
- Bake Time: Bake for 18-25 minutes, or until the rolls are deeply golden brown on top and sound hollow when tapped on the bottom. The internal temperature should reach around 190-200°F (88-93°C) if you have a thermometer. Keep an eye on them towards the end to prevent over-browning.
- Cool Slightly: Remove the pan from the oven and let the rolls cool in the pan for at least 10-15 minutes. This allows them to set slightly and makes them easier to handle when frosting.
4. The Finishing Touch: Frosting
- Make the Frosting: While the rolls cool, beat together the softened cream cheese and butter until smooth and creamy. Add the vanilla extract and salt, mixing well. Gradually add the sifted powdered sugar, beating until the frosting is light, fluffy, and spreadable. If it’s too thick, add a tiny splash of milk or cream; if too thin, add a bit more powdered sugar.
- Frost & Serve: Once the rolls are cool enough to handle (but still warm), spread or drizzle the frosting generously over the tops. The warmth of the rolls will help the frosting melt slightly and create a beautiful, glossy finish. Serve immediately for the ultimate gooey experience!
Variations & Substitutions: Make it Your Own
- Different Fillings: Swap the cinnamon sugar for a chocolate-hazelnut spread (like Nutella), a swirl of peanut butter, or a combination of raisins and cinnamon. For a savory twist, try a simple garlic-herb butter.
- Add-Ins: Fold in chopped nuts (walnuts, pecans, almonds), chocolate chips, or dried fruit (cranberries, cherries) into the dough before shaping or sprinkle them on top of the filling.
- Frosting Alternatives: Skip the cream cheese frosting and use a simple vanilla glaze (powdered sugar + milk + vanilla). A maple glaze (powdered sugar + maple syrup) is also delicious. For a richer option, try a brown butter glaze.
- Dairy-Free: Use a dairy-free butter substitute and a dairy-free cream cheese alternative in the frosting. Any plant-based milk works in the dough.
- Gluten-Free: Use a high-quality gluten-free all-purpose flour blend (check for xanthan gum). The rise time might be slightly longer, and the texture may be slightly different. Adjust liquid as needed.
- Whole Wheat: Substitute up to half the all-purpose flour with whole wheat flour for a nuttier flavor and added fiber. The dough may be slightly denser and require a bit more liquid.
Storage & Reheating: Keeping the Magic Alive
- Room Temperature: Store cooled, frosted rolls in an airtight container at room temperature for up to 2 days. The frosting might soften slightly, but they’ll still be delicious.
- Refrigerator: For longer storage (up to 5 days), wrap individual rolls tightly in plastic wrap or place them in a resealable bag. Store in the refrigerator. Let them come to room temperature before serving.
Freezing: Freeze unfrosted* rolls (or frosted rolls individually wrapped) for up to 3 months. Thaw overnight in the refrigerator, then warm in a 300°F (150°C) oven for 5-10 minutes before frosting and serving. Frosted rolls can be frozen, but the frosting might weep slightly upon thawing.
- Reheating: For the best texture, reheat individual rolls in a 300°F (150°C) oven for 5-10 minutes until warmed through. Microwave works in a pinch (10-15 seconds per roll), but it can make the rolls slightly chewy. For frosted rolls, reheat briefly and then frost immediately.
Common Mistakes to Avoid: Baking Wisdom
- Hot Milk: Using milk that’s too hot (above 110°F / 43°C) can kill the yeast, preventing the dough from rising. Test the temperature with your finger or a thermometer.
- Over-Kneading: Overworking the dough develops too much gluten, resulting in tough, dense rolls. Knead just until smooth and elastic.
- Under-Kneading: Under-kneaded dough won’t have enough structure and may collapse during baking. Ensure the dough is smooth and springs back slightly when poked.
- Insufficient Rise Time: Rushing the rise is the biggest culprit for dense rolls. Ensure your warm spot is consistently warm and give the dough enough time to double in size. Don’t skip the second rise!
- Over-Baking: Baking too long leads to dry, hard rolls. Bake until golden brown and hollow-sounding. Use a timer and check early.
- Frosting Too Early: Frosting hot rolls will melt the frosting into a puddle. Always let rolls cool slightly before frosting.
- Using Expired Yeast: Old yeast won’t activate properly. Check the expiration date and proof it if unsure (mix with warm water and a pinch of sugar; it should foam).
Frequently Asked Questions (FAQs)
- Q: Can I make these rolls overnight?
A: Absolutely! Prepare the dough through step 1 (first rise). After punching it down, cover it tightly and refrigerate it for up to 24 hours. When ready to bake, let it come to room temperature (about 1-2 hours) and proceed with shaping and the second rise.
- Q: Why are my rolls dense?
A: This is usually due to insufficient rising time, over-kneading, or using old yeast. Ensure your warm spot is warm enough and give the dough ample time to double. Check your yeast expiration date.
- Q: Can I use active dry yeast instead of instant yeast?
A: Yes, but you need to activate it first. Dissolve 2 1/4 teaspoons (1 packet) of active dry yeast in 1/4 cup of warm milk (110°F / 43°C) with a pinch of sugar. Let it sit for 5-10 minutes until foamy. Then proceed with the recipe, adding this mixture to the dry ingredients along with the remaining milk.
- Q: How do I know when the dough has doubled in size?
A: Gently press two fingers about 1/2 inch into the dough. If the indentation remains, it’s ready. The dough should look puffy and airy.
- Q: Can I freeze the dough before the second rise?
A: Yes! After shaping the rolls and placing them in the pan, cover them tightly with plastic wrap and freeze. When ready to bake, thaw overnight in the refrigerator, then let them come to room temperature (about 1-2 hours) and proceed with the second rise and baking.
- Q: Why did my frosting get runny?
A: This often happens if the cream cheese or butter was too warm when mixing. Ensure they are softened but still cool to the touch. Adding too much liquid (milk) can also thin it. Beat on medium speed to incorporate air and thicken slightly.
- Q: Can I make these rolls without a stand mixer?
A: Definitely! You can knead the dough by hand on a lightly floured surface for about 5-7 minutes until smooth and elastic. It requires a bit more effort but is very achievable.
- Q: How can I make the rolls ahead for breakfast?
A: Prepare the rolls through step 2 (shaping). Place them in the pan, cover tightly, and refrigerate overnight. The next morning, let them come to room temperature (about 1-2 hours) and then bake as directed. They might need a few extra minutes in the oven.
- Q: What’s the best way to reheat leftovers?
A: For the best texture, reheat individual rolls in a 300°F (150°C) oven for 5-10 minutes until warmed through. Microwaving can make them chewy.
- Q: Can I use a different type of milk?
A: Yes! Almond milk, soy milk, or oat milk work well in place of dairy milk. Ensure they are unsweetened and at the correct temperature (110°F / 43°C).
Conclusion: Your Weekend (or Weekday) Reward
There you have it – the secret to bakery-perfect cinnamon rolls, ready in under two hours. These Quick Rise Cinnamon Rolls are more than just a recipe; they’re a celebration of simplicity and speed without sacrificing flavor or texture. They transform the idea of a special breakfast from a daunting task into an effortless delight. Whether you’re savoring them fresh from the oven on a lazy Sunday morning, surprising your family with a special treat on a busy weekday, or bringing a little warmth to a brunch gathering, these rolls are guaranteed to impress. The aroma alone will make your kitchen feel like a cozy bakery. So, gather your ingredients, embrace the warmth, and enjoy the pure, unadulterated joy of pulling a warm, cinnamon-scented roll from your own oven. Happy baking!