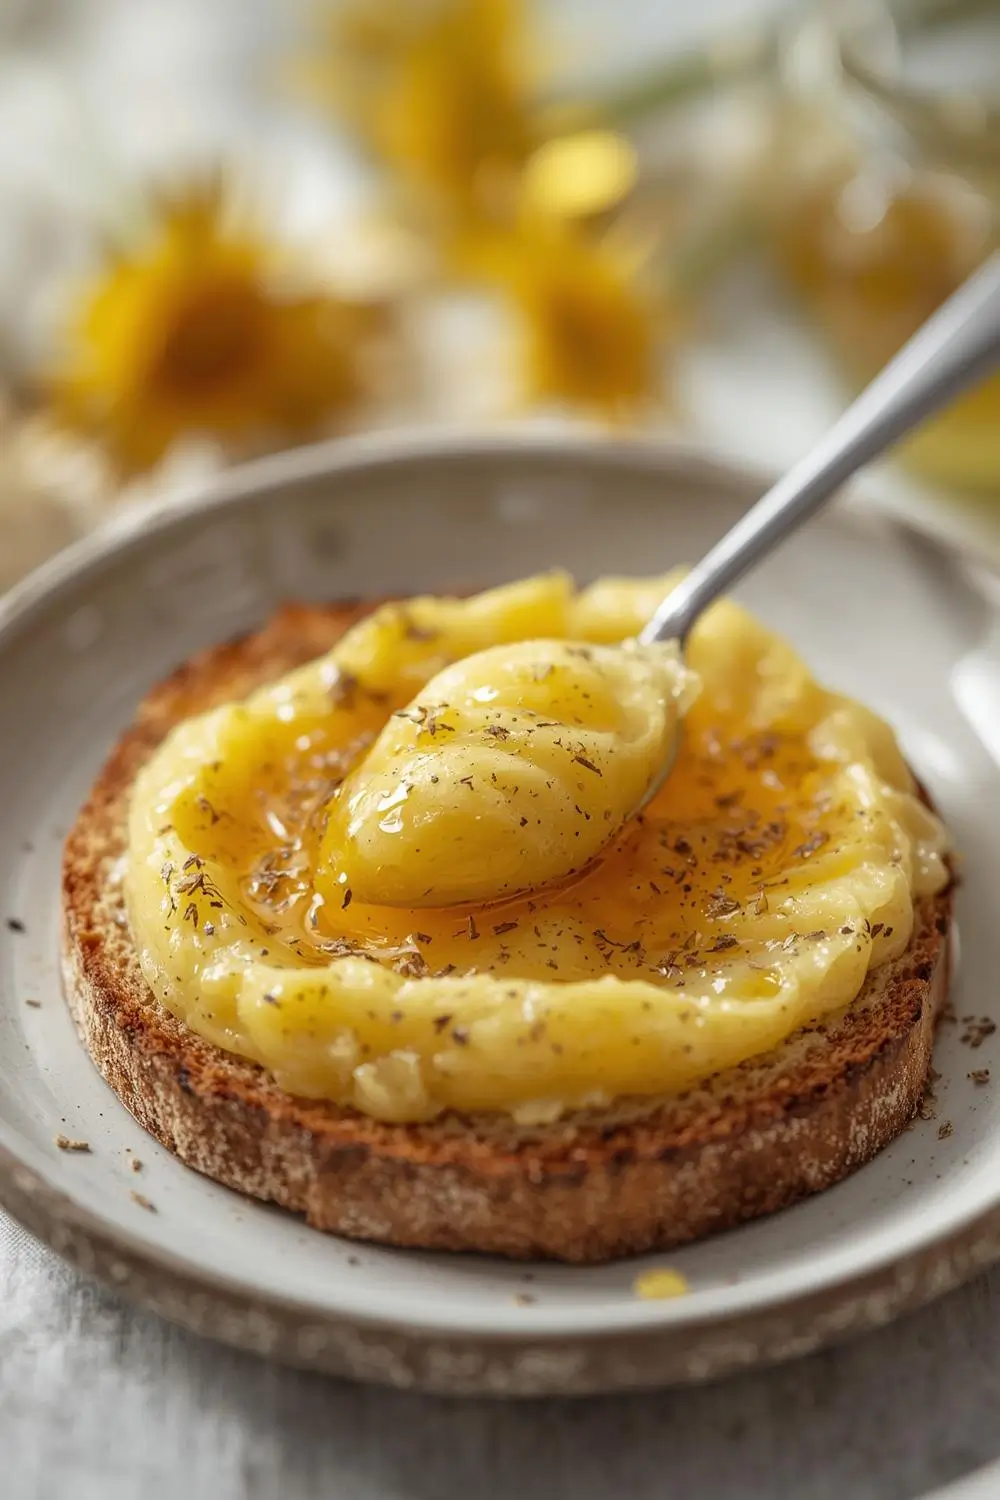
There’s a quiet magic in transforming something often overlooked into something truly special. Dandelion jelly spread is one of those culinary treasures – a simple, natural creation born from the humble dandelion flower, offering a unique, floral sweetness that whispers of spring and sunshine. This isn’t just a recipe; it’s a gentle invitation to connect with nature’s pantry and create something beautiful and delicious from the earth right outside your door. Perfect for spreading on toast, elevating scones, or adding a touch of rustic elegance to cheese plates, this easy homemade recipe captures the essence of dandelion petals in every golden jar. Let’s embark on this simple, rewarding journey together.
Why Dandelion Jelly?
Before we dive into the steps, let’s appreciate the star of the show. Dandelion petals (carefully gathered from pesticide-free lawns or fields) possess a subtle, honey-like sweetness and a delicate floral note. When combined with sugar and lemon juice, they create a preserve that’s uniquely different from traditional fruit jellies. It’s a taste of spring, a nod to simpler times, and a celebration of foraged ingredients. This recipe focuses on the classic, pure flavor – no artificial colors or flavors needed.
Gathering Your Ingredients: Nature’s Pantry
The beauty of this recipe lies in its simplicity. You’ll need just a handful of readily available items:
Dandelion Petals: The heart of the recipe. Aim for about 4-5 cups of freshly picked, unopened or barely opened yellow petals. Crucially, ensure they are from areas untouched by chemicals.* Rinse them gently under cool water and pat dry.
- Water: For steeping the petals.
- Lemon Juice: Adds brightness and helps set the jelly. Fresh juice is best.
- Sugar: Granulated white sugar is traditional, but you can experiment with organic cane sugar or even a small amount of honey for a different nuance. The sugar acts as the preserving agent.
- Pectin: This natural substance, found in fruits and added to jams/jellies, helps the mixture set. You can use liquid or powdered pectin. Follow package instructions carefully for the amount needed with your sugar quantity.
- Lemon Zest (Optional but Recommended): Adds an extra layer of citrusy depth that beautifully complements the dandelion’s flavor.
The Art of Preparation: Setting the Stage
Success starts with preparation. Here’s how to get ready:
1. Harvesting & Cleaning: Pick petals on a dry morning after dew has evaporated. Gently remove any green parts (sepals) and bruised petals. Rinse in a colander under cool running water, then spread on clean towels to dry completely. Moisture is the enemy of safe canning.
2. Steeping: Place the clean, dry petals in a large bowl. Pour boiling water over them to cover. Let them steep for at least 30 minutes, or up to 2 hours. This extracts the dandelion’s flavor and color. Strain the liquid through a fine-mesh sieve or cheesecloth into a large pot, pressing gently on the petals to release all the liquid. Discard the spent petals.
3. Zesting: While the petals steep, zest your lemon. You’ll need about 1-2 tablespoons of zest. Add this to the pot with the strained dandelion liquid.
The Magic Happens: Cooking the Jelly
Now, combine your ingredients and bring them to life:
1. Combining: Add the strained dandelion liquid, lemon juice, and sugar to your large pot. Stir well until the sugar is completely dissolved. If using liquid pectin, add it now. If using powdered pectin, you’ll add it later with the sugar.
2. Bringing to a Boil: Place the pot over medium-high heat. Stir constantly. Bring the mixture to a full, rolling boil – a boil that cannot be stirred down. This is crucial for setting the jelly.
3. Adding Pectin (if using powdered): Once the mixture is at a full boil, add the powdered pectin. Continue stirring constantly. Bring the mixture back to a full, rolling boil for exactly 1 minute. This minute-long boil is essential for the pectin to activate and set the jelly.
4. Skimming: As the jelly boils, a foamy scum may rise to the surface. Skim this off with a spoon and discard it. This step isn’t strictly necessary for safety but improves the final appearance and texture.
The Setting Test: Knowing When It’s Done
This is where patience and observation pay off. After the 1-minute boil with pectin:
1. The Spoon Test: Remove the pot from the heat. Carefully dip a cold metal spoon into the boiling liquid. Lift it out. Let the liquid drip back into the pot. Watch the drips. If they form a sheet or a thick, slow-dripping bead rather than separate drops, your jelly is setting. If it’s still thin and runny, return it to a boil and test again after 1 minute.
2. The Plate Test (Optional but Useful): Place a small plate in the freezer. Once the jelly has boiled for 1 minute with pectin, drop a tiny amount onto the cold plate. Return it to the freezer for 30 seconds. Push the edge with your finger. If it wrinkles, it’s set. If it’s still liquid, boil for another minute and test again.
Filling the Jars: Preserving Your Creation
Once your jelly has reached the perfect set, it’s time to preserve it:
1. Preparing Jars: Sterilize your canning jars and lids by washing them in hot, soapy water, rinsing thoroughly, and then submerging them in a pot of simmering water for at least 10 minutes. Keep them hot until ready to use. Use jars specifically designed for canning.
2. Filling: Using a funnel, carefully ladle or pour the hot jelly into the hot, sterilized jars, leaving about 1/4 inch of headspace at the top.
3. Sealing: Wipe the rims of the jars with a clean, damp cloth to remove any residue. Place the sterilized lids on top and screw on the bands fingertip-tight.
4. Processing (Water Bath Canning – Recommended for Long-Term Storage): Place the sealed jars in a large pot filled with enough water to cover the jars by at least 1 inch. Bring the water to a rolling boil. Process the jars for 10 minutes (adjust for your altitude if necessary). This step kills any remaining bacteria and creates a vacuum seal.
5. Cooling & Checking Seals: Carefully remove the jars from the boiling water using a jar lifter and place them on a towel or cooling rack, spaced apart. Let them cool completely, undisturbed, for 12-24 hours. You should hear a satisfying “ping” as the lids seal. Check the seals by pressing the center of each lid. It should be concave (not domed). If any lids pop up or flex, refrigerate that jar and use it first.
Variations & Substitutions: Making it Your Own
While the classic recipe is delightful, feel free to explore:
- Flavor Twists: Add a splash of vanilla extract or a pinch of ground cinnamon or cardamom to the boiling mixture for subtle depth.
- Sweetener Swap: Use organic cane sugar or a small amount of honey for a different flavor profile, though the setting power might vary slightly.
- Pectin Alternatives: If you prefer not to use commercial pectin, you can rely on the natural pectin in the dandelions and lemons. This often results in a softer set and requires a longer cooking time. Be prepared for a runnier jelly that sets in the jar over time.
- Citrus Boost: Increase the lemon juice to 1/2 cup for a brighter, tangier jelly.
- Sweetener Reduction: For a less sweet spread, reduce the sugar by 1/4 cup, but be aware the set may be softer.
Storage & Reheating: Keeping it Perfect
- Unprocessed Jars (Refrigerated): Store any jars that didn’t seal properly or those you plan to use within a few weeks in the refrigerator. They will keep for 1-2 months.
- Processed Jars (Room Temperature): Properly processed and sealed jars can be stored in a cool, dark, dry place for up to 1 year. Once opened, refrigerate and use within 3 months.
- Reheating: Gently warm the jelly in a saucepan over low heat, stirring constantly, or microwave it on low power in short bursts, stirring in between. Avoid boiling once it’s set.
Common Mistakes to Avoid: Smooth Sailing
Using Non-Organic Petals: Pesticides and herbicides are toxic and can concentrate in the jelly. Never* use petals from treated lawns or fields.
- Skipping Sterilization: This is non-negotiable for safe canning. Sterilize jars, lids, and utensils thoroughly.
- Overcooking the Set Test: Boiling for longer than the recommended time (especially with pectin) can lead to a bitter taste and a darker color.
- Undercooking the Set Test: Not boiling long enough or not reaching a full rolling boil can result in runny jelly that never sets.
- Not Skimming Foam: While not critical, it improves appearance and texture.
- Using Jars Without Lids: Ensure you have the correct size lids for your jars.
- Overfilling Jars: Leave the recommended headspace (usually 1/4 inch) to allow for proper expansion and sealing.
Your Questions Answered: Dandelion Jelly FAQs
1. Can I use dandelion flowers from my lawn? Yes, but ONLY if you are 100% certain they have never been treated with pesticides, herbicides, or chemical fertilizers. Organic lawns or fields are best.
2. How long does homemade dandelion jelly last? Properly processed and sealed jars stored in a cool, dark place can last up to 1 year. Unprocessed jars or opened jars must be refrigerated and used within 1-2 months.
3. What if my jelly doesn’t set? Common reasons include insufficient pectin, undercooking the boil, or using too much water. You can try re-boiling with a bit more sugar and pectin, or simply enjoy it as a delicious syrup.
4. Can I use dried dandelion petals? Fresh petals are best for maximum flavor and color. Dried petals can be used but will yield a weaker flavor and less vibrant color.
5. Is dandelion jelly safe for children? Yes, it is safe for children to eat. However, ensure the petals are from pesticide-free sources. Introduce new foods gradually.
6. Can I make this without a water bath canner? For long-term storage at room temperature, a water bath canner is recommended for safety. If you prefer not to can, you can refrigerate the jelly after it cools and use it within a few weeks.
The Final Spoonful: A Celebration of Simplicity
Your journey from foraging dandelion petals to pouring golden, fragrant jelly into jars is a beautiful testament to the rewards of patience and connection with nature. This Old Fashioned Dandelion Jelly Spread is more than just a condiment; it’s a piece of spring captured in time, a flavor that speaks of sunny meadows and simple pleasures. Spread it generously on warm toast, swirl it into yogurt, or use it as a unique glaze for roasted meats. Each spoonful is a reminder of the extraordinary found in the ordinary. Enjoy the fruits of your labor, knowing you’ve created something truly special and uniquely yours. Happy spreading!