If you’ve ever wanted to bake homemade sourdough bread but felt intimidated by the process, No-Knead Sourdough Focaccia is your perfect starting point. It’s a forgiving, simple, and utterly delicious bread recipe that delivers professional results without the stress of kneading, folding, or shaping.
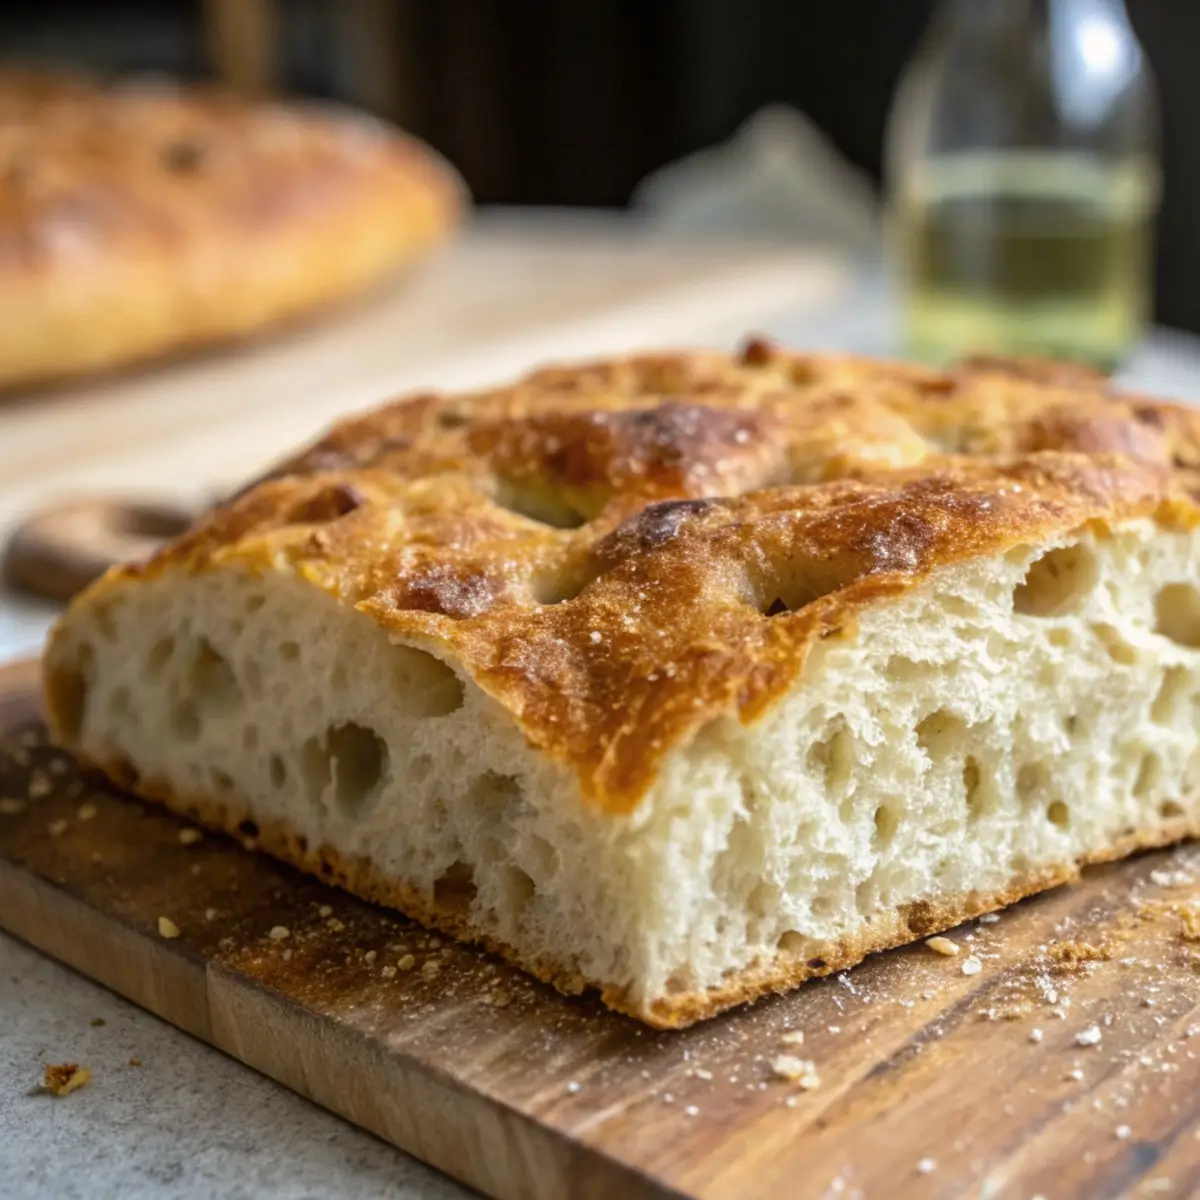
This focaccia has a pillowy, open crumb and a golden, crisp crust that’s drenched in olive oil and kissed with flaky sea salt. It’s everything a good bread should be — rustic, aromatic, and packed with flavor.
All you need is an active sourdough starter, some flour, water, salt, and olive oil. The magic happens through time and fermentation — your dough does all the hard work while you sleep.
Whether you’re serving it with soups, dipping it in olive oil, or making sandwiches, this focaccia is proof that great bread doesn’t need to be complicated.
Why You’ll Love This Recipe
No kneading required: Just stir everything together and let the dough rest.
Beginner-friendly: Ideal for those new to sourdough baking.
Incredibly flavorful: The long fermentation builds depth, tang, and aroma.
Perfect texture: Crispy on the outside, soft and bubbly inside.
Versatile: Add toppings like herbs, garlic, or tomatoes — or keep it simple.
Make-ahead: Let it ferment overnight and bake the next day for fresh bread anytime.
Ingredients You’ll Need
For the Dough:
500 g (about 4 cups) bread flour
400 g (1 2/3 cups) lukewarm water
100 g (1/2 cup) active sourdough starter (fed and bubbly)
10 g (2 tsp) fine sea salt
30 g (2 tbsp) extra virgin olive oil (plus more for greasing and drizzling)
Optional Toppings:
Flaky sea salt
Fresh rosemary or thyme
Garlic-infused olive oil
Cherry tomatoes or olives
Caramelized onions
Tools You’ll Need
Mixing bowl
Rubber spatula or spoon
Plastic wrap or damp towel
9×13-inch baking pan or cast iron skillet
Digital kitchen scale (recommended for accuracy)
Understanding No-Knead Sourdough Focaccia
This recipe relies on time and hydration instead of kneading. The dough is wet and sticky — this allows gluten to form naturally as it ferments. During the long rest, enzymes and natural yeast from your starter work their magic, developing both texture and flavor.
By the time it’s ready to bake, you’ll have a dough that’s full of air bubbles, rich in olive oil, and ready to puff beautifully in the oven.
Step-by-Step Instructions
Step 1: Activate Your Sourdough Starter
Feed your sourdough starter about 6–8 hours before you begin. It should be bubbly, doubled in size, and pass the float test (a small drop should float in water).
Step 2: Mix the Dough
In a large bowl, combine the starter and water. Stir until the starter dissolves. Add the flour and salt, then mix until all flour is absorbed. The dough will look rough and sticky — that’s exactly what you want.
Drizzle in 1 tablespoon of olive oil and fold it gently into the dough. Cover with a damp towel or plastic wrap and let it rest for 30 minutes.
Step 3: Stretch and Fold (Optional but Helpful)
If you want to strengthen the dough structure, perform one or two gentle stretch-and-folds during the first 2 hours. Wet your hands, grab one side of the dough, stretch it upward, and fold it over itself. Turn the bowl and repeat 3–4 times.
This step isn’t required, but it helps improve the crumb and rise.
Step 4: Bulk Fermentation (First Rise)
After mixing, cover the dough tightly and let it rest at room temperature (around 70–75°F / 21–24°C) for about 5–6 hours. You’ll notice bubbles forming and the dough expanding.
Step 5: Cold Fermentation (Overnight Rise)
Once the dough has roughly doubled in size, cover it and refrigerate overnight (8–12 hours). This slow fermentation enhances flavor, texture, and digestibility.
Step 6: Prepare the Pan
The next day, drizzle 2 tablespoons of olive oil into your baking pan. Gently transfer the dough into the pan, using a spatula or oiled hands. Do not punch down the dough — you want to preserve those airy bubbles.
Coat your fingers in olive oil and gently stretch the dough toward the edges. If it resists, let it rest for 15 minutes and try again.
Step 7: Second Rise
Cover and let the dough sit at room temperature for about 2–3 hours. It should puff up and fill the pan with small bubbles across the surface.
Step 8: Dimple and Add Toppings
Preheat your oven to 425°F (220°C). With oiled fingers, press dimples all over the dough — push deep but don’t deflate it.
Drizzle more olive oil over the top, then sprinkle with flaky salt and any toppings you like.
Step 9: Bake
Bake the focaccia for 25–30 minutes or until golden brown. Rotate halfway through for even color.
Step 10: Cool and Serve
Let it cool in the pan for 10 minutes, then transfer to a cooling rack. Brush lightly with olive oil for extra shine and flavor. Slice into squares and serve warm or at room temperature.
Tips for Perfect No-Knead Focaccia
High hydration is key: This wet dough creates that signature airy texture.
Olive oil is essential: It gives flavor and helps crisp the bottom.
Don’t rush fermentation: The longer it ferments, the more flavorful and digestible it becomes.
Use a metal pan: It helps achieve a crispy golden crust.
Let the dough rest if it resists stretching: Relaxed dough is easier to shape.
Flavor Variations
Once you master the base recipe, you can customize your focaccia in countless ways:
Rosemary Sea Salt Focaccia: Add rosemary leaves and flaky sea salt before baking.
Tomato & Basil Focaccia: Top with cherry tomatoes and fresh basil.
Caramelized Onion Focaccia: Spread caramelized onions and thyme over the top.
Garlic Parmesan Focaccia: Sprinkle shredded Parmesan and minced garlic before baking.
Everything Bagel Focaccia: Add everything bagel seasoning for a savory twist.
Serving Ideas
This no-knead sourdough focaccia is versatile enough to fit any meal:
Appetizer: Cut into strips and serve with olive oil and balsamic vinegar.
Sandwich Bread: Slice horizontally and stuff with mozzarella, tomatoes, and arugula.
Dinner Side: Perfect with soups, pasta, or roasted vegetables.
Brunch Base: Serve under poached eggs or avocado for a savory treat.
Snack: Enjoy warm with a drizzle of honey or olive oil.
Storage and Reheating
Room Temperature: Store in an airtight container for up to 2 days.
Refrigerate: Keeps for 5 days; reheat before serving for best texture.
Freeze: Wrap slices individually and freeze for up to 2 months. Reheat from frozen at 375°F (190°C) for 10–15 minutes.
Reheat Tip: Sprinkle a few drops of water on the bread before reheating to revive moisture.
Troubleshooting
Why didn’t my dough rise?
Your starter may have been inactive. Always ensure it’s bubbly and at its peak before mixing.
Why is my focaccia dense?
It could be underproofed. Make sure the dough has visible bubbles and jiggles before baking.
Why is my bottom too oily?
Use less olive oil in the pan next time — 1–2 tablespoons is usually enough.
Why didn’t I get big holes inside?
High hydration, proper fermentation, and gentle handling are key. Avoid deflating the dough.
Health Benefits of Sourdough Focaccia
Sourdough fermentation isn’t just about flavor — it also enhances the nutritional profile of bread:
Easier to digest due to broken-down gluten.
Lower glycemic index compared to yeasted bread.
Natural preservation without additives.
Enriched flavor from natural fermentation acids.
Nutrient absorption improves through phytic acid breakdown.
Combined with heart-healthy olive oil, this focaccia is a wholesome choice for any meal.
Common Mistakes to Avoid
Using an inactive starter: This is the most common reason for flat focaccia.
Skipping the long fermentation: Rushing will result in bland bread.
Adding too much flour: The dough should be sticky — that’s what makes it airy.
Underbaking: Wait for a deep golden crust before removing it from the oven.
Overproofing: If the dough collapses when touched, it’s gone too far — bake it immediately next time.
Expert Tips for Success
Weigh your ingredients: Precision ensures consistent results.
Use quality olive oil: It enhances flavor dramatically.
Experiment with hydration: Add a little more water for a more open crumb.
Try cold dough: Chilled dough is easier to handle and yields an extra-crispy crust.
Let it rest before slicing: Cutting too soon releases steam and makes the crumb gummy.
FAQs
Can I use whole wheat flour?
Yes, replace up to 25% of the bread flour with whole wheat for a nutty flavor.
Can I skip the overnight rise?
You can, but the flavor will be milder. Try at least 6 hours at room temperature.
Do I need a stand mixer?
No — this is a 100% hand-mixed recipe. A spoon or spatula is all you need.
Can I make it vegan?
It’s already vegan! Just use plant-based olive oil and no dairy toppings.
Can I use active dry yeast instead of starter?
Yes. Substitute the starter with 2 tsp instant yeast and reduce rise time to 2 hours.
Why No-Knead Focaccia Works
This method relies on time over technique. Instead of mechanical kneading, natural gluten formation occurs as the dough ferments. The result is an incredibly light, airy crumb with a chewy texture that’s impossible to achieve in quick yeast breads.
It’s an ideal recipe for busy bakers — minimal effort, maximum reward.
Final Thoughts
No-Knead Sourdough Focaccia is proof that artisan bread doesn’t need to be intimidating. With just a few ingredients, patience, and olive oil, you can create bakery-quality focaccia right at home — crisp on the outside, fluffy on the inside, and full of character.
Whether you’re a sourdough beginner or a seasoned baker, this recipe is one you’ll return to again and again. It’s simple, adaptable, and endlessly satisfying.
Serve it warm with a drizzle of olive oil, or use it to soak up sauces and soups — either way, it’s pure comfort in every bite.