Table of Contents
🇺🇸 Red, White & Blue Popsicles for a Cool Patriotic Treat
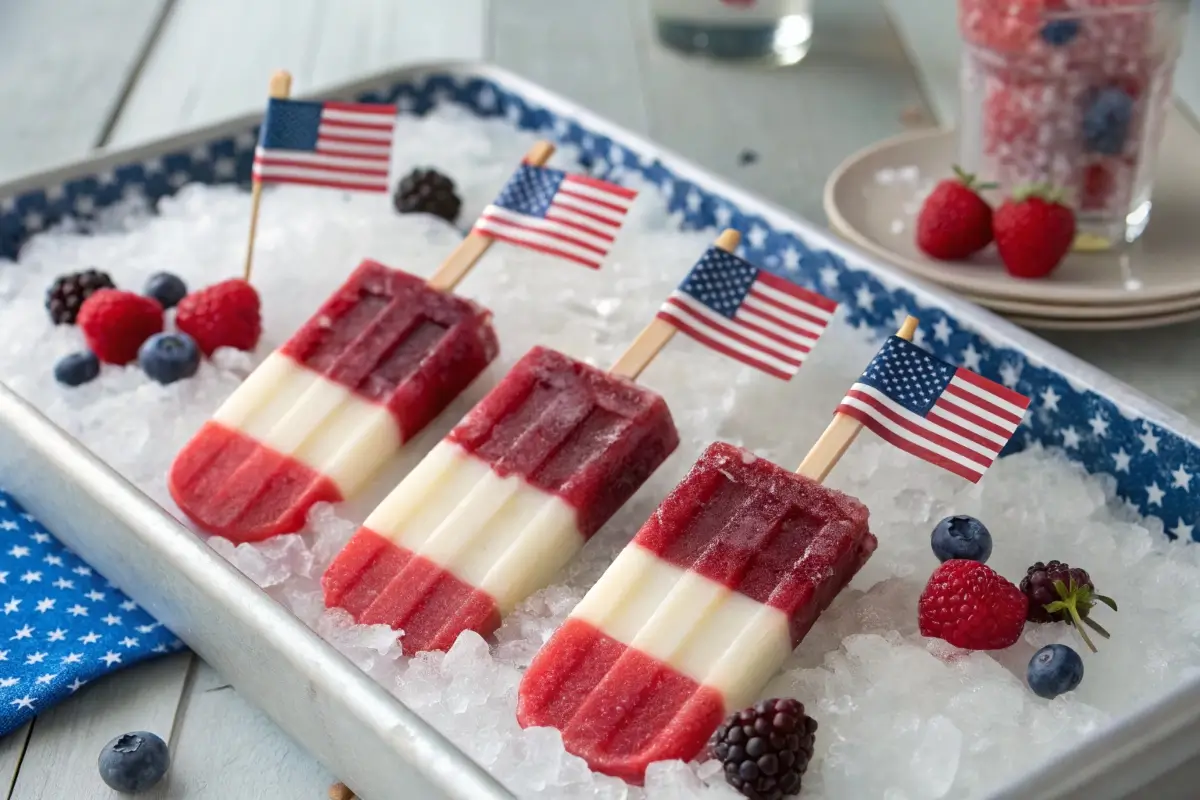
Nothing says “summer celebration” like a frosty, colorful ice pop! These Independence Day Ice Pops are layered with bold red, white, and blue hues, making them the ultimate frozen treat for the 4th of July. They’re easy to make, kid-approved, and naturally customizable with your favorite juices, fruit, or yogurt.
Not only are they refreshing on a hot day, but they also look amazing on a party tray — a perfect way to chill out before the fireworks start.
Why You’ll Love Them
-
🎆 Naturally festive with patriotic colors
-
🍓 Made with real fruit or juice — no artificial dyes needed
-
🧊 Refreshing and hydrating on a hot summer day
-
👶 Kid-friendly and parent-approved
-
❄️ Make-ahead ready — just freeze and serve!
Ingredients
Makes 10 popsicles (depending on mold size):
Red Layer:
-
1 cup strawberries or raspberries (fresh or frozen)
-
2 tbsp honey or maple syrup (optional)
-
1/3 cup water or apple juice
White Layer:
-
1 cup plain or vanilla Greek yogurt
-
2 tbsp milk or coconut milk
-
1 tbsp honey (optional)
Blue Layer:
-
1 cup blueberries or blackberries
-
2 tbsp honey or lemon juice
-
1/3 cup water or white grape juice
You’ll also need:
-
Popsicle molds
-
Popsicle sticks
-
Blender or food processor
Instructions
1. Blend Each Layer Separately
Start by blending the red layer ingredients until smooth. Taste and sweeten if needed. Set aside in a bowl.
Rinse the blender, then blend the white layer (yogurt + milk + honey) until creamy. Set aside.
Blend the blue layer the same way and set aside.
2. Layer the Pops
Spoon 2–3 tablespoons of the red mixture into the bottom of each popsicle mold. Freeze for 20–30 minutes until slightly firm.
Next, spoon the white layer on top of the red layer. Freeze again for 20–30 minutes.
Finally, add the blue layer and insert popsicle sticks.
3. Freeze Until Solid
Freeze completely for at least 4–6 hours, or overnight for best results.
4. Unmold & Serve
Run molds under warm water for a few seconds to release. Serve immediately, or store in a freezer-safe container between sheets of wax paper.
Variations
-
🍉 Fruit juice version: Use red fruit punch, coconut water, and blue sports drink or blueberry juice
-
🍦 Creamier pops: Use sweetened condensed milk in the white layer
-
🍋 Citrus twist: Add lemon or lime juice for a zesty flavor
-
🧊 Chunky version: Stir whole berries into each layer before freezing
-
🧃 Low-sugar option: Use unsweetened yogurt and naturally sweet fruit
Make-Ahead & Storage Tips
-
✅ Make 2–3 days ahead — store frozen in molds or airtight containers
-
❄️ Wrap individually in wax paper or plastic wrap for grab-and-go convenience
-
🧊 Use silicone molds for easy release
Serving Ideas
-
Serve on a tray over crushed ice for outdoor parties
-
Add sparkler toppers or mini flags to the popsicle sticks
-
Pair with Sparkling Lemonade with Berries for the ultimate cool-down combo
-
Include on a 4th of July dessert board with patriotic cupcakes and fruit skewers
Final Thoughts
These Independence Day Ice Pops are fun to make, beautiful to serve, and oh-so-refreshing. Whether you go the fruit purée route or use your favorite juices, they’re the perfect frozen treat to celebrate America’s birthday in red, white, and blue style.
Bring them to the backyard BBQ, hand them out before the fireworks, or keep a stash in the freezer all summer long. 🇺🇸🍓🫐❄️