Table of Contents
- 1 Fluffy Sourdough Discard Pancakes: Your New Breakfast Obsession
- 2 Creating Pancake Perfection: Step-by-Step Guide
- 3 Creative Twists & Customizations
- 4 Keeping Your Pancakes Perfect (Storage & Reheating)
- 5 Common Pitfalls & How to Avoid Them
- 6 Your Sourdough Pancake Questions Answered
- 7 The Joy of Deliciously Sustainable Breakfasts
Fluffy Sourdough Discard Pancakes: Your New Breakfast Obsession
There’s something magical about transforming what you’d normally toss into a stack of cloud-like pancakes. If you’ve been maintaining a sourdough starter, you know the dilemma of daily discard. Instead of pouring it down the drain, let’s turn it into the most glorious breakfast surprise—no yeast required! These sourdough discard pancakes boast a perfect golden exterior with an airy, tangy interior that’ll make your taste buds dance. They’re the happy marriage of practical baking and indulgent weekend brunch, ready in just minutes but tasting like you spent hours in the kitchen.
What makes these pancakes truly special is their intelligent use of sourdough discard’s natural leavening power. The slightly acidic batter reacts beautifully with baking soda, creating irresistible lift without any commercial yeast. You’ll get all the delightful complexity of fermented flavor with none of the wait time associated with traditional sourdough recipes. Plus, they’re incredibly adaptable—whether you’re feeding hungry kids before school or hosting an impromptu brunch with friends.
Why This Recipe Works Every Time
- Embraces zero-waste cooking by using sourdough discard
- No yeast means no waiting—batter comes together in 10 minutes
- The acid in discard creates exceptionally fluffy texture
- Works with discard straight from the fridge
- Customizable with endless topping combinations
Gathering Your Ingredients (With Smart Explanations)
Here’s what you’ll need to create these golden wonders, along with why each component matters:
Base Ingredients
- 1 cup (240g) sourdough discard – The star ingredient! Use discard straight from the fridge—no need to feed or activate it first. The acidity helps activate the baking soda and adds complex flavor.
- 1 large egg – Acts as the binder and adds richness. Bring to room temperature for better incorporation.
- 2 tablespoons (28g) melted butter or neutral oil – Butter adds delicious flavor while oil keeps the pancakes extra moist. Use refined coconut oil for dairy-free.
- 1 tablespoon (15ml) pure maple syrup or honey – Just enough sweetness to complement the tang without making them cloying. Omit for savory versions.
- 1 teaspoon pure vanilla extract – Enhances all the other flavors beautifully.
- 3/4 cup (180ml) milk of choice – Whole milk creates the richest texture, but any dairy or plant milk works.
Dry Ingredients
- 1 cup (120g) all-purpose flour – The foundation. Spoon and level to measure properly.
- 1 tablespoon (12g) granulated sugar – Promotes browning and balances acidity.
- 1 teaspoon baking soda – Reacts with the acidic discard to create lift—don’t substitute baking powder.
- 1/2 teaspoon fine sea salt – Enhances all flavors. Reduce by half if using salted butter.
- Optional add-ins: 1/2 teaspoon cinnamon, lemon zest, or a pinch of nutmeg
Creating Pancake Perfection: Step-by-Step Guide
Follow these detailed instructions for foolproof results every time:
Step 1: The Wet Mix
In a large bowl, vigorously whisk together the sourdough discard, egg, melted butter (cooled slightly), maple syrup, and vanilla until completely smooth—about 1 minute of whisking. The batter should have a slightly stretchy quality from the developed gluten in the discard. Next, stream in the milk while whisking constantly to create a homogeneous mixture.
Pro Tip:
If your discard is particularly thick (common with mature starters), thin the mixture with 1 extra tablespoon milk. The ideal consistency should resemble heavy cream.
Step 2: Combining Dry Ingredients
In a separate bowl, sift together flour, sugar, baking soda, and salt. This ensures no clumps of baking soda ruin your batter. Gently whisk the dry ingredients to distribute everything evenly.
Step 3: Marrying Wet & Dry
Make a well in the center of the dry ingredients and pour in the wet mixture. Using a flexible spatula, gently fold the batter just until no dry streaks remain—about 15-20 folds. Expect a slightly lumpy batter with bubbles already forming; this is exactly what you want. Overmixing develops gluten and leads to tough pancakes.
Key Observation:
The batter will instantly start bubbling thanks to the baking soda reacting with the acidic discard. Let it rest uncovered while you preheat your cooking surface (2-3 minutes maximum). This allows the chemical reaction to work its magic without over-deflating.
Step 4: Cooking to Golden Perfection
Heat a griddle or large non-stick skillet over medium-low heat (325°F if using electric). Test readiness by sprinkling a few water droplets—they should dance across the surface. Lightly grease with butter or oil using a paper towel (excess fat causes uneven browning).
Using a 1/4 cup measure, pour batter onto the skillet, leaving space between pancakes. Cook until bubbles form on the surface and edges look dry (about 2-2.5 minutes). Flip carefully with a thin spatula—the underside should be evenly golden brown. Cook for another 1-1.5 minutes until both sides match.
Expert Technique:
Maintain consistent heat! If pancakes brown too quickly outside while staying raw inside, reduce heat slightly. Wiping the skillet between batches prevents burnt bits.
Creative Twists & Customizations
These pancakes are like blank canvases waiting for your personal touch:
Flavor Variations
- Blueberry Bliss: Press fresh or frozen berries into batter immediately after pouring onto griddle
- Cinnamon Roll: Swirl 2 tablespoons brown sugar + 1 tsp cinnamon into batter
- Lemon Poppyseed: Add zest of 1 lemon + 2 tsp poppy seeds to dry ingredients
- Chocolate Chip: Fold in 1/3 cup mini chocolate chips after mixing
Topping Inspiration
- Classic maple syrup + butter
- Whipped ricotta + honey + toasted pecans
- Greek yogurt + mixed berries + chia seeds
- Peanut butter + banana slices + drizzle of honey
- Apple compote + cinnamon sugar dusting
Keeping Your Pancakes Perfect (Storage & Reheating)
Short-Term Storage
Cool pancakes completely on a wire rack (never stack them while hot). Transfer to an airtight container separated by parchment paper. Refrigerate for up to 3 days.
Freezing for Later
Arrange cooled pancakes in a single layer on a baking sheet and freeze until solid (1 hour). Transfer to freezer bags with parchment between layers. Label with date—they’ll keep for 2 months.
Reheating Methods
- Toaster: Quickest method! Frozen pancakes go straight into the toaster on medium setting
- Oven: Arrange on a baking sheet at 350°F for 5-8 minutes (10 minutes if frozen)
- Skillet: Reheat over medium-low heat with a pat of butter for that fresh-off-the-griddle crispness
Pro Tip:
Never microwave pancakes alone—they turn rubbery. Always place a cup of water in the microwave alongside them to maintain moisture.
Common Pitfalls & How to Avoid Them
Gummy Centers
Causes: Heat too high (cooks outside too fast), batter overmixed, expired baking soda
Fix: Use medium-low heat, fold batter gently, test baking soda freshness by adding a pinch to vinegar—it should fizz vigorously
Flat Pancakes
Causes: Expired baking soda, discarding too watery, not letting batter rest
Fix: Use fresh leavener, drain watery discard overnight in fridge covered with cheesecloth, let batter rest 2-3 minutes before cooking
Batter Too Thick/Thin
Adjustment Guide:
- Too thick: Add milk 1 tbsp at a time (different starters have varying hydration)
- Too thin: Add flour 1 tbsp at a time (let rest 2 minutes before checking again)
Your Sourdough Pancake Questions Answered
Can I use active starter instead of discard?
Absolutely! The recipe works with either. Active starter will yield slightly more lift due to its bubbles, but the difference is minimal.
My discard is really old—is it still safe?
As long as there’s no mold (look for pink, orange, or black spots) and it smells pleasantly tangy (not putrid), it’s fine to use. The acid environment prevents harmful bacteria.
Can I make the batter the night before?
Not recommended—the baking soda will lose potency over time. Instead, measure dry ingredients and prep wet ingredients separately. Combine just before cooking.
Gluten-free adaptation?
Replace all-purpose flour 1:1 with a high-quality gluten-free flour blend containing xanthan gum. The texture will be slightly denser but still delicious.
What’s the best egg substitute?
For each egg, mix 1 tablespoon ground flaxseed + 3 tablespoons water (let thicken 5 minutes). Alternatively, use 1/4 cup unsweetened applesauce.
Why are my pancakes too tangy?
Younger starters (under 6 months) produce milder flavor. To reduce tang, add 1 extra tablespoon sugar or replace half the discard with plain yogurt.
The Joy of Deliciously Sustainable Breakfasts
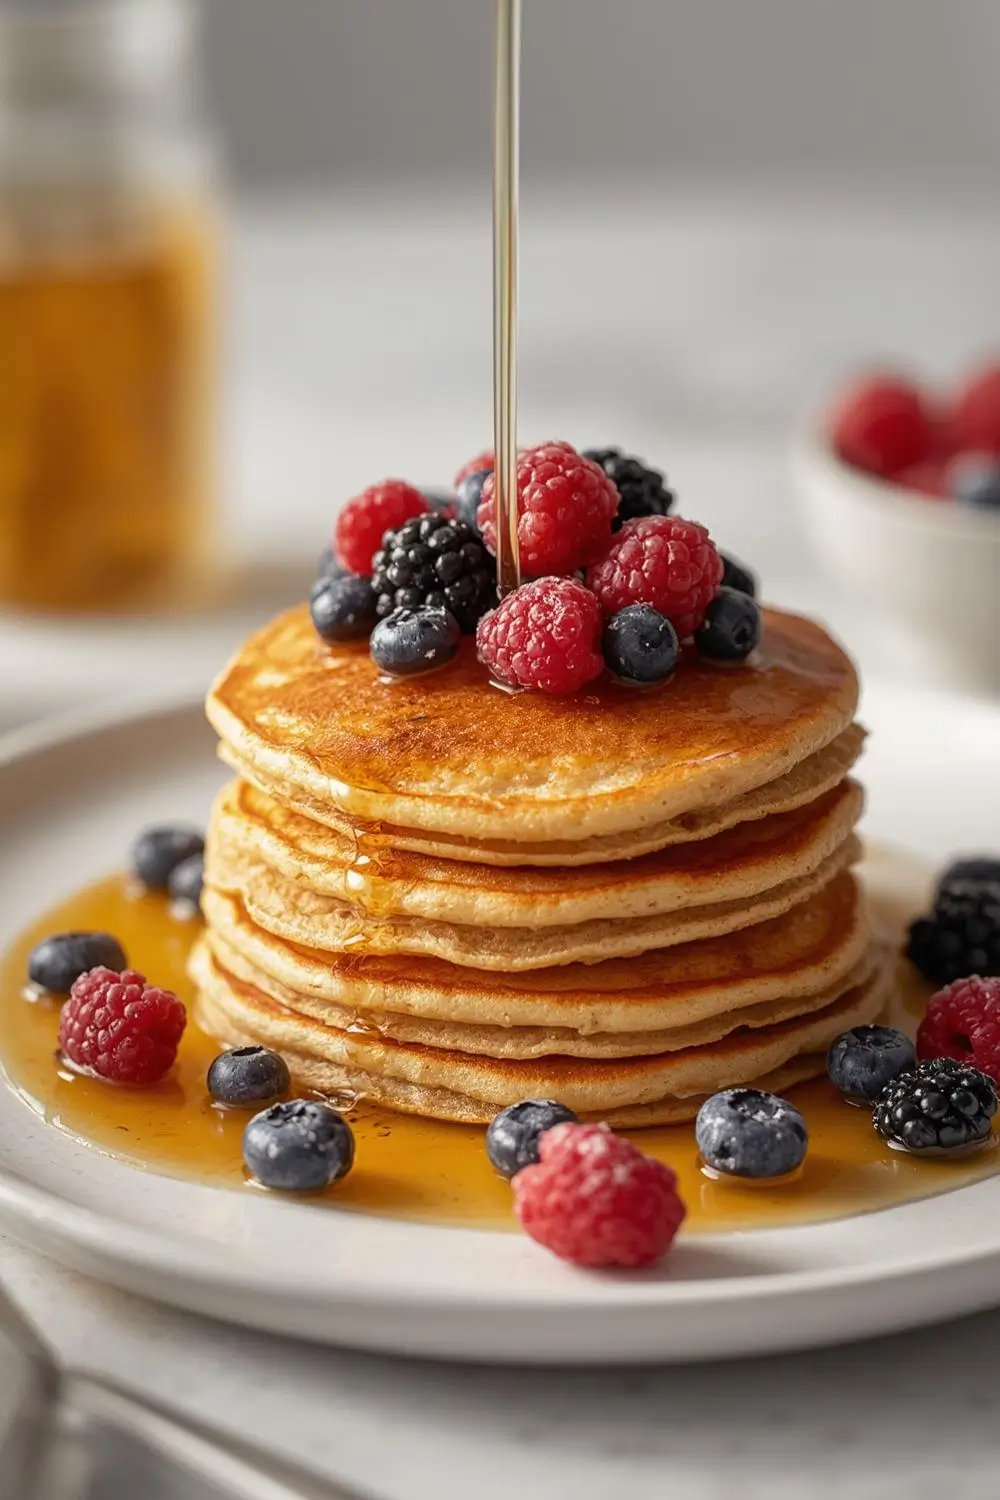
As you drizzle that final swirl of maple syrup over your sourdough discard pancakes, take a moment to appreciate the beautiful alchemy you’ve created. What once might have gone down the drain now sits proudly on your plate—puffy, golden, and radiating homemade goodness. Each bite carries the satisfaction of smart kitchen economics paired with indulgence that feels earned, not extravagant.
Remember the versatility this recipe offers with changing seasons and moods. That jar of apple butter you’ve been saving? Perfect for autumn mornings. Those summery peaches threatening to overripen? Chop them over your pancakes with a basil sprig. Your sourdough discard isn’t waste—it’s potential breakfast magic waiting to happen. Now that you’ve mastered these pancakes, imagine the other discard possibilities: waffles, crumpets, crackers… but let’s not get ahead of ourselves. For now, savor those tender, tangy bites and the knowledge that you’ve transformed kitchen “waste” into something outright wonderful.