FluffyGreek Yogurt Pancakes: A Protein-Packed Breakfast Delight
Imagine biting into a pancake that’s incredibly soft and tender on the inside, with a beautiful, golden-brown crust on the outside. Now, imagine that pancake is also packed with protein, thanks to the star ingredient: creamy Greek yogurt. These aren’t just any pancakes; they’re fluffy Greek yogurt pancakes, a breakfast revelation that’s become a staple in my kitchen. They’re light, satisfying, and the perfect canvas for your favorite toppings. Let’s dive into creating these magic pancakes together.
Why Greek Yogurt Makes Pancakes Special
You might wonder, why swap out regular milk or buttermilk for Greek yogurt? The answer lies in the incredible properties of this thick, tangy dairy product. Greek yogurt is strained to remove most of the whey, resulting in a concentrated, protein-rich base. This higher protein content does wonders for your pancakes:
- Extra Fluffiness: The proteins in Greek yogurt help trap air bubbles during mixing and baking, leading to lighter, airier pancakes.
- Enhanced Tenderness: The acidity in the yogurt tenderizes the gluten in the flour, preventing tough pancakes.
- Richness & Moisture: It adds a luxurious, creamy mouthfeel and keeps the pancakes moist, even when cooked through.
- Protein Boost: Perfect for a satisfying breakfast that keeps you full longer.
Gathering Your Ingredients: The Foundation of Fluff
Before you start whisking, ensure you have everything ready. Here’s what you’ll need for a batch of delicious, fluffy Greek yogurt pancakes:
- All-Purpose Flour: The backbone of your pancakes. Use about 1 1/2 cups (190g). It provides the structure.
- Baking Powder: This is your primary leavening agent, creating those crucial air pockets for fluffiness. Use 2 teaspoons.
- Baking Soda: A small amount (1/4 teaspoon) helps balance the acidity from the yogurt and ensures even rising.
- Salt: Just a pinch (1/4 teaspoon) enhances all the other flavors.
- Granulated Sugar: Adds a touch of sweetness (2 tablespoons). Adjust to taste if you prefer sweeter pancakes.
- Large Eggs: One egg binds the ingredients together and adds richness (1 large).
- Full-Fat Plain Greek Yogurt: This is non-negotiable for the best texture and flavor. Use about 1 cup (240ml). Full-fat is key for creaminess and tenderness. Avoid low-fat or non-fat versions.
- Milk: You’ll need 3/4 cup (180ml) of whole milk or buttermilk. Buttermilk adds extra tang and tenderness, but whole milk works perfectly fine.
- Vanilla Extract: A splash of pure vanilla (1 teaspoon) elevates the flavor profile.
- Butter or Neutral Oil: For cooking. Unsalted butter adds great flavor, or use vegetable oil or avocado oil.
The Magic Begins: Mixing Your Batter
Now, let’s transform these ingredients into a smooth, lump-free batter. This step is crucial for achieving that perfect fluffy texture.
1. Combine Dry Ingredients: In a large mixing bowl, whisk together the flour, baking powder, baking soda, salt, and sugar. This ensures even distribution of the leavening agents and prevents clumps.
2. Combine Wet Ingredients: In a separate medium bowl, whisk together the egg, Greek yogurt, milk, and vanilla extract until smooth. The yogurt might look a bit separated initially, but whisking it with the other wet ingredients will incorporate it well.
3. Merge Wet and Dry: Pour the wet ingredients into the bowl with the dry ingredients. Using a spatula or wooden spoon, gently fold the mixtures together. Crucial Tip: Do NOT overmix! You want to combine until just combined. It’s perfectly fine if there are a few small lumps remaining in the batter. Overmixing develops the gluten in the flour, leading to tough, dense pancakes. A few lumps are your friend here.
4. Rest the Batter: This is a vital step often overlooked. Let the batter rest for at least 10-15 minutes (up to 30 minutes) before cooking. This allows the flour to fully hydrate and the leavening agents to start working, resulting in even fluffier pancakes. The batter will thicken slightly as it rests.
Cooking to Perfection: The Art of the Flip
Now comes the fun part – cooking your pancakes! Getting the temperature right and knowing when to flip is key.
1. Preheat Your Pan: Choose a non-stick skillet or griddle. Heat it over medium-low heat. You don’t want it screaming hot. A good test is to sprinkle a few drops of water onto the pan. If they dance and evaporate quickly but don’t immediately burn, it’s ready. If it’s too hot, the pancakes will burn on the outside before cooking through.
2. Add Fat: Lightly grease the pan with butter or oil. You only need a thin film.
3. Pour the Batter: Using a 1/4 cup measuring cup or a ladle, pour batter onto the hot pan. Leave plenty of space between pancakes for spreading.
4. Watch for Bubbles: Let the pancake cook undisturbed. You’ll see bubbles forming and popping on the surface, and the edges will look set and slightly dry. This usually takes 2-3 minutes. This is the sign it’s ready to flip.
5. The Flip: Carefully slide a thin spatula underneath the pancake. It should release easily. If it sticks, give it another minute. Flip it confidently and cook for another 1-2 minutes on the other side, until golden brown and cooked through. The second side usually cooks faster.
6. Keep Warm: Transfer cooked pancakes to a plate lined with paper towels or a wire rack set over a baking sheet. Cover loosely with foil to keep them warm while you cook the rest. Repeat with the remaining batter, adding a little more butter or oil to the pan as needed.
Achieving Fluffy Perfection: Your Key Tips
- Don’t Overmix: This is the golden rule for fluffy pancakes. Lumps are okay!
- Rest the Batter: Don’t skip this step! It makes a noticeable difference.
- Medium-Low Heat: Prevents burning and ensures even cooking.
- Don’t Press Down: Resist the urge to press down on the pancake with your spatula while cooking. This squeezes out air and makes them dense.
- Use a Thermometer (Optional): If you’re a perfectionist, an instant-read thermometer can help. Cook until the center reaches about 160°F (71°C).
- Don’t Overcrowd the Pan: Give each pancake space to spread and cook evenly.
Variations and Substitutions: Making it Your Own
The beauty of these pancakes is their versatility. Here are some ideas to customize them:
Add-Ins: Fold in 1/2 cup of your favorite mix-ins after the batter has rested but before* cooking. Try:
* Fresh blueberries or diced strawberries
* Chocolate chips or chopped nuts (walnuts, pecans)
* A tablespoon of cinnamon or nutmeg
* A handful of shredded coconut
- Flavor Boosters: Add 1 teaspoon of lemon zest or orange zest to the wet ingredients for a bright twist.
- Sweetener Swap: Use honey, maple syrup, or agave nectar instead of granulated sugar (adjust liquid slightly if using a thicker syrup).
- Buttermilk Swap: If you have buttermilk on hand, use it instead of milk for extra tang and tenderness.
- Gluten-Free: Use a 1:1 gluten-free flour blend in place of the all-purpose flour. Ensure your baking powder is gluten-free.
- Dairy-Free: Use a thick, full-fat dairy-free yogurt (like coconut or oat yogurt) and a dairy-free milk alternative. The texture might be slightly different, but it works well.
Storage and Reheating: Enjoy Your Pancakes Later
These pancakes are best enjoyed fresh, but you can store leftovers:
- Refrigeration: Let cooked pancakes cool completely. Layer them between sheets of parchment paper in an airtight container or resealable bag. They’ll keep for up to 3 days in the fridge.
- Freezing: For longer storage, place cooled pancakes in a single layer on a baking sheet in the freezer until solid (about 1 hour). Then transfer to a freezer-safe bag or container. They freeze well for up to 1 month.
- Reheating:
* Toaster: For a quick and easy option, pop frozen or refrigerated pancakes into a toaster. They’ll crisp up nicely.
* Oven: Preheat oven to 350°F (175°C). Place pancakes on a baking sheet and warm for 5-10 minutes until heated through.
* Microwave: Place pancakes on a microwave-safe plate. Heat on high for 20-30 seconds per pancake, checking frequently to avoid sogginess. Place a paper towel over them to absorb excess moisture.
Common Mistakes to Avoid: Learning from Experience
Even seasoned cooks can slip up. Here’s how to avoid the pitfalls:
- Overmixing: The #1 culprit for dense pancakes. Mix until just combined.
- Too Hot Pan: Burns the outside before the inside cooks. Start medium-low.
- Undercooking: Flip too early when bubbles haven’t formed. Wait for the surface to set.
- Overcrowding: Leads to uneven cooking and steaming instead of browning.
- Using Low-Fat Yogurt: Results in less tender, less flavorful pancakes.
- Skipping the Rest: Misses out on the full fluffiness potential.
Frequently Asked Questions: Your Pancake Queries Answered
- Q: Can I make these pancakes ahead of time? A: Yes! Make the batter up to 24 hours in advance and refrigerate it. Let it come to room temperature for 15-20 minutes before cooking. Cooked pancakes freeze well for up to a month.
- Q: Why are my pancakes tough? A: The most common reason is overmixing the batter. Mix only until the ingredients are combined. Using low-fat yogurt can also contribute to toughness.
- Q: Can I use whole wheat flour? A: Yes, you can substitute up to half the all-purpose flour with whole wheat flour. The texture will be heartier, and they might be slightly denser. You might need a tiny bit more milk.
- Q: How do I prevent the pancakes from burning? A: Ensure your pan isn’t too hot. Start on medium-low heat. If they brown too quickly, reduce the heat slightly. Using a thermometer can help maintain the perfect temperature.
- Q: Can I add fruit to the batter before cooking? A: Absolutely! Fold in fresh berries, diced fruit, or chocolate chips after the batter has rested but before cooking. Be gentle to avoid crushing them.
- Q: Are these pancakes suitable for freezing? A: Yes! Cooked pancakes freeze beautifully. Layer them with parchment paper and store in an airtight container or bag for up to 1 month. Reheat in a toaster or oven.
- Q: What’s the best way to reheat frozen pancakes? A: The toaster is the quickest and easiest method. For a more traditional approach, reheat in a preheated oven at 350°F (175°C) for 5-10 minutes. Microwaving can make them soggy, so use it sparingly if needed.
The Perfect Finish: Serving Your Fluffy Greek Yogurt Pancakes
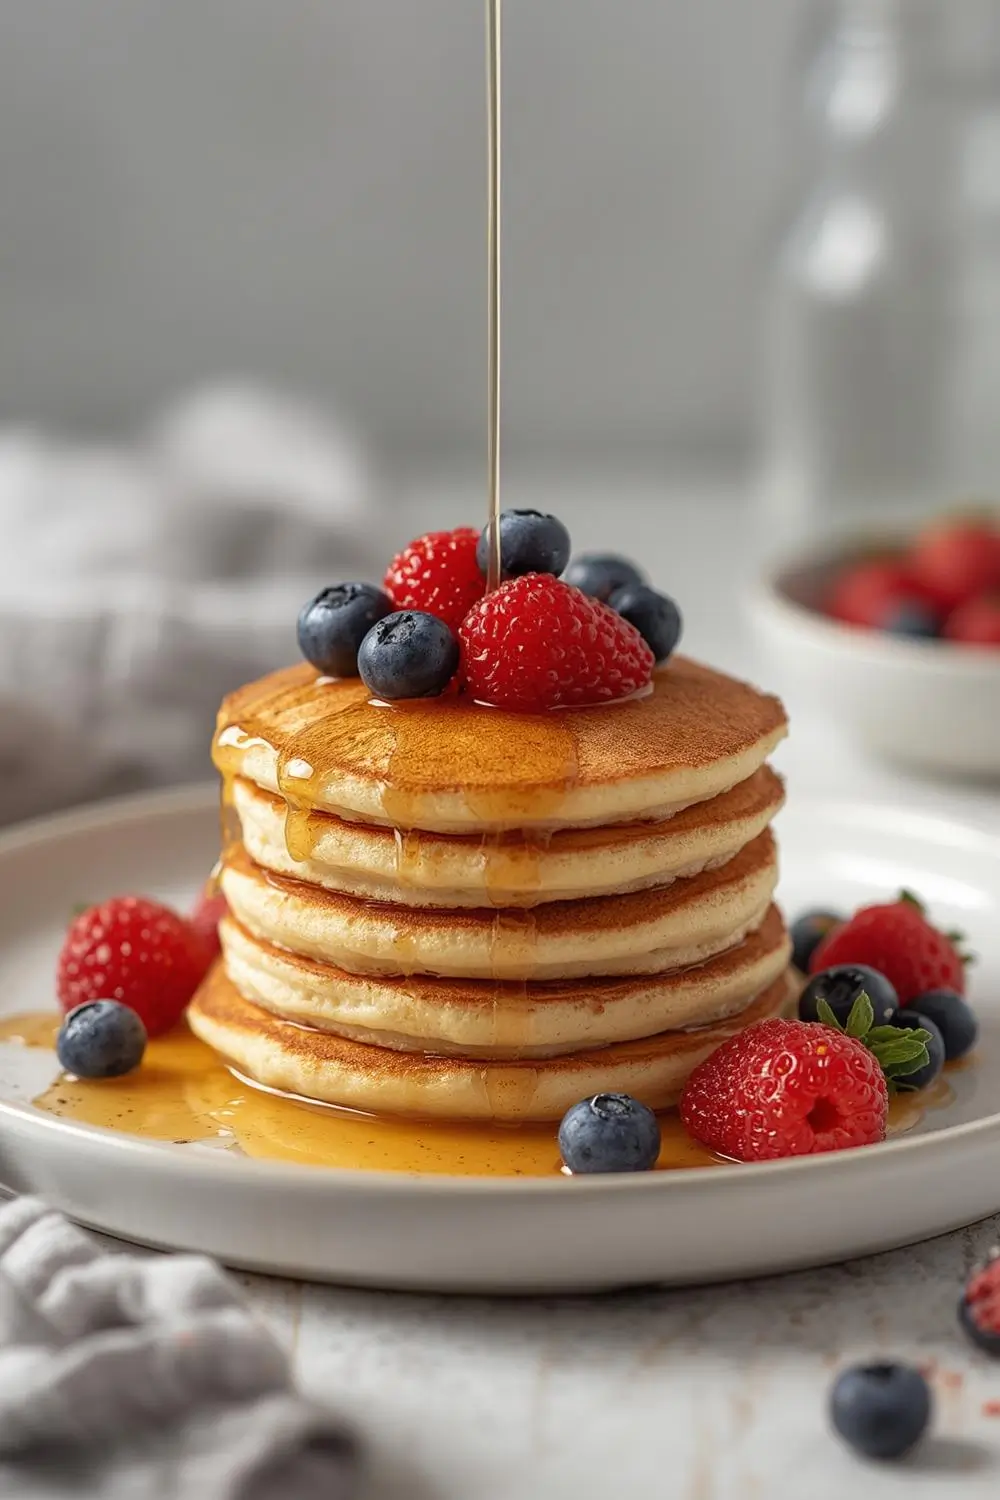
There’s something deeply satisfying about a stack of these fluffy Greek yogurt pancakes. They’re a celebration of simple, wholesome ingredients transformed into something truly special. Serve them warm, piled high, and adorned with your favorite toppings. A generous drizzle of pure maple syrup is classic, but don’t be afraid to get creative. Fresh berries, a dollop of whipped cream, a sprinkle of toasted nuts, or a swirl of peanut butter – the possibilities are endless. Enjoy this delicious, protein-packed breakfast that feels like a little bit of heaven on a plate. Happy cooking!