Effortless Sourdough Discard SkilletPizza Crust: Crispy, Chewy & Ready in 30 Minutes!
Imagine transforming that seemingly useless sourdough discard into a golden, blistered pizza crust that rivals delivery, all cooked in a single skillet on your stovetop. This isn’t just a recipe; it’s a revelation for busy weeknights and sourdough enthusiasts alike. Forget complicated techniques or waiting days – this effortless method harnesses the power of your discard to create a crispy, chewy base bursting with flavor, ready in under half an hour. It’s the ultimate solution for using up leftover starter, minimizing waste, and delivering restaurant-quality pizza right to your kitchen table. Say goodbye to takeout menus and hello to the satisfying simplicity of homemade pizza night.
Why This Skillet Sourdough Crust Wins:
- Zero Waste: Utilizes your sourdough discard efficiently.
- Speed: Ready in 30 minutes flat.
- Simplicity: Requires just 4 core ingredients.
- Texture Perfection: Achieves that coveted crispy-chewy balance.
- Customization: Endless topping possibilities.
- Stovetop Magic: No oven preheating or waiting for a pizza stone.
The Heart of the Crust: Your Sourdough Discard
Your discard isn’t waste; it’s the secret ingredient. This active starter, often discarded daily, is packed with wild yeast and lactic acid bacteria. When combined with flour and water, it creates a naturally leavened dough that develops incredible flavor and texture over its short fermentation. The discard provides the essential fermentation boost, creating tiny air pockets that lead to that signature sourdough chew and complex tang, even in such a quick method. Don’t skip it!
Ingredients: Simplicity at Its Finest
This crust relies on just four fundamental components, each playing a crucial role:
1. Sourdough Discard (1 1/2 cups / 12 oz / 340g): The star! Use discard that’s been fed within the last 24-48 hours for maximum activity. It should be thick, pourable, and smell pleasantly sour. Why it matters: Provides fermentation, flavor, and structure.
2. All-Purpose Flour (2 cups / 240g): The workhorse. All-purpose flour offers the right balance of protein (gluten) for structure and tenderness. Bread flour can be used for extra chew, but all-purpose is perfectly fine. Why it matters: Forms the gluten network that gives the crust its chew and holds it together.
3. Warm Water (3/4 cup / 180ml): Room temperature or slightly warm (around 100°F/38°C) is ideal. Why it matters: Hydrates the flour, activates the yeast in the discard, and allows gluten development.
4. Fine Sea Salt (1 1/2 teaspoons): Enhances flavor and controls yeast activity. Why it matters: Balances the dough’s flavor and strengthens the gluten structure.
Essential Equipment:
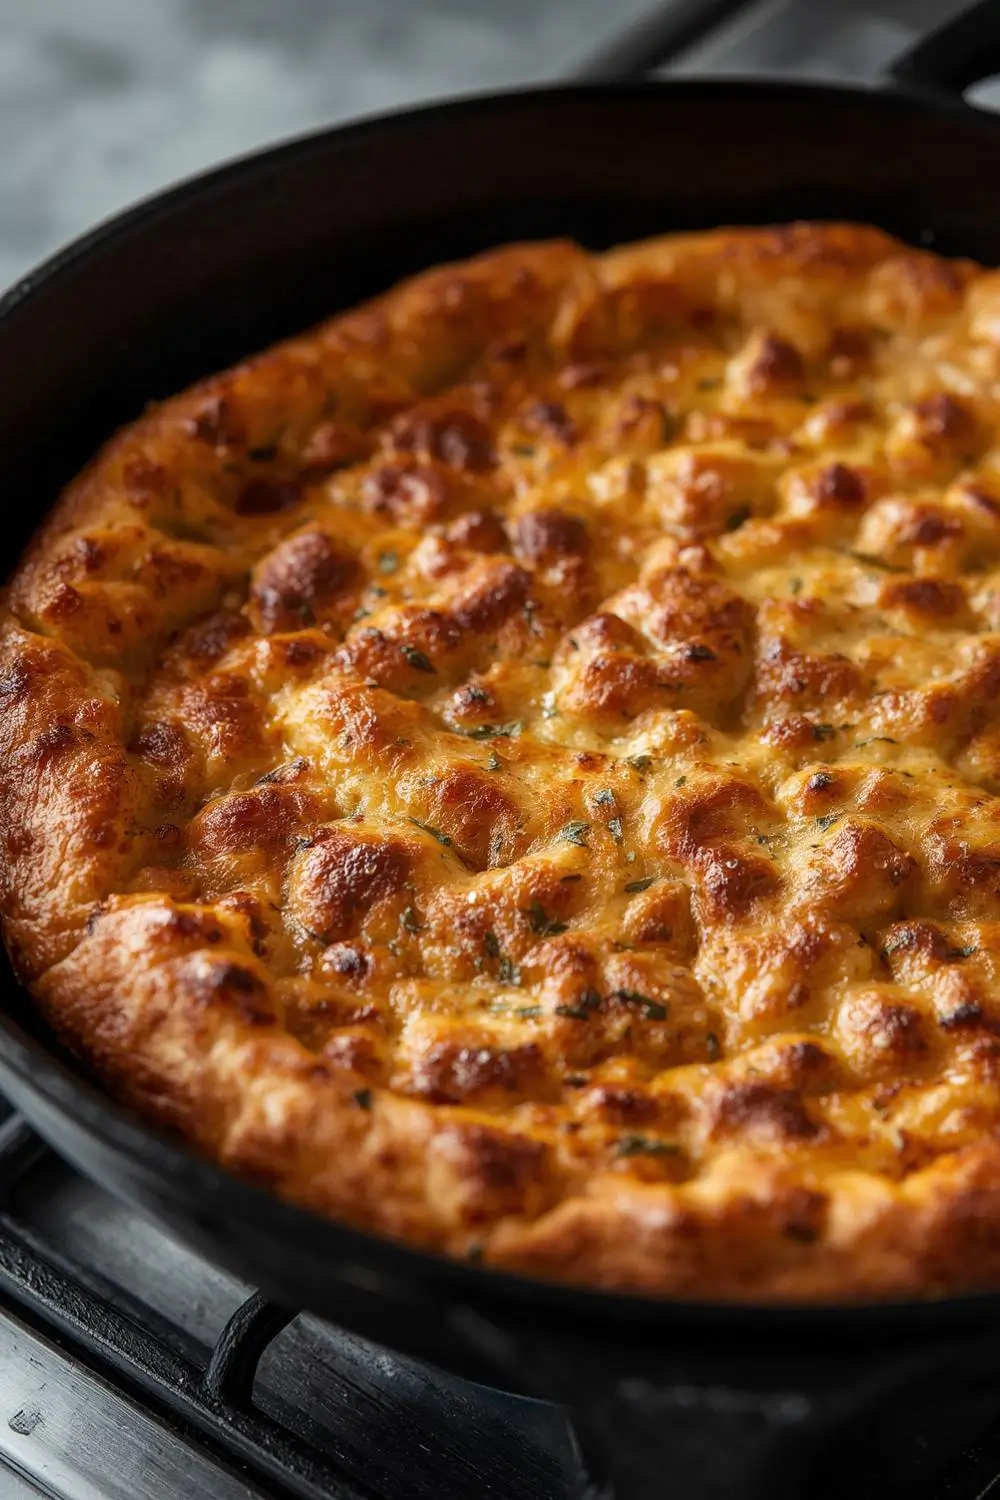
- Cast Iron Skillet (10-12 inch): The absolute best choice. Its excellent heat retention creates the perfect crispy bottom and blistered edges. A heavy-bottomed stainless steel skillet works in a pinch, but cast iron is superior.
- Mixing Bowl: Large enough to comfortably hold the dough.
- Measuring Cups & Spoons: Accuracy is key.
- Kitchen Scale (Optional but Recommended): For precise measurements.
- Plastic Wrap or Damp Towel: For covering the dough during rest.
- Pizza Stone or Inverted Baking Sheet (Optional): For extra crispiness in the oven (if baking later).
- Pizza Cutter or Sharp Knife: For slicing.
- Spatula: For transferring the crust.
Step-by-Step: From Discard to Delicious Crust
1. Combine the Magic: In your large mixing bowl, whisk together the sourdough discard and warm water until smooth. This is your wet base.
2. Add the Flour & Salt: Gradually add the all-purpose flour and salt to the wet mixture. Using a sturdy spatula or your hands, mix until a shaggy, sticky dough forms. Don’t worry about overmixing at this stage.
3. Knead Briefly (Optional but Recommended): Turn the dough out onto a lightly floured surface. Knead it gently for just 1-2 minutes. This helps develop a bit more gluten and brings the dough together into a cohesive ball. It will still be quite soft and sticky.
4. First Rest (Autolyse – 10-15 minutes): Place the dough ball in a lightly oiled bowl, turning it once to coat lightly. Cover tightly with plastic wrap or a damp kitchen towel. Let it rest at room temperature for 10-15 minutes. This allows the flour to fully hydrate and the gluten to begin relaxing, making the dough easier to shape later.
5. Shape the Crust: After resting, gently press the dough into a 10-12 inch circle directly in your clean, dry cast iron skillet. Use your fingers or the back of a spoon to press it out evenly, leaving a slightly thicker edge for the crust. Don’t worry about perfection – rustic is beautiful! If the dough feels too sticky, lightly flour your hands or the spatula.
6. Second Rest (Proofing – 5-10 minutes): Cover the skillet loosely with plastic wrap or the damp towel again. Let the shaped crust rest for another 5-10 minutes. This short rest allows the gluten to relax further and the dough to puff slightly.
7. Heat the Skillet: Place the skillet over medium-high heat. You want it hot enough to sizzle when you add the dough. A drop of water flicked onto the surface should skitter and evaporate instantly. This high heat is crucial for blistering and crisping the bottom quickly.
8. Cook the Crust: Carefully place the skillet with the shaped dough onto the hot burner. Cook undisturbed for 3-5 minutes, or until the bottom is deeply golden brown and blistered with air pockets. You might hear a satisfying sizzle and crackle.
9. Flip & Finish: Using a thin spatula, carefully slide under the crust and flip it over. Cook for another 2-3 minutes on the second side, until it’s also golden brown and blistered. If the crust puffs up too much in the middle, gently press it down with the spatula during cooking.
10. Add Toppings & Finish in Oven (Optional): For extra crispiness or to melt cheese thoroughly, transfer the skillet (with the crust flipped bottom-side up) to a preheated oven (400°F/200°C). Top with your favorite sauce, cheese, and toppings. Bake for 8-12 minutes, or until the cheese is melted and bubbly and the crust is fully cooked through. Keep a close eye on it!
11. Rest & Slice: Remove the skillet from the oven (carefully, it’s hot!). Let the pizza rest for 2-3 minutes before slicing. This allows the cheese to set slightly and prevents toppings from sliding off.
Tips for Crust Perfection:
- Don’t Overmix: Mix just until the dough comes together. Overmixing develops too much gluten, leading to a tough crust.
- Use Room Temp Ingredients: Ensures even hydration and mixing.
- Don’t Skip the Rest: The short rests allow the dough to relax and hydrate properly.
- Hot Skillet is Key: Medium-high heat is non-negotiable for blistering and crisping.
- Flip Carefully: Use a thin, sturdy spatula. Slide it completely under the crust before lifting.
- Toppings Matter: Less is often more. Overloading leads to a soggy crust. Precook very wet toppings like raw veggies or sausage.
- Oven Finish: Essential for melting cheese and cooking toppings if needed. Don’t skip it if you want melty cheese!
Variations & Substitutions: Make it Your Own
- Whole Wheat Flour: Substitute up to 50% of the all-purpose flour with whole wheat for a nuttier flavor and denser texture. Adjust hydration slightly if needed.
- Bread Flour: Use 100% bread flour for extra chew and chewier crust.
- Olive Oil: Replace up to 2 tablespoons of the water with extra virgin olive oil for added richness and flavor.
- Herbs & Spices: Mix dried oregano, basil, garlic powder, or onion powder into the flour before adding to the discard/water mixture.
- Cheese Crust: Mix shredded mozzarella or parmesan directly into the dough before shaping.
- Thin Crust: Press the dough thinner (about 1/4 inch) before cooking for a crispier, cracker-like texture.
- Thick Crust: Press the dough slightly thicker (about 1/2 inch) before cooking for a more substantial, bread-like base.
Storage & Reheating: Enjoy Leftovers
- Cooling: Let the cooked pizza cool completely on a wire rack before storing.
- Storage: Store leftover slices in an airtight container at room temperature for up to 2 days, or in the refrigerator for up to 4 days. For longer storage, wrap tightly and freeze for up to 1 month.
- Reheating:
* Skillet: Place a slice in a cold skillet over medium-low heat. Cover with a lid and heat for 3-5 minutes, or until warmed through and the bottom is crisp.
* Oven: Place slices on a baking sheet and heat in a 350°F (175°C) oven for 5-10 minutes.
* Air Fryer: Preheat air fryer to 350°F (175°C). Place slices in the basket and heat for 3-5 minutes until crisp.
* Microwave: Use sparingly (can make it soggy). Place a damp paper towel over the slice and microwave for 30-60 seconds.
Common Mistakes to Avoid
1. Using Old Discard: Discard needs to be active (fed within 24-48 hours) for best results. Stale discard won’t rise properly.
2. Overmixing the Dough: Leads to tough, chewy crust instead of tender and chewy.
3. Skipping the Rest: Prevents proper hydration and gluten relaxation.
4. Not Using a Hot Skillet: Results in a pale, soggy bottom crust.
5. Overloading Toppings: Causes the crust to steam and become soggy before toppings cook.
6. Not Preheating the Oven (if using): Slows down cooking and can lead to a soggy crust.
7. Cutting Too Soon: Prevents cheese from setting and toppings from sliding off.
Your Sourdough Discard Skillet Pizza Crust FAQs
1. Can I use discard that’s been in the fridge for a week? It’s possible, but less active. You might need to let it sit out longer to become active again, or use less discard and add a pinch of active dry yeast to compensate. The flavor won’t be as complex.
2. My crust is too dense. What went wrong? Likely overmixing, not enough rest time, or not using a hot enough skillet. Ensure you’re not overworking the dough and that your skillet is properly preheated.
3. My crust isn’t blistering. Why? The skillet wasn’t hot enough. Increase the heat slightly and ensure it’s preheated well before adding the dough. Don’t move the crust too soon.
4. Can I make this crust without a cast iron skillet? Yes, a heavy-bottomed stainless steel skillet works, but cast iron is superior for heat retention and blistering. A pizza stone preheated in the oven can also be used for a similar effect.
5. How do I know when the crust is fully cooked? The bottom should be deeply golden brown and blistered. The top should feel firm when gently pressed. If baking in the oven, the cheese should be melted and bubbly, and the crust should sound hollow when tapped.
6. Can I freeze the uncooked dough? Yes, you can freeze the shaped crust (before cooking) on a baking sheet until solid, then transfer to a freezer bag. Bake from frozen, adding a few extra minutes to the cooking time. Alternatively, freeze the cooked crust slices for later reheating.
7. My crust is too chewy. How can I soften it? This is usually due to overmixing or using too much flour. Next time, mix less and be gentle. Using a higher hydration dough (more water) can also create a softer crust.
The Final Slice: Your Delicious Discovery
There you have it – a foolproof, 30-minute sourdough discard skillet pizza crust that transforms kitchen scraps into pure comfort. It’s the perfect marriage of simplicity and flavor, delivering that irresistible sourdough tang and satisfying chew without any fuss. Whether you’re craving a quick weeknight dinner, a creative way to use up your discard, or a gluten-free alternative (using gluten-free flour blend with xanthan gum), this recipe delivers. So, gather your ingredients, heat your skillet, and get ready to savor the magic of homemade pizza made effortlessly from your own sourdough starter. Enjoy every crispy, cheesy, delicious bite!
Pin this recipe for later!


