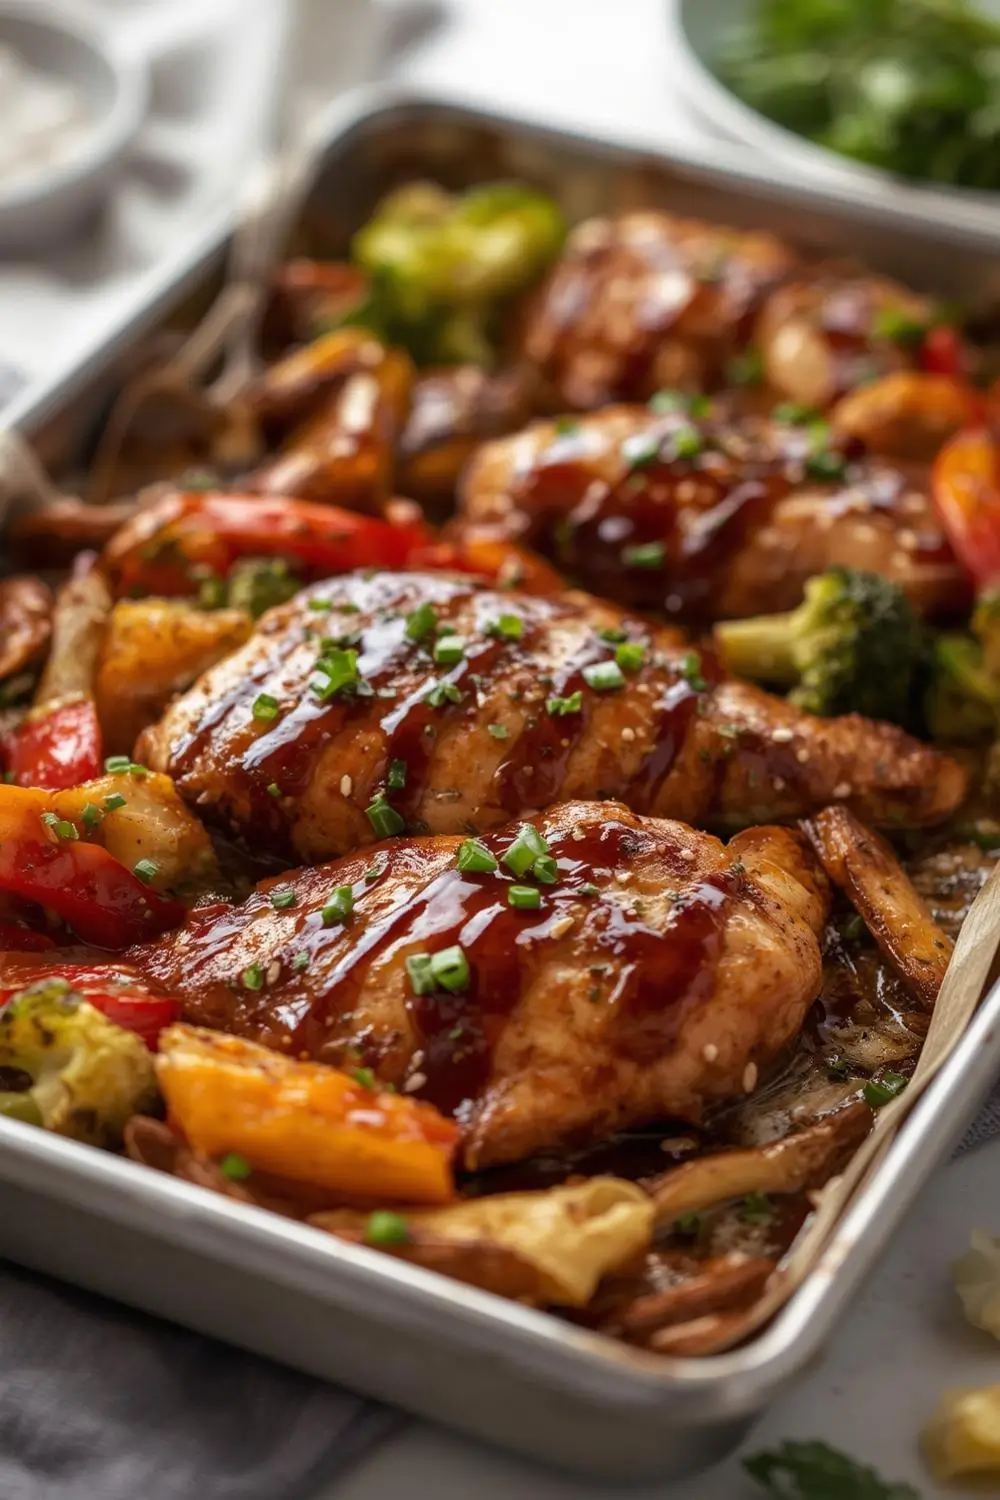
Crispy SheetPan Teriyaki Chicken & Veggies: One Pan, Endless Flavor
Imagine a dinner that practically cooks itself, leaving you with minimal cleanup and maximum satisfaction. That’s the magic of this Crispy Sheet Pan Teriyaki Chicken & Veggies. It’s the ultimate weeknight hero, transforming simple ingredients into a restaurant-worthy meal bursting with sweet, savory, and utterly delicious teriyaki goodness. Perfect for busy families, meal preppers, or anyone craving comfort without the fuss, this recipe delivers on flavor, convenience, and pure, unadulterated joy. Let’s dive into creating this effortless masterpiece together.
Why This Recipe is a Game-Changer
Sheet pan dinners are a lifesaver for busy cooks. They streamline the process, reduce cleanup to a single pan, and often yield beautifully caramelized results. This teriyaki chicken version takes that concept to new heights. By roasting juicy chicken thighs alongside a vibrant mix of fresh vegetables, you get tender, flavorful chicken coated in a sticky, irresistible glaze, all mingling with crisp-tender veggies. The beauty lies in its simplicity: toss everything together, pop it in the oven, and let the heat work its magic. It’s a one-pan wonder that feels like a special treat.
The Heart of the Dish: Ingredients Explained
Getting the best results starts with understanding your ingredients. Here’s what you’ll need and why:
Chicken Thighs (2 lbs, bone-in, skin-on): The star of the show! Chicken thighs are incredibly forgiving and stay juicy even when cooked for longer periods. The skin renders fat, adding incredible flavor and helping the chicken crisp up beautifully. Bone-in thighs also infuse the pan juices with extra richness. Why not breasts?* Breasts can dry out faster on a sheet pan, especially if they cook for the same time as the veggies.
Broccoli Florets (4 cups): A nutritional powerhouse and a perfect match for teriyaki. They hold their shape well during roasting, becoming tender-crisp and absorbing the glaze beautifully. Tip:* Cut florets into similar-sized pieces for even cooking.
- Bell Peppers (2 large, any color): Add a sweet crunch and a splash of color. Red, yellow, and orange peppers are sweeter than green. Slice them into 1-inch pieces for even roasting.
- Red Onion (1 large): Provides a sharp, sweet counterpoint to the savory teriyaki. Cut into 1-inch wedges or half-moons.
Teriyaki Sauce (1 cup): The soul of the dish. Look for a high-quality, gluten-free, and alcohol-free version. Traditional teriyaki often contains soy sauce and mirin (a sweet rice wine), but we’re using a delicious alternative that’s completely alcohol-free and pork-free. Why homemade?* Making your own ensures it’s exactly to your taste and meets dietary needs perfectly. We’ll share a simple, foolproof recipe below.
- Olive Oil (2 tablespoons): Essential for coating the chicken and veggies, helping them roast evenly and develop that gorgeous golden color. It also helps the teriyaki glaze adhere.
- Salt (1 teaspoon): Enhances all the other flavors. Don’t skip it!
- Black Pepper (½ teaspoon): Adds a subtle warmth and complexity.
Garlic Powder (1 teaspoon): A pantry staple that adds depth without overpowering. Why powder?* It dissolves easily into the sauce and coats the chicken evenly.
Ginger Powder (½ teaspoon): Provides that classic, warm, aromatic kick. Why powder?* It’s convenient and ensures even distribution. Fresh grated ginger is great too if you have it.
- Cornstarch (1 tablespoon): The secret weapon for a thick, glossy, restaurant-style teriyaki glaze. It thickens the sauce beautifully as it cooks.
The Teriyaki Sauce: Your Flavor Foundation
Creating a delicious, thick, and glossy teriyaki glaze is easier than you might think. This simple recipe uses pantry staples and delivers restaurant-quality results:
- 1 cup Gluten-Free Soy Sauce (or Tamari): Provides the essential savory, salty base. Tamari is naturally gluten-free.
- ½ cup Water or Gluten-Free Chicken Broth: Helps thin the sauce slightly and adds moisture.
- ¼ cup Honey or Maple Syrup: The natural sweetness balances the soy sauce. Maple syrup works wonderfully for a slightly different flavor profile.
- 2 tablespoons Rice Vinegar: Adds a bright, tangy note that cuts through the richness.
1 tablespoon Sesame Oil: Infuses the sauce with that distinctive, nutty aroma. Tip:* Add it at the end to preserve its flavor.
- 1 tablespoon Cornstarch: This is the thickening agent. Mix it with 1 tablespoon of cold water first to make a slurry before adding it to the sauce.
Step-by-Step: Crafting Crispy Perfection
Now, let’s bring it all together. This process is straightforward and designed for success, even for cooking novices.
1. Prep the Chicken & Veggies: Pat the chicken thighs dry with paper towels. This is crucial for achieving crispy skin! Season generously with salt and pepper on all sides. Cut the broccoli into bite-sized florets. Slice the bell peppers and red onion into uniform pieces (about 1-inch). Place the chicken thighs, broccoli, bell peppers, and onion wedges on a large rimmed baking sheet lined with parchment paper (optional, but helps with cleanup).
2. Make the Teriyaki Glaze: In a medium bowl, whisk together the gluten-free soy sauce, water (or broth), honey (or maple syrup), rice vinegar, and sesame oil. Tip: If using fresh ginger, grate about 1 teaspoon and add it now. Whisk in the cornstarch slurry until smooth. Set aside.
3. Coat the Chicken: Drizzle the olive oil over the chicken thighs on the baking sheet. Using your hands or tongs, gently toss everything to coat the chicken and veggies evenly with the oil. This helps with browning and prevents sticking.
4. Roast the Chicken: Place the baking sheet in the preheated oven. Roast for 20 minutes. This initial blast helps the chicken start to cook and the skin begins to render fat.
5. Apply the Glaze: Carefully remove the pan from the oven. Pour about half of the prepared teriyaki sauce evenly over the chicken and vegetables, using a spoon to coat them well. Return the pan to the oven.
6. Finish Roasting & Glaze: Continue roasting for another 15-20 minutes, or until the chicken is cooked through (internal temperature reaches 165°F / 74°C when measured in the thickest part of the thigh) and the vegetables are tender-crisp. The sauce will thicken and become glossy as it bakes. Crucial Tip: About 5 minutes before the chicken is done, carefully remove the pan again. Brush or spoon the remaining sauce over the chicken and veggies. Return to the oven for the final 5 minutes to caramelize and set the glaze.
7. Rest & Serve: Remove the pan from the oven. Let the chicken rest for 5 minutes before serving. This allows the juices to redistribute, ensuring moist, flavorful chicken. Serve immediately, spooning any extra sauce from the pan over the top. Garnish with sesame seeds or sliced green onions if desired.
Mastering the Method: Tips for Success
- Dry Chicken is Key: Patting the chicken thighs dry before seasoning is non-negotiable for crispy skin. Moisture is the enemy of crispiness.
- Uniform Pieces: Cutting the vegetables into similar-sized pieces ensures they all roast at the same rate. No mushy onions or undercooked broccoli!
- Don’t Overcrowd: Give the chicken and veggies some breathing room on the baking sheet. Crowding leads to steaming instead of roasting, resulting in soggy chicken and veggies. If needed, use two pans or roast in batches.
- Glaze Application: Applying the sauce in two stages (first half early, second half later) ensures the chicken gets fully coated without burning the sauce too early. The final glaze application creates that beautiful, sticky coating.
- Rest the Chicken: Always let the chicken rest for 5 minutes. It makes a significant difference in juiciness.
- Check Doneness: Use a meat thermometer to be absolutely sure the chicken is cooked through (165°F / 74°C). The juices should run clear.
Variations & Substitutions: Making it Your Own
This recipe is incredibly adaptable. Here’s how to tweak it:
Protein Swap: Use boneless, skinless chicken thighs or even chicken breasts if you prefer. Note:* Adjust cooking time slightly (breasts cook faster). For a vegetarian option, try firm tofu cubes or tempeh, pressed and cubed, marinated briefly in a bit of the teriyaki sauce before roasting.
- Veggie Mix: Get creative! Add sliced zucchini, mushrooms, snap peas, carrots (cut thin), or asparagus (trim tough ends). Avoid very watery veggies like tomatoes or cucumbers.
- Sauce Swaps: Use store-bought gluten-free teriyaki sauce if preferred (check labels!). For a spicier kick, add ½ teaspoon red pepper flakes to the sauce. For a citrus twist, add 1 tablespoon lime juice to the sauce.
- Sweetener: Honey works beautifully, but maple syrup, brown sugar, or even a touch of agave nectar are excellent alternatives.
- Thickening: If your sauce isn’t thick enough after roasting, whisk together 1 teaspoon cornstarch with 1 teaspoon cold water and stir it into the sauce in the pan during the last 5 minutes of cooking.
Storage & Reheating: Enjoy Leftovers
This dish is fantastic for meal prep! Store leftovers in an airtight container in the refrigerator for up to 3 days. To reheat, simply place the chicken and veggies in a single layer on a baking sheet and warm in a preheated 350°F (175°C) oven for about 10-15 minutes, or until heated through. You can also reheat individual portions in the microwave, but the oven method preserves the crispiness best. Pro Tip: If the sauce thickens too much when reheated, add a splash of water or broth to loosen it up.
Avoiding Common Pitfalls
- Soggy Chicken: This usually happens from overcrowding the pan or not patting the chicken dry. Ensure good airflow and dry skin.
- Undercooked Chicken: Always use a meat thermometer. Relying solely on cooking time is risky.
- Sauce Too Thin: If the sauce doesn’t thicken during roasting, make a quick cornstarch slurry (1 tsp cornstarch + 1 tsp cold water) and stir it into the sauce in the pan during the last 5 minutes.
- Burnt Sauce: Applying the second layer of sauce too early can cause it to burn. Stick to the two-stage application method.
- Dry Chicken: Overcooking is the main culprit. Use a thermometer and rest the chicken.
Your Burning Questions Answered
- Q: Can I use chicken breasts instead of thighs? A: Yes, but they cook faster. Reduce the initial roasting time to 10-12 minutes, then proceed with glazing and the final roast. Check for doneness at 20 minutes total. Breasts can dry out more easily, so monitor closely.
- Q: Is this recipe gluten-free? A: Yes, it is! Use certified gluten-free soy sauce (tamari) and ensure your cornstarch is gluten-free. Most store-bought teriyaki sauces are gluten-free, but always check labels.
- Q: Can I make this ahead of time? A: Absolutely! Cook it up to 2 days ahead. Store the cooked chicken and veggies separately from the sauce. Reheat the chicken and veggies, then toss with the sauce just before serving for the best texture.
- Q: What if I don’t have cornstarch? A: You can substitute arrowroot powder or potato starch (use 1.5 times the amount). For a thicker sauce without a thickener, you can roast the chicken and veggies first, then simmer the sauce separately until thickened and pour it over.
- Q: Can I add garlic and ginger fresh instead of powder? A: Definitely! Mince 2-3 cloves of garlic and grate about 1 tablespoon of fresh ginger. Add them to the sauce along with the soy sauce, water, honey, and vinegar. Adjust seasoning to taste.
- Q: Is this kid-friendly? A: Absolutely! The teriyaki flavor is sweet and savory, appealing to most palates. Adjust the amount of ginger powder if you prefer a milder flavor. Serve with rice or noodles if desired.
- Q: Can I use a slow cooker? A: Yes! After searing the chicken thighs (optional, but adds flavor), place them in the slow cooker with the veggies and sauce. Cook on LOW for 4-5 hours or HIGH for 2-3 hours until chicken is tender. The sauce will be thinner; you can thicken it slightly with a cornstarch slurry during the last 30 minutes.
- Q: How do I make it spicier? A: Add ½ teaspoon red pepper flakes to the sauce, or stir in 1-2 teaspoons of sriracha or chili garlic sauce when tossing the chicken and veggies before roasting.
- Q: Can I use frozen vegetables? A: It’s not recommended. Frozen vegetables release a lot of water during roasting, leading to steaming and soggy results. Use fresh or thawed, well-drained frozen vegetables only if absolutely necessary.
- Q: What sides go well with this? A: Serve it over fluffy white rice, jasmine rice, or brown rice for a complete meal. Noodles (like udon or ramen) are also a fantastic pairing. A simple side salad with a light vinaigrette or steamed green beans complement the flavors perfectly.
The Final Verdict: A Weeknight Winner
There you have it – Crispy Sheet Pan Teriyaki Chicken & Veggies, a dish that proves incredible flavor doesn’t require hours in the kitchen or complicated techniques. It’s a celebration of simplicity, showcasing how a few high-quality ingredients, cooked with care, can create something truly special. The crispy, golden chicken thighs, the sticky-sweet teriyaki glaze, and the vibrant, tender-crisp vegetables come together in perfect harmony. It’s the ultimate one-pan solution for a satisfying, delicious dinner that leaves you feeling accomplished and ready to tackle the next day. Give it a try tonight – your taste buds (and your dishwasher) will thank you!
Bon appétit!