Table of Contents
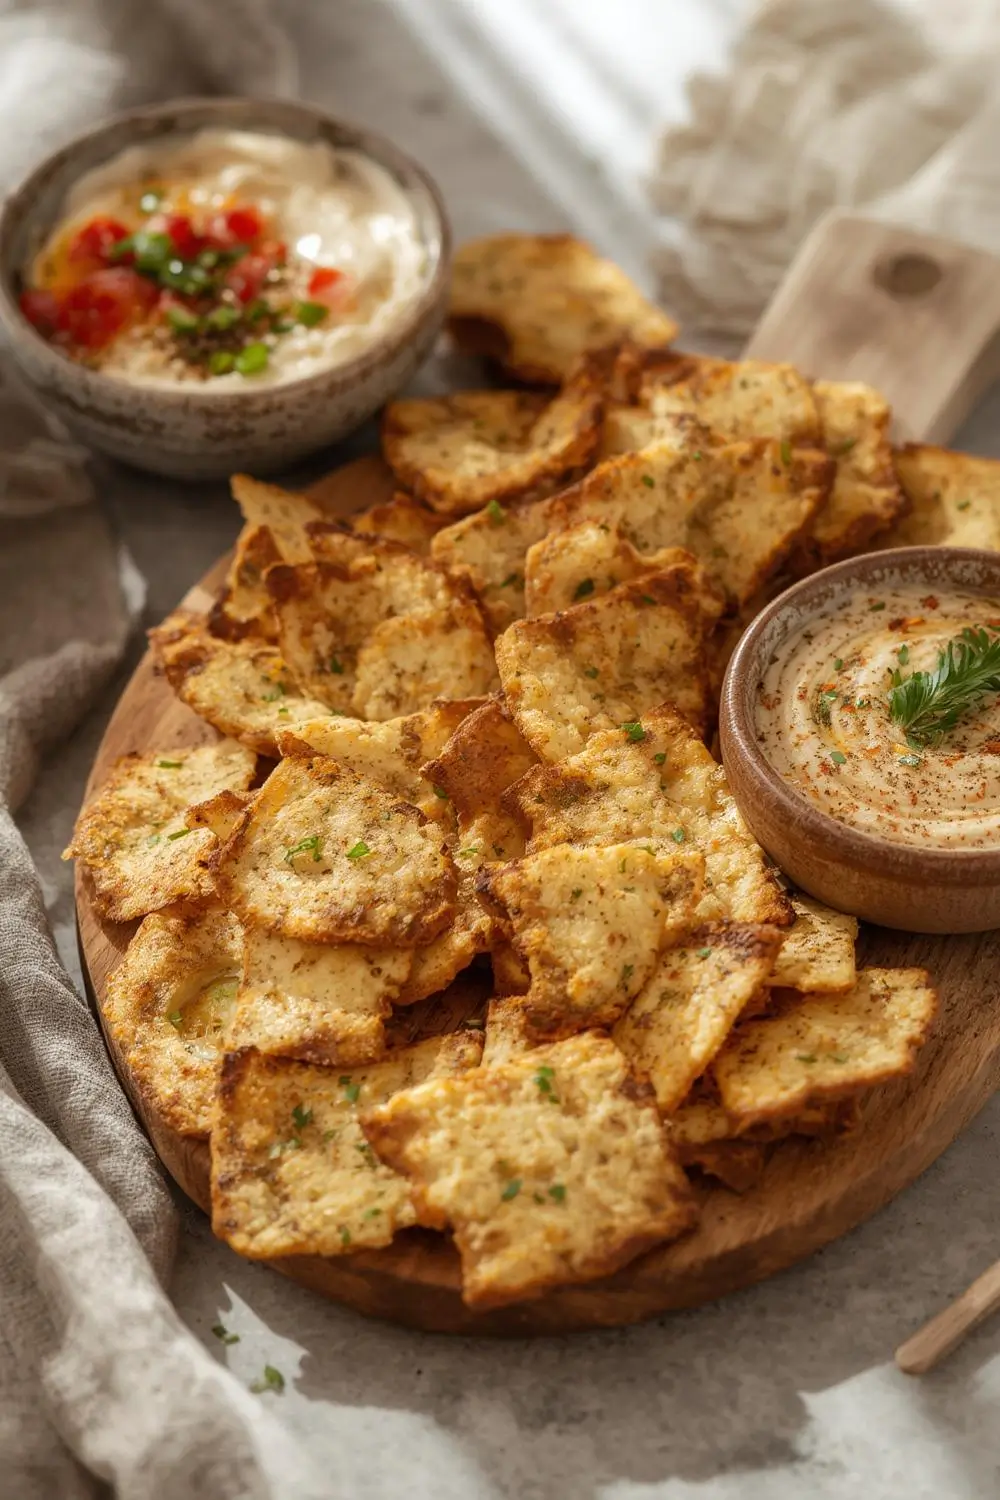
There’s magic hiding in your discarded sourdough starter – crunchy, golden, utterly addictive magic. If you’ve been pouring that tangy discard down the drain after feeding your starter, stop right now! With just five simple ingredients and 30 minutes, you can transform what you once tossed into the most satisfying homemade crackers you’ve ever crunched. These sourdough discard crackers deliver that perfect balance of crispness and fermented tang, making them a versatile snack that disappears faster than you can bake them. This recipe not only fights food waste but gifts you with a snack that’ll have your family asking, “Are there more?” before the first batch cools.
Why You’ll Be Obsessed With These Sourdough Discard Crackers
This isn’t just another cracker recipe – it’s a revelation. Sourdough discard recipes often focus on waffles or pancakes, but crackers are where your discard truly shines. That “waste” starter brings a complex flavor and unequaled crispiness you simply can’t achieve with regular dough. Unlike many cracker recipes requiring hours of chilling or special equipment, this version skips straight to the good part – no rolling pins required if you don’t have one.
The beauty? These crackers embrace imperfections. Uneven edges? More surface area for crunch. Irregular shapes? Artisan charm. Beginners often worry about working with sourdough discard, but this recipe is forgiving by design. Whether your discard is fresh from the fridge or a few days old, it’ll work beautifully here. Let’s turn that jar of tangy potential into your new snack obsession.
Exactly What You Need to Make Magic Happen
These pantry-staple ingredients transform into something extraordinary. Here’s how each component contributes:
- Active or Discarded Sourdough Starter (1 cup, unfed): Use straight from the fridge – no need to bring to room temperature first. Your discard can be 12 hours or several days old; it all works!
- Extra Virgin Olive Oil (⅓ cup): Choose something fruity rather than peppery here. The oil creates tenderness in the crackers while helping them crisp.
- Pure Maple Syrup (1 tbsp): Just enough to balance acidity without sweetness. Honey works, but maple complements the tang better.
- Sea Salt (1 tsp + extra for sprinkling): Flaky sea salt creates delightful bursts of flavor on the finished crackers.
- All-Purpose Flour (½ – ¾ cup): Start with ½ cup and add gradually. The exact amount depends on your starter’s hydration (more on that below).
Optional Flavor Boosters
- Fresh Rosemary & Garlic: 1 tbsp finely chopped rosemary + 1 tsp garlic powder
- Everything Bagel: 2 tbsp everything seasoning mix
- Parmesan Black Pepper: ¼ cup grated parmesan + 1 tsp cracked pepper
- Smoky Paprika: 1 tsp smoked paprika + ½ tsp onion powder
Your Foolproof Step-by-Step Guide to Perfect Crackers
Follow these steps for consistently crisp, golden results:
Mixing the Dough (5 Minutes)
In a medium bowl, combine starter, olive oil, maple syrup, and 1 tsp salt. If using any dry seasonings (garlic powder, rosemary, parmesan, etc.), add now. Gradually mix in the flour starting with ½ cup. Mix until a stiff but slightly sticky dough forms. If it sticks excessively to your hands, add flour 1 tbsp at a time (up to ½ cup extra).
Pro Tip: Resist adding too much flour! The dough should resemble soft playdough – too dry makes dense crackers.
Rolling for Maximum Crisp (10 Minutes)
- Preheat oven & baking sheet: Crank oven to 450°F (232°C) – high heat is crucial. Place a heavy baking sheet inside to preheat.
- Divide dough: Split into two portions for easier handling.
- Parchment rollout: Place first dough portion between two parchment sheets. Roll to 1/16-inch thickness – nearly translucent! Thin = crisp.
- Season: Peel off top parchment. Brush lightly with water or olive oil (helps toppings stick). Generously sprinkle with flaky salt + optional toppings.
- Score: Use a pizza cutter, knife, or pastry wheel to cut into 1-inch squares or diamonds. Don’t separate pieces yet!
Visual Cue: When properly thin, you should slightly see the parchment’s texture through dough.
Baking to Golden Perfection (12-15 Minutes)
Remove the hot baking sheet from the oven (carefully!). Slide the parchment with scored dough onto it. Bake for 8 minutes. Rotate the pan, then bake 4-7 minutes more until deep golden brown with darker edges.
Listen for the Crackle: When removed from the oven, the crackers make a crackling sound as they cool – music to a baker’s ears!
Cooling & Breaking Apart (5 Minutes)
Let the crackers cool on the baking sheet for 5 minutes – they’ll crisp further. Gently break along scored lines. If any pieces aren’t fully separated, a gentle twist does the trick.
Game-Changing Tips for Next-Level Crackers
These simple tweaks make all the difference:
- Preheated Baking Sheet: Creates an instant sear for better blistering and rise
- Salt Timing: Apply seasonings AFTER rolling but BEFORE scoring so it doesn’t tear the dough
- Oven Thermometer Check: 95% of home ovens run hot or cold. Invest in a $7 oven thermometer
- Even Thickness: Place chopsticks alongside dough edges as rolling pin guides. Prevents thick edges
Creative Twists to Keep It Exciting
Boredom has no place here. Try these variations:
Sweet & Savory
- Top baked crackers with melted dark chocolate + flaky salt
- Mix 1 tsp cinnamon + 1 tbsp turbinado sugar into dough
Cheesy Goodness
- Add ¼ cup nutritional yeast to dough (extra umami!)
- Grind dehydrated cheese powder over before baking
- Replace 2 tbsp flour with rye flour for earthy depth
- Mix in 1 tsp nori flakes + sesame seeds
Clever Swaps for What’s in Your Pantry
No starter? No problem! Solutions:
- Starter Substitutes: Combine ½ cup flour + ½ cup water + 1 tbsp plain yogurt. Let sit 12 hours for faux starter
- Olive Oil Replacement: Melted ghee or avocado oil (neutral flavor)
- Maple Syrup Alternatives: Honey, agave, or 1 tsp sugar dissolved in 1 tbsp warm water
- Gluten-Free Version: Substitute AP flour with GF 1:1 baking blend + ¼ tsp xanthan gum
Preserving the Crunch: Storage Strategies
Your challenge? Keeping them crisp! Here’s how:
- Air-Tight Containers: Cool completely first! Use a glass jar with tight seal. The crackers have a half-life based on humidity – eaten quickly solves this! 🙂
- Freezer Friendly: Freeze unbaked, rolled-out dough (on parchment) up to 3 months. Bake from frozen, adding 2-3 minutes.
- Reviving Limp Crackers: Spread on baking sheet. Heat at 300°F (149°C) for 5 minutes. They’ll crisp right up.
Where New Bakers Go Wrong (And How to Avoid It)
Learn from others’ oops moments:
- Too-Thick Dough = Hard Tacos, Not Crackers: If you can’t see light through rolled dough, roll thinner!
- Skipping Hot Baking Sheet: Cold pans lead to pale, soft centers. Don’t skip preheating!
- Overcrowding the Pan: Bake in separate batches to ensure even browning.
- Cutting Before Fully Cooled: Fragile when hot. Let ‘em rest before moving.
Answers to Your Sourdough Cracker Questions
My starter is 100% hydration. Change anything?
No adjustments needed! Higher hydration starters may require slightly more flour (up to extra ½ cup overall). Add gradually.
Can I make these gluten-free?
Absolutely! Use a GF starter and GF 1:1 flour blend plus xanthan gum as mentioned above. They’ll be slightly more delicate but still delicious.
Why are some bubbles huge and others small?
Bubbles depend on your starter’s activity. Big bubbles = prizes! They create delightful crispy pockets. If you dislike the look, dock dough with a fork before baking.
Help! My crackers are burnt on edges but raw in center.
Your oven runs hot! Next time reduce heat to 400°F (204°C) and bake longer. Also, position the rack in the upper-middle third.
How thin is “translucent”?
Imagine thinly rolled cookie dough before cutting shapes. About 1.4mm thin – thinner than standard pie crust.
Can I freeze baked crackers?
Freeze unbaked dough instead for best texture. Baked crackers lose crispness faster when frozen, but it works in a pinch.
Let’s Make Snack Time Irresistible
Once you taste that first shattering bite of your homemade sourdough discard crackers, everything changes – not just the fate of your starter discard. They become everything crackers should be: crispy enough to hear the crunch across the room, flavorful enough to vanish before game night even starts, and simple enough that there’s no excuse not to bake another batch tomorrow. Package them mason jars for thoughtful gifts (if you can part with them!), create unique spice blends reflecting your favorite flavors, or invent new dip pairings weekly. Your sourdough journey now has the crunchiest companion imaginable – and your pantry will never be ordinary again.