Table of Contents
- 1 Why Crispy Edges Matter
- 2 The Key to Crispy-Edge Success: Oil + Heat
- 3 Ingredients for Crispy-Edge Sourdough Focaccia
- 4 Step-by-Step Technique for Crispy Edges
- 5 Pro Tips for Crisp Edges Every Time
- 6 Texture Timeline: What to Expect
- 7 Flavor Variations for Crisp-Edge Focaccia
- 8 Serving Ideas
- 9 Storing and Reheating
- 10 Troubleshooting
- 11 Frequently Asked Questions
- 12 Final Thoughts
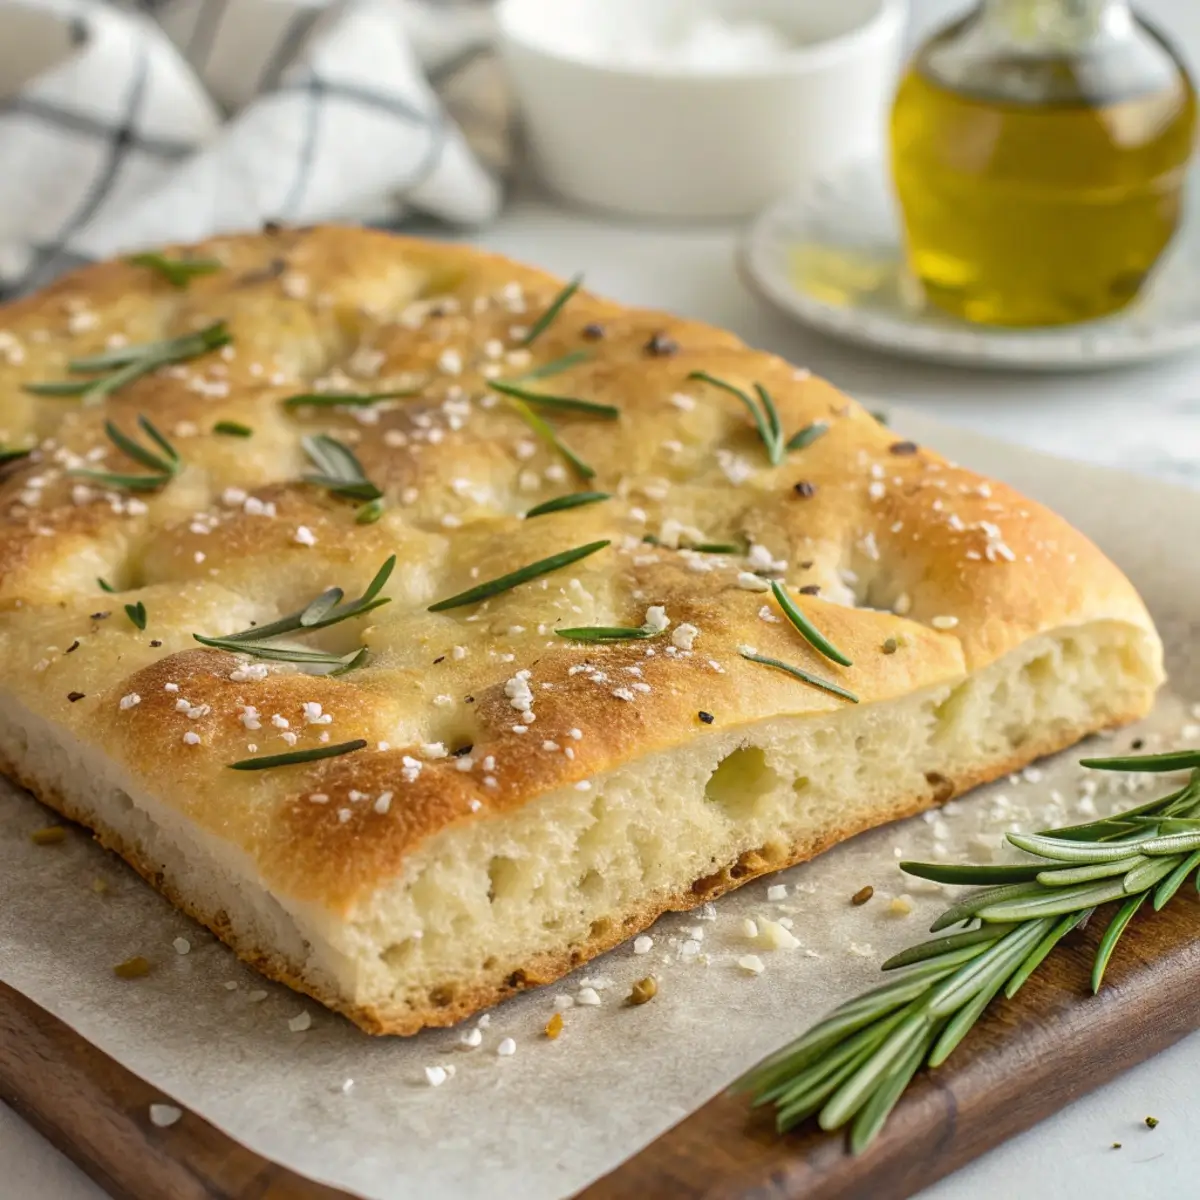
There’s nothing quite like the edges of perfectly baked sourdough focaccia — golden, crunchy, slightly chewy, and shimmering with olive oil. It’s the part everyone fights over at the table. But achieving that crisp-edge perfection isn’t just luck; it’s technique.
While most focaccia guides focus on achieving an open crumb or airy interior, this recipe is dedicated to the edges — how to make them crisp, flavorful, and caramelized without drying out the inside.
In this complete guide, you’ll learn the exact technique to master crispy-edged sourdough focaccia: from pan type and oil distribution to proofing methods, oven temperature, and baking time. The result? A soft, cloud-like center surrounded by a golden halo of crunch that rivals any bakery.
Why Crispy Edges Matter
The crisp edges of focaccia are more than just a texture feature — they’re a flavor experience. When olive oil meets the high heat of the pan, it gently fries the dough’s outer layer, creating a caramelized crust full of savory depth.
That contrast — crunchy outside, pillowy inside — defines true focaccia perfection.
Getting this right requires attention to detail, especially in three key areas:
Oil Coverage – The layer of olive oil between the dough and pan acts as both a flavor carrier and a frying medium.
Pan Choice – The right pan material ensures even browning and heat retention.
Baking Temperature – High heat creates that irresistible golden crust without overbaking the crumb.
The Key to Crispy-Edge Success: Oil + Heat
To achieve those irresistible crispy edges, think of the focaccia dough as being “shallow-fried” in olive oil while baking. You’re not just greasing the pan — you’re creating a thin, even layer of oil that sizzles as the dough bakes, crisping up every corner.
For the perfect texture:
Use extra virgin olive oil for its flavor and high smoke point.
Be generous — 3 to 4 tablespoons for a standard 9×13-inch pan.
Make sure the oil coats both the bottom and sides of the pan. Those edges are where the magic happens.
Ingredients for Crispy-Edge Sourdough Focaccia
Dough
500 g bread flour (strong flour with 12–13% protein)
400 g water (80% hydration)
100 g active sourdough starter (100% hydration)
10 g fine sea salt
25 g olive oil (for dough enrichment)
For the Pan & Topping
3–4 tablespoons olive oil for coating pan and dough surface
Flaky sea salt, to taste
Fresh rosemary or thyme (optional)
Sliced cherry tomatoes, olives, or thin onion rings (optional)
Step-by-Step Technique for Crispy Edges
Mixing the Dough
In a large mixing bowl, combine the sourdough starter and water until the starter dissolves. Add flour and mix until no dry bits remain. The dough will look rough and sticky at first.
Cover and let it rest for 30–45 minutes (this rest is called autolyse). It allows the flour to hydrate and gluten to start forming naturally.
Adding Salt and Olive Oil
After the autolyse, sprinkle salt over the dough and drizzle in olive oil. Gently squeeze and fold the dough until the salt and oil are evenly incorporated. It will be slippery at first but will smooth out as you work it.
Bulk Fermentation and Stretch & Folds
Let the dough rest, covered, for 3–5 hours at room temperature (around 75°F or 24°C). Every 30 minutes during the first two hours, perform a set of stretch and folds to build strength.
To do this:
Grab one side of the dough.
Stretch it upward gently and fold it over the opposite side.
Rotate the bowl and repeat on all sides.
After the last fold, cover the dough and let it rise until roughly doubled in size.
Cold Fermentation for Flavor and Structure
Once the dough has doubled, oil the surface lightly and cover tightly. Place it in the refrigerator overnight or up to 18 hours.
This step enhances flavor and makes the dough easier to handle while also developing the structure that leads to crispy edges.
Choosing the Right Pan for Crisp Edges
The pan you choose can make or break your focaccia crust.
Best options:
Cast iron skillet: Provides the most even heat distribution and crisp edges.
Heavy-duty aluminum pan: Great for larger batches; it heats evenly and encourages browning.
Enamel-coated steel pan: Ideal for achieving a glossy crust and easy release.
Avoid thin, lightweight pans as they tend to heat unevenly, leading to soggy or pale edges.
Oil Distribution: The Foundation of Crispness
Generously pour olive oil into your pan — about 3–4 tablespoons.
Tilt the pan to coat the entire bottom.
Use your fingers or a brush to coat the sides as well.
You should see a visible shimmer of oil; this will create the crispy golden halo.
Now, gently transfer your cold dough to the pan. Using oiled hands, stretch it softly towards the corners. If it resists, let it rest for 10 minutes and stretch again.
The key here is not to deflate the dough — treat it like a delicate pillow full of air.
Final Proof: The Puffy Stage
Cover the pan and let the dough proof at room temperature for 2–4 hours. You’ll know it’s ready when:
The dough looks puffy and jiggly.
Air bubbles are visible beneath the surface.
It almost reaches the edges of the pan on its own.
The Dimpling Step
Before baking, drizzle another tablespoon or two of olive oil over the top. With oiled fingers, gently press into the dough to create dimples all over the surface.
These dimples help trap oil, promoting even browning and crispness. Sprinkle with flaky sea salt and your favorite toppings if desired.
Baking for Crispy Perfection
Preheat your oven to 450°F (230°C). Place the pan on the lower-middle rack for the first 15 minutes to crisp the bottom, then move it up one rack for the final 10 minutes to achieve golden top edges.
Bake for a total of 25–30 minutes, or until the edges turn deep golden and the top is caramelized.
You’ll hear it sizzle as it comes out of the oven — that’s the sound of success.
Cooling and Serving
Let your focaccia rest in the pan for 5 minutes. Then, use a spatula to gently lift it out. Place it on a cooling rack so air circulates around the edges, preserving crispness.
Slice once it’s warm but not hot — the crust should crackle slightly under your knife.
Pro Tips for Crisp Edges Every Time
Use Plenty of Olive Oil
Think of olive oil as your “crust insurance.” The dough should be almost gliding in oil before baking.
Don’t Underbake
A pale focaccia means underbaked edges. Allow a rich golden color to develop before removing from the oven.
Use High Heat
Baking below 425°F often leads to soft edges. Aim for 450°F for maximum crispness and caramelization.
Choose the Right Flour
Bread flour provides the structure needed to support the crisp exterior while maintaining a tender crumb.
Cool Properly
If you cool focaccia directly on a flat surface, steam can soften the edges. Always cool on a rack for airflow.
Texture Timeline: What to Expect
After mixing: Sticky, loose dough.
After bulk fermentation: Smooth, elastic, and airy.
After cold ferment: Light, bubbly, easy to shape.
Before baking: Puffy and jiggly with visible air pockets.
After baking: Deep golden, crisp edges with a soft, open crumb.
Flavor Variations for Crisp-Edge Focaccia
Garlic & Herb Focaccia: Mix olive oil with minced garlic, rosemary, and thyme. Brush over the dough before dimpling.
Tomato & Olive Focaccia: Press halved cherry tomatoes and black olives into the dough for a Mediterranean twist.
Caramelized Onion Focaccia: Spread sweet onions over the surface for a savory-sweet balance.
Simple Sea Salt Focaccia: Keep it classic — let the crispy edges and olive oil shine.
Serving Ideas
Tear warm focaccia into chunks and dip in extra-virgin olive oil and balsamic glaze.
Use it as the base for sandwiches with roasted vegetables and fresh mozzarella.
Pair with tomato soup or salad for a satisfying meal.
Toast leftover slices for breakfast and top with avocado or hummus.
Storing and Reheating
Allow focaccia to cool completely before storing.
Room temperature: Up to 2 days in an airtight container.
Refrigerator: Up to 5 days.
Freezer: Up to 1 month when wrapped tightly.
To reheat and restore crispness, warm in a 375°F (190°C) oven for 6–8 minutes. Avoid microwaving — it softens the crust.
Troubleshooting
Why are my edges not crispy?
Not enough olive oil or too low baking temperature. Be generous with oil and bake at 450°F.
Why did my focaccia stick to the pan?
You need a thicker layer of oil under the dough or your pan wasn’t seasoned well.
Why is my focaccia greasy?
Too much oil on top or uneven distribution. Focus most of the oil beneath and around the dough.
Why did the bottom burn?
Your pan may conduct heat too quickly or the oven rack was too low. Raise the rack one level next time.
Frequently Asked Questions
Can I make sourdough focaccia without a cast-iron pan?
Yes! Use a heavy aluminum or steel baking pan. Just ensure you coat it well with olive oil for even crisping.
Can I skip the cold ferment?
You can, but overnight fermentation deepens flavor and enhances the dough’s structure — making crisp edges more pronounced.
Can I use whole wheat flour?
You can substitute up to 30% with whole wheat. It adds nuttiness but may slightly reduce the lightness.
How can I make the top extra golden?
Brush a light coat of olive oil over the surface right before baking. This helps create even browning and shine.
What’s the ideal oven setting?
Bake at 450°F on conventional mode (not convection). Convection can dry the crumb too fast.
Can I double the recipe?
Yes, but divide the dough into two pans for even baking and consistent crisp edges.
Final Thoughts
Crispy-edged sourdough focaccia is one of the simplest yet most rewarding bakes you can master. With just a few mindful adjustments — generous olive oil, the right pan, and proper heat — you can transform a humble dough into a bakery-worthy creation that’s crunchy on the outside and tender on the inside.
Every golden edge tells the story of olive oil, time, and fermentation working together in harmony. Whether you’re serving it with dinner, as a snack, or as the centerpiece of a weekend brunch, this focaccia will earn you compliments every time.
So go ahead — pour that olive oil, preheat your oven, and listen for that satisfying sizzle. The perfect crispy edges await.