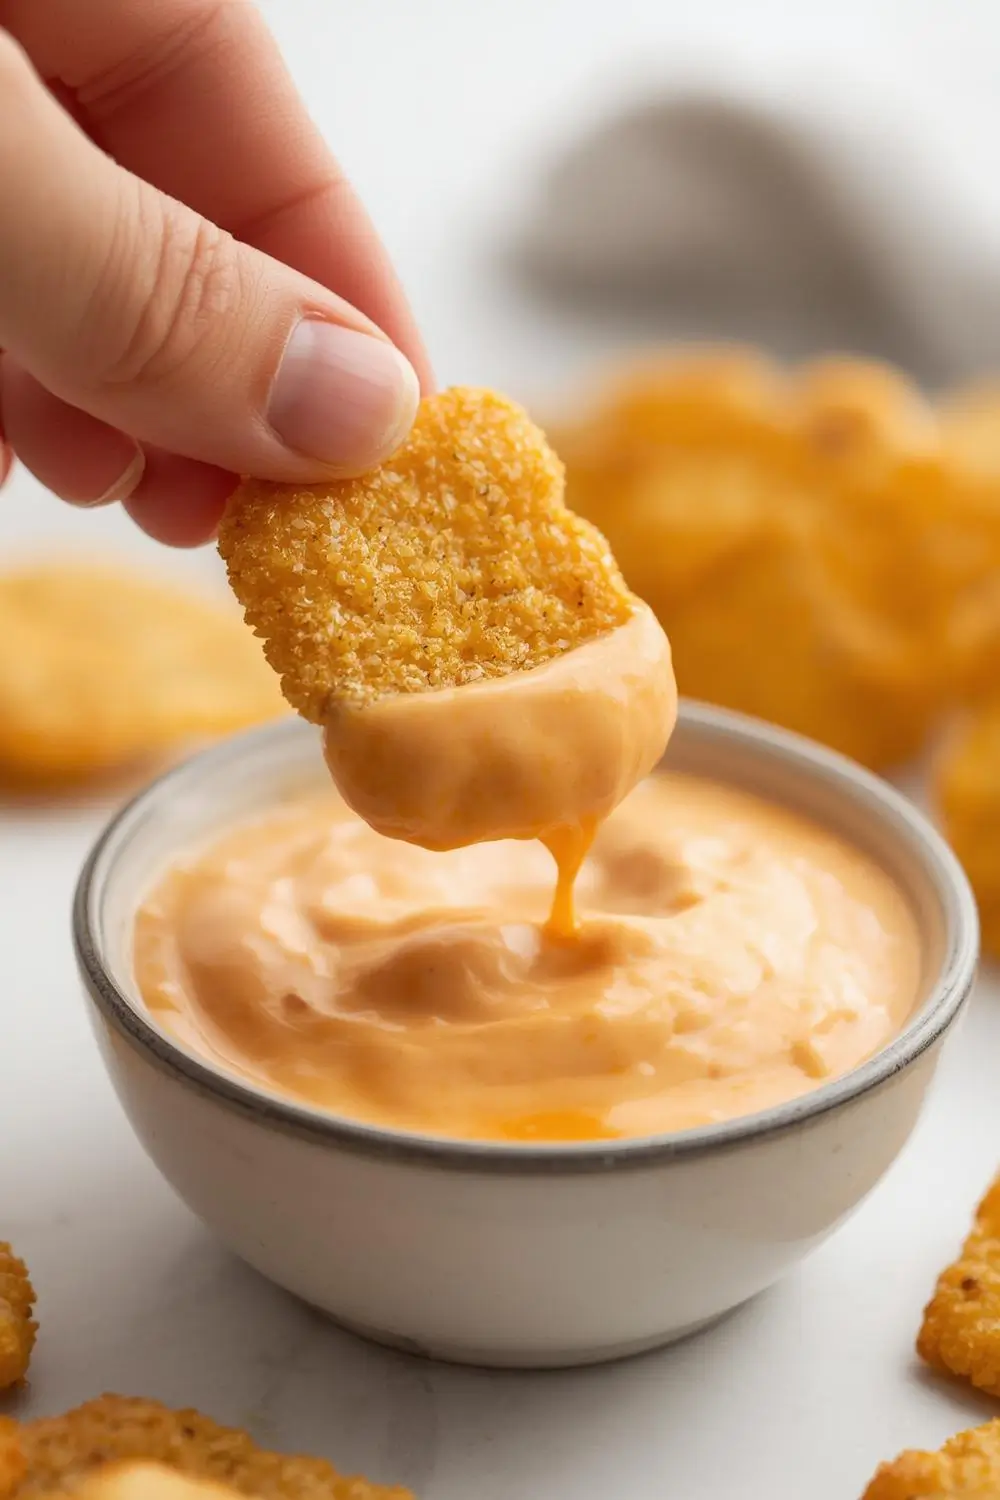
Golden Bites of Flavor: Crispy CheddarCrackers Made with Sourdough Discard
Imagine transforming something you’d normally toss into the compost bin into the star ingredient for the most addictive, golden-brown, crunchy snack you’ve ever tasted. That’s the magic of these Crispy Cheddar Crackers Made with Sourdough Discard. They’re not just a recipe; they’re a delicious act of kitchen alchemy, turning kitchen scraps into pure, cheesy perfection. Perfect for dipping into your favorite dip, crumbling over soup, or simply enjoying straight from the jar, these crackers are a game-changer for anyone who loves the tangy depth of sourdough and the irresistible allure of sharp cheddar. Best of all, they’re incredibly easy to make, requiring minimal effort for maximum flavor and crunch. Let’s dive into creating these irresistible treats that will vanish faster than you can say “sourdough!”
Why Sourdough Discard is Your Secret Weapon
Sourdough discard often gets overlooked, destined for the trash or forgotten in the fridge. But this humble byproduct is pure flavor gold! It adds a subtle tang and complex depth that plain flour simply can’t match. Using it here isn’t just about reducing waste; it’s about elevating the entire cracker. The discard contributes to a slightly denser, more flavorful base that, when combined with sharp cheddar and a touch of butter, creates an utterly irresistible texture – crisp on the outside, tender and cheesy within. It’s a win-win: delicious snacks and a more sustainable kitchen.
Gathering Your Flavorful Arsenal
Before you start mixing, ensure you have everything ready. This recipe relies on simple, pantry-friendly ingredients, but each plays a crucial role:
Sourdough Discard: The star! Use about 1 cup (120g) of discard that’s been sitting in your fridge for 3-5 days. It should be thick and active. Why it works:* Provides tang, depth, and helps create a tender yet sturdy cracker.
Sharp Cheddar Cheese: 1 ½ cups (150g) finely grated sharp cheddar. Why it works:* Sharpness cuts through the richness and delivers that classic, punchy cheddar flavor we crave. Freshly grated is best.
Unsalted Butter: ½ cup (113g) cold, cubed. Why it works:* Adds richness, tenderness, and helps achieve that perfect golden-brown color and crisp texture. Cold butter is key for flakiness.
All-Purpose Flour: 1 ½ cups (190g). Why it works:* The structural backbone. Provides the necessary gluten for structure and chew.
Salt: 1 teaspoon. Why it works:* Enhances all the other flavors dramatically. Don’t skip it!
Black Pepper: ½ teaspoon freshly ground. Why it works:* Adds a subtle warmth and complexity that complements the cheddar beautifully.
Paprika (Optional): ½ teaspoon. Why it works:* Adds a hint of color and a gentle, smoky sweetness that pairs wonderfully with cheese.
Water: 2-4 tablespoons, ice-cold. Why it works:* Used sparingly to bring the dough together. Too much makes it tough; too little makes it crumbly. Ice-cold water helps keep the butter solid for flakiness.
The Art of Mixing: Creating the Perfect Dough
Now, let’s get our hands (or a stand mixer) dirty. This is where the magic starts to happen.
1. Combine the Dry Base: In a large bowl or the bowl of your stand mixer fitted with the paddle attachment, whisk together the flour, salt, black pepper, and paprika (if using). This ensures even distribution of the seasonings.
2. Incorporate the Cheese & Butter: Add the grated cheddar and the cold, cubed butter to the dry mixture. Using your fingertips, a pastry cutter, or the paddle attachment on low speed, work the butter and cheese into the flour. You want the mixture to resemble coarse crumbs with some pea-sized pieces of butter still visible. Don’t overmix; you want those bits of cold butter intact for flakiness.
3. Add the Sourdough Discard: Pour in the sourdough discard. Mix just until the dough starts to come together. It will look shaggy and slightly dry at first. This is normal.
4. The Water Test: Sprinkle the ice-cold water, 1 tablespoon at a time, mixing gently after each addition. Stop as soon as the dough just begins to clump together when pinched. It shouldn’t be wet or sticky; it should hold its shape when pressed but crumble slightly when broken apart. Overworking the dough at this stage can make the crackers tough, so be gentle.
Shaping and Chilling: The Crucial Rest
This step is non-negotiable for achieving that signature crisp texture:
1. Form the Dough: Turn the shaggy dough out onto a lightly floured surface. Gently gather it into a ball. Don’t knead it vigorously. Divide the dough into two equal portions.
2. Roll it Thin: Place one portion between two sheets of parchment paper or plastic wrap. Using a rolling pin, roll the dough out very thinly – aim for about 1/16th of an inch (1.5mm) thick. You want it translucent enough to see light through it slightly. If it tears, just press it back together gently. Repeat with the second portion.
3. Chill for Perfection: Carefully peel off the top parchment (or plastic) from one rolled dough sheet. If it’s sticking, gently slide a thin spatula underneath. Transfer the dough (still on the parchment) to a baking sheet. Repeat with the second dough sheet. Place the baking sheet in the refrigerator for at least 30 minutes, or up to 2 hours. Why chill? This firms up the butter again, prevents excessive spreading during baking, and ensures maximum crispness.
Baking to Golden Perfection
The moment of truth! Baking transforms this thin dough into crispy, golden crackers.
1. Preheat & Prep: Preheat your oven to 375°F (190°C). Line two baking sheets with parchment paper.
2. Cut Before Baking: Using a sharp knife, pizza cutter, or pastry wheel, carefully score the chilled dough into your desired cracker shapes and sizes. Think squares, rectangles, or even fun shapes! Crucial Tip: Do NOT cut all the way through the dough yet! Scoring helps them bake evenly and makes breaking them apart easier later. Leave them on the parchment.
3. Bake: Place the baking sheets in the preheated oven. Bake for 12-18 minutes, rotating the sheets halfway through, until the crackers are deeply golden brown and crisp. Baking times vary greatly depending on thickness and oven hot spots. They will crisp up significantly as they cool, so don’t worry if they seem slightly soft when they come out of the oven. Key Indicator: Look for a deep golden color and a firm, crisp texture when you touch the center of a cracker.
4. Cool Completely: Remove the baking sheets from the oven. Carefully transfer the parchment (with the crackers still on it) to a wire rack. Let the crackers cool completely on the rack. This is when they firm up and become truly crisp. Resist the urge to eat them warm – the texture is best after cooling.
Variations to Spark Your Creativity
Once you master the basic recipe, the possibilities are endless! Here are some delicious twists:
- Herb-Infused: Add 1-2 tablespoons of finely chopped fresh herbs (dill, chives, rosemary, thyme) to the dry ingredients along with the pepper.
- Everything Bagel Style: Mix in 1-2 teaspoons of everything bagel seasoning (or a blend of sesame seeds, poppy seeds, garlic powder, onion powder, and dried onion flakes) with the pepper.
- Garlic & Onion Power: Add 1-2 teaspoons of garlic powder and 1-2 teaspoons of onion powder to the dry ingredients.
- Spicy Kick: Stir in ½ – 1 teaspoon of smoked paprika or a pinch of cayenne pepper with the black pepper.
- Sweet & Savory: Add 1-2 tablespoons of finely grated Parmesan cheese or a sprinkle of nutritional yeast to the dry ingredients for a savory-sweet note.
- Whole Wheat Upgrade: Substitute up to ½ cup of the all-purpose flour with whole wheat flour for a nuttier flavor and added fiber.
Storage & Reheating: Keeping the Crunch Alive
Proper storage is key to maintaining that satisfying crunch:
Cool Completely: Ensure the crackers are fully* cooled before storing.
- Airtight Container: Place the cooled crackers in an airtight container or a resealable plastic bag.
- Room Temperature: Store at room temperature for up to 5-7 days. They will stay crisp longer this way.
- Refrigeration: If your kitchen is very warm or humid, refrigeration is an option, but they may soften slightly faster. Bring them back to room temperature before serving.
- Freezing: For longer storage (up to 3 months), place cooled crackers in a freezer-safe container or bag. Thaw at room temperature before serving.
Reheating (Optional): If they lose a bit of their crispness over time, you can refresh them! Spread them out on a baking sheet and bake at 300°F (150°C) for 3-5 minutes, or until warmed through and crisp again. A toaster oven works well too.
Common Mistakes to Avoid: Mastering the Crisp
Even seasoned bakers can hit a snag. Here’s how to avoid the pitfalls:
1. Overworking the Dough: Handling the dough too much develops gluten, leading to tough, chewy crackers instead of light and crisp. Mix just until combined and handle gently when rolling.
2. Too Much Water: Adding too much water makes the dough sticky and tough. Add water sparingly, a tablespoon at a time, until just combined.
3. Rolling Too Thick: Crackers need to be thin to bake through and crisp up. Aim for that translucent 1/16th inch thickness. If they’re thick, they’ll be doughy in the center.
4. Cutting Before Baking: Cutting all the way through the dough before baking causes them to break apart during baking and cooling. Score lightly, but don’t cut through.
5. Skipping the Chill: This is the most critical step! Skipping the chilling allows the butter to melt too much during baking, resulting in greasy, flat, and less crisp crackers. Chill, chill, chill!
6. Overbaking: While they need to be golden brown, overbaking can make them burn or become excessively hard. Start checking at 12 minutes and watch closely. They crisp up more as they cool.
7. Not Cooling Completely: This is a big one! Cutting into them while warm means they will break and crumble. Patience is key for maximum crunch.
Your Burning Questions Answered
- Q: Can I use sourdough starter instead of discard? A: Discard is perfect! Starter is usually thicker and more active. If you only have starter, you can use it, but you might need a tiny bit less water in the dough, as starter is wetter. The flavor will be similar.
- Q: What if my dough is too crumbly? A: This often happens if there wasn’t enough water or if the discard was too dry. Gently knead the dough just* until it comes together. If it’s still very crumbly, add water, 1/2 teaspoon at a time, mixing gently.
- Q: Can I make these without a rolling pin? A: Absolutely! You can use a wine bottle, a sturdy glass, or even your hands (though it’s trickier). Place the dough between parchment and roll firmly.
- Q: How do I know when they’re done baking? A: Look for a deep golden brown color and a firm, crisp texture when you touch the center. They will crisp up more as they cool, so don’t worry if they seem slightly soft when hot.
- Q: Can I make these gluten-free? A: This recipe relies on wheat flour for structure. Gluten-free crackers can be made, but they will have a different texture (often more crumbly) and require specific gluten-free flour blends and binders like xanthan gum. They won’t be identical to these cheddar sourdough crackers.
- Q: Can I use vegan cheese? A: Yes! Use a good quality vegan cheddar-style cheese alternative. The texture and melting might differ slightly, but it will still work. Ensure it’s finely grated.
- Q: Why are my crackers not crisp? A: Common reasons: not chilled long enough, rolled too thick, overbaked (they can burn on the edges while the center is soft), or stored in a humid environment. Check your dough handling and baking time.
- Q: Can I add seeds or nuts? A: Yes! Stir in 2-3 tablespoons of sesame seeds, poppy seeds, sunflower seeds, or finely chopped nuts (like pecans or walnuts) into the dry ingredients along with the pepper.
- Q: How long do they last? A: Stored properly in an airtight container at room temperature, they typically last 5-7 days. They can also be frozen for up to 3 months.
- Q: Can I double the recipe? A: Yes, but be mindful of your oven space. You might need to bake in batches. Ensure the dough is chilled thoroughly before rolling and baking.
The Final Crunch: A Flavorful Conclusion
There you have it – your very own batch of Crispy Cheddar Crackers Made with Sourdough Discard, ready to transform your snacking routine. These golden bites are more than just a recipe; they’re a celebration of resourcefulness, flavor, and pure, unadulterated crunch. The tangy depth of the sourdough discard elevates the sharp cheddar into something truly special, while the simple process ensures you get that perfect, satisfying crispness every single time. Whether you’re dipping them into a creamy dip, crumbling them over a bowl of soup, or simply enjoying them as a standalone snack, these crackers are guaranteed to disappear fast. They’re the perfect example of how a little kitchen creativity can turn leftovers into a delicious masterpiece. So, embrace your sourdough discard, grab your grater, and get ready to enjoy the most satisfyingly crisp and cheesy crackers you’ve ever made. Happy baking!


