Table of Contents
In the culinary world, the debate between using evaporated milk and sweetened condensed milk for fudge is as rich and complex as the dessert itself. This article dives deep into this milky quandary, aiming to settle the score once and for all. Whether you’re a seasoned baker or a holiday treat enthusiast, understanding the nuances between these two dairy stalwarts can elevate your fudge from good to unforgettable. So, let’s embark on this creamy journey and discover the best Condensed Milk Fudge masterpiece.
Introduction to Fudge Making
Fudge: a word that conjures images of creamy, decadent squares that melt in your mouth with a richness that’s hard to rival. The secret to its velvety texture? Milk. But not just any milk – the choice between evaporated milk and sweetened condensed milk can make or break your fudge. Let’s whisk through the sweet appeal of this beloved treat and delve into the great milk debate.
Understanding Fudge’s Sweet Appeal
Fudge is a dessert that stands the test of time, adored for its sweet simplicity and versatility. Originating from the late 19th century, it has evolved into a global favorite, with countless variations gracing dessert menus and family gatherings alike. The magic of fudge lies not just in its taste but in the chemistry of its ingredients. At its core, fudge is a symphony of sugar, fat, and milk – a trio that, when heated and cooled correctly, forms a luscious, crystalline structure.
The Great Milk Debate: Evaporated vs. Sweetened Condensed
The pivotal ingredient in fudge? Milk. But here’s where bakers find themselves at a fork in the road: should you use evaporated milk or sweetened condensed milk? On one hand, evaporated milk offers a lighter sweetness, allowing the cocoa and other flavors to shine through. On the other, sweetened condensed milk brings a rich, caramel-like sweetness that’s hard to resist.
Each choice impacts the texture, sweetness, and overall flavor profile of the fudge. Evaporated milk, with its reduced water content, lends a denser texture, while the added sugar in sweetened condensed milk creates a smoother, creamier finish. This choice isn’t just about taste; it’s about crafting the perfect fudge experience, from the first sight to the lingering aftertaste.
Stay tuned as we delve deeper into each option, exploring their unique contributions to the art of fudge making. Whether you’re team evaporated or sweetened condensed, understanding the strengths of each can turn your fudge making from a gamble into a guarantee.
Key Ingredients for Perfect Condensed Milk Fudge
Condensed Milk Fudge: A Fudge Favorite
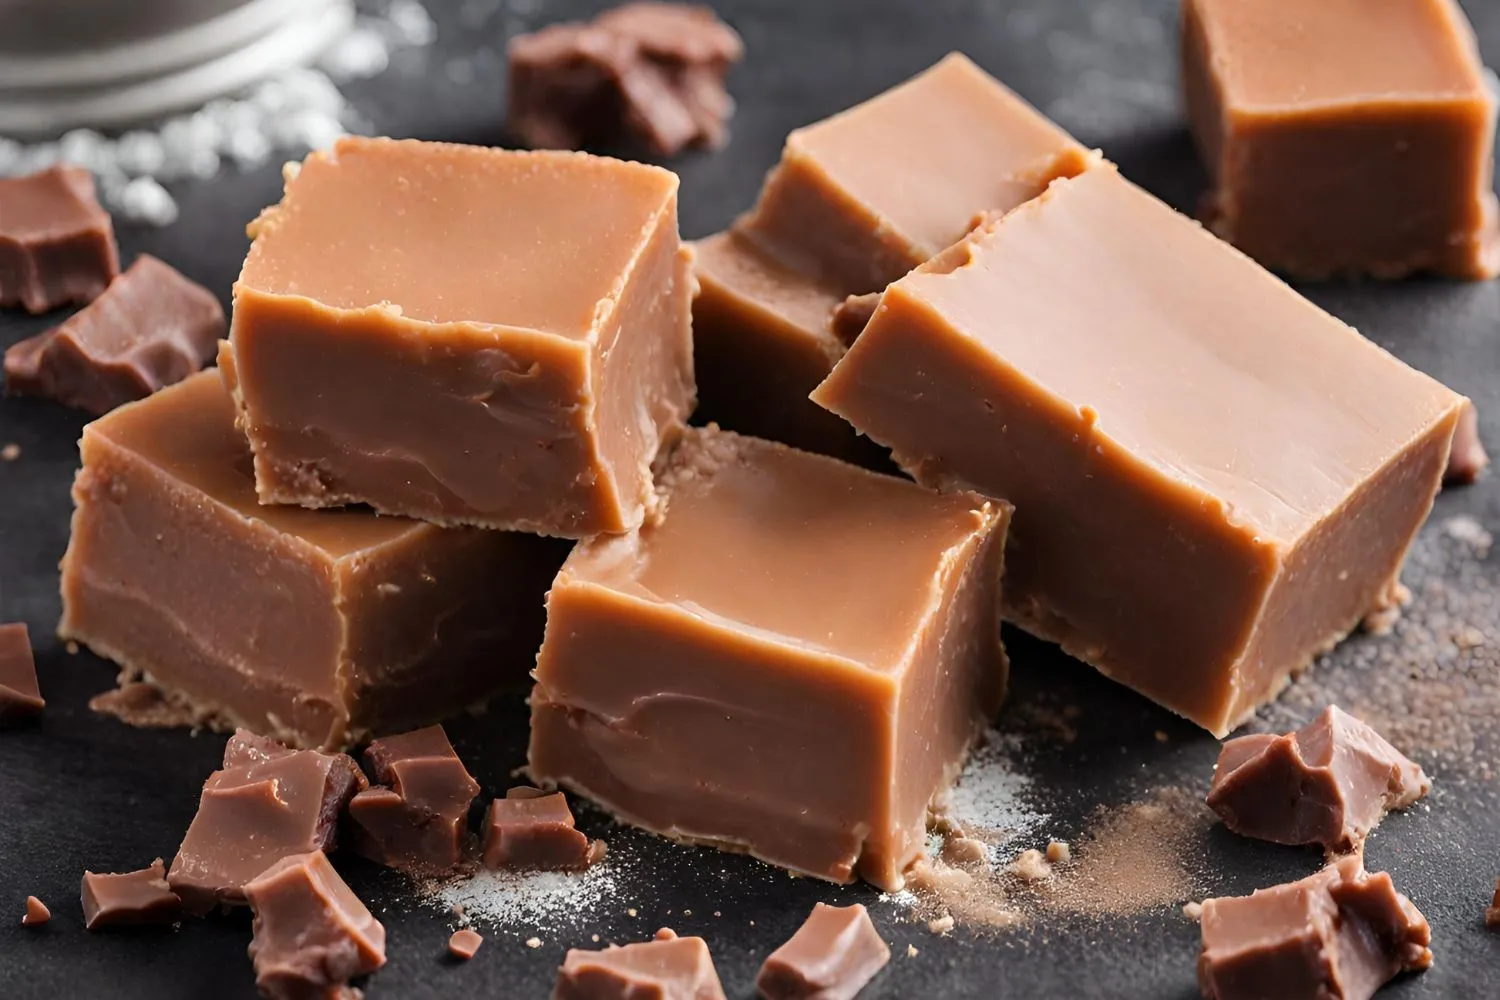
In the realm of fudge making, condensed milk fudge is often hailed as the secret ingredient for achieving that dreamy, melt-in-your-mouth texture. This milk variant is not just evaporated milk with extra sweetness; it’s a whole different character in the fudge narrative, bringing its own unique set of flavors and textures to the table.
Why Condensed Milk Fudge?
The appeal of condensed milk fudge lies in its rich, dense nature. This milk is thickened by removing water and then sweetened, creating a syrupy texture that blends seamlessly into fudge, ensuring a smooth and creamy consistency. Its high sugar content not only sweetens the fudge but also interferes with the crystallization of sugar, preventing the fudge from becoming too hard or grainy.
Pros and Cons of Condensed Milk Fudge
Pros: The thickness and sweetness of condensed milk fudge contribute to a fudge that’s both rich in flavor and velvety in texture. It simplifies the cooking process by combining the dairy and sugar components, reducing the risk of crystallization and ensuring a foolproof creamy finish.
Cons: However, its high sugar content can overpower the nuanced flavors of chocolate or nuts. Bakers seeking a less sweet or more chocolate-forward fudge may find it challenging to adjust the sweetness levels without altering the texture.
The Case for Evaporated Milk
Evaporated milk, with its concentrated flavor and reduced water content, presents a compelling case for fudge aficionados looking for a deeper, more pronounced dairy taste in their confections.
When to Use Evaporated Milk
Opt for evaporated milk when you’re aiming for a fudge with a more pronounced milk flavor and a slightly firmer texture. It’s particularly suitable for recipes where the sweetness can be adjusted independently, allowing the rich, caramel undertones of the milk to complement the cocoa without overwhelming it with sugar.
Pros and Cons of Evaporated Milk
Pros: Evaporated milk lends a caramelized depth to fudge, enhancing its flavor complexity. It also offers more control over the sweetness level, making it a versatile choice for various fudge recipes.
Cons: However, its thinner consistency requires careful handling to achieve the perfect fudge texture. The sugar and milk must be cooked together to the right concentration, a process that can intimidate novice bakers. Plus, there’s a higher risk of sugar crystallization, which demands a bit more skill to navigate.
Step-by-Step Condensed Milk Fudge Recipes
Classic Fudge with Sweetened Condensed Milk
Fudge crafted with sweetened condensed milk is a tradition in many kitchens, celebrated for its simplicity and guaranteed success. This classic recipe promises a rich, creamy delight that’s hard to resist.
Ingredients and Method
To start, you’ll need 3 cups of chocolate chips (semi-sweet or dark, depending on your preference), 1 can of sweetened condensed milk, and a teaspoon of vanilla extract. Begin by lining an 8×8 inch pan with parchment paper. In a saucepan over low heat, melt the chocolate chips and sweetened condensed milk together, stirring continuously to prevent burning. Once melted, remove from heat and stir in the vanilla extract. Pour the mixture into the prepared pan and chill until set, about 2 hours.
Tips for Best Results
Achieving the perfect texture with sweetened condensed milk is all about balance. Firstly, ensure to use low heat to avoid scorching the chocolate. Stirring constantly is key to a smooth mixture. After pouring the fudge into the pan, a gentle tap on the counter will remove any air bubbles, ensuring a dense, even texture. Lastly, patience is paramount; allow the fudge to set fully before cutting into squares for that flawless finish. For an in-depth guide, Dive into our classic fudge recipe.
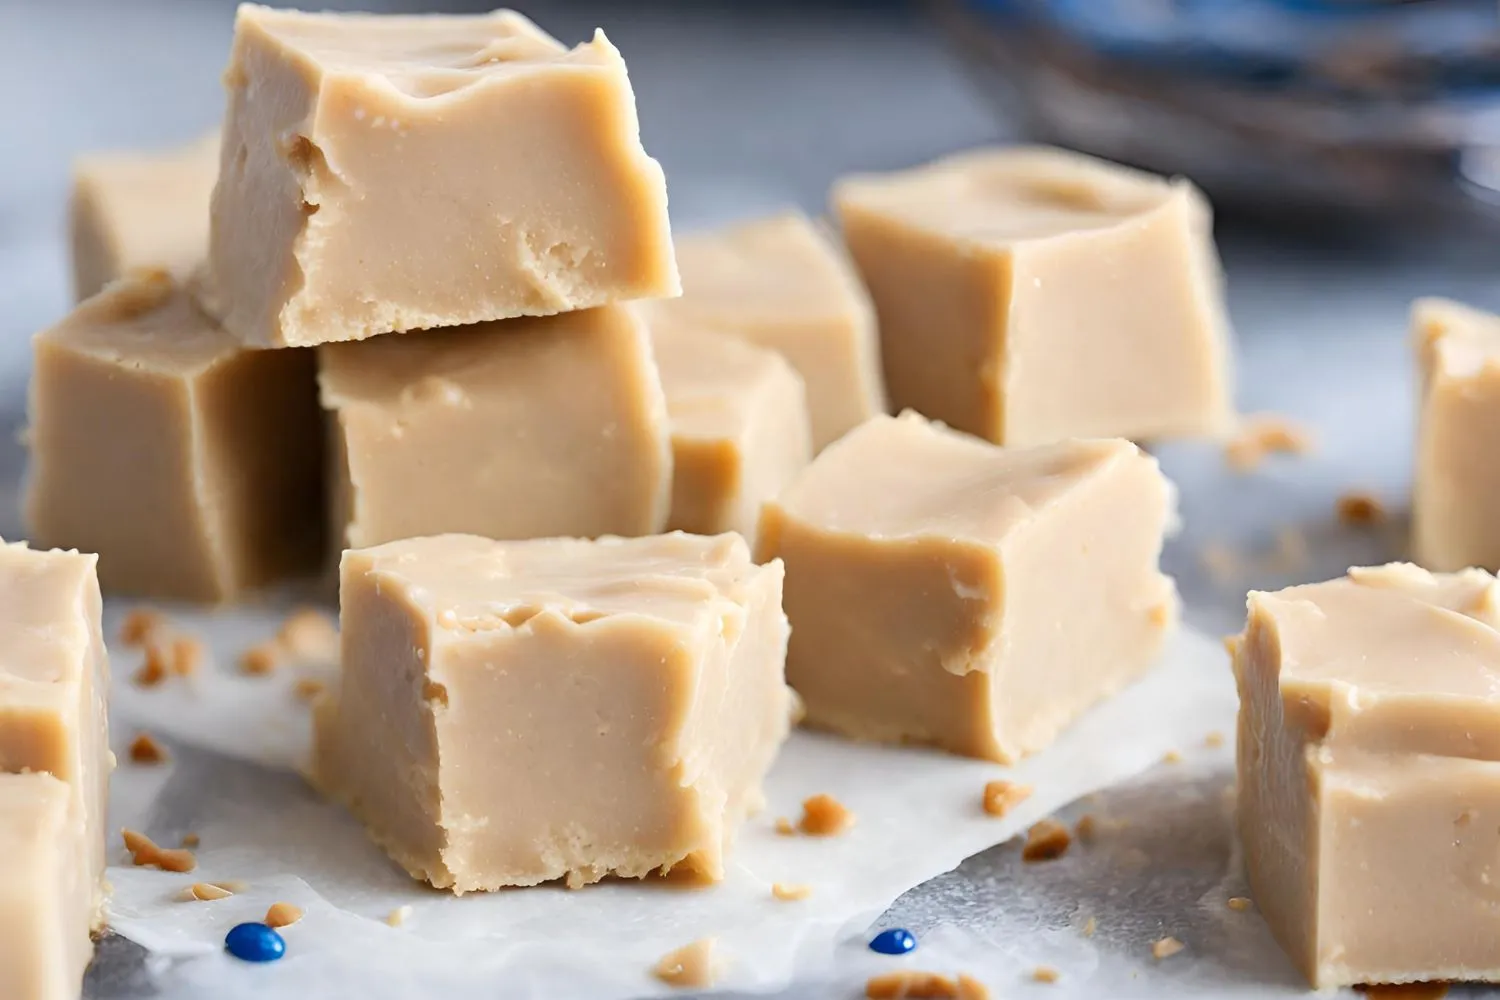
Creative Twists with Evaporated Milk
For those who enjoy a bit of culinary adventure, using evaporated milk in fudge opens up a canvas for creativity. Its less sweet profile allows the flavors of your additional ingredients to shine through. If you’re looking for a richer, more indulgent alternative, Condensed Milk Fudge offers a smoother, creamier texture.
Ingredients and Method
Gather 3 cups of chocolate chips, 1 cup of evaporated milk, a cup of sugar, and a teaspoon of vanilla extract. Start by combining the chocolate chips, evaporated milk, and sugar in a saucepan. Cook over medium heat, stirring until the chocolate melts and the mixture thickens. Once thick, remove from the heat, add vanilla, and pour into a lined 8×8 inch pan. Let it set in the fridge for at least 4 hours.
Tips for Best Results
When using evaporated milk, a few tips can ensure your fudge turns out spectacular. Firstly, the addition of sugar with evaporated milk requires constant attention while cooking to prevent crystallization. For a smoother fudge, consider sifting the sugar before adding it to the pan. A candy thermometer can be a great ally here, helping you achieve the perfect temperature for fudge that sets just right. Remember, cooling slowly at room temperature before refrigerating can help prevent the fudge from becoming too hard. Alternatively, making Condensed Milk Fudge can provide an easier way to get that creamy, smooth consistency.
For those looking to explore the science behind fudge making and get more insights into using different types of milk, check out Understanding the Science Behind Milk Products, which provides a deep dive into dairy’s role in culinary creations.
Expert Tips and Tricks
Achieving the Perfect Consistency
Achieving that dreamy fudge consistency is akin to performing a delicate dance: it’s all about timing, temperature, and technique. One pivotal tip is to never rush the process. Whether you’re using evaporated milk or sweetened condensed milk, gentle heat and constant stirring are your best friends. Another golden rule is to avoid overcooking; remove your fudge from the heat as soon as the ingredients meld into a smooth, homogenous mixture. Cooling your fudge slowly at room temperature before refrigeration can also prevent it from becoming too hard or too soft.
Flavor Variations and Add-ins
Fudge is a versatile dessert canvas, ready to be infused with a plethora of flavors and textures. From nuts and dried fruits to spices and extracts, the possibilities are endless. However, balance is key. When introducing new ingredients, consider their moisture content and how they might affect the fudge’s texture. For instance, too many add-ins can make the fudge crumbly, while not enough might leave it feeling too dense. A good rule of thumb is to add your extras after the fudge mixture has been removed from the heat but is still pliable.
The Comprehensive Guide to Fudge Perfection
Creating the perfect fudge is an art that marries science with a dash of culinary magic. This comprehensive guide aims to demystify the process, providing you with the knowledge and confidence to experiment and perfect your fudge recipes. From selecting the right ingredients to understanding the nuances of texture and flavor, every detail contributes to the final masterpiece.
Understanding Ingredients
The foundation of great fudge lies in its ingredients. Beyond the debate between evaporated milk and sweetened condensed milk, each component plays a pivotal role. High-quality chocolate, for example, can dramatically alter the taste, while the type of sugar used can affect the texture. Even the choice of vanilla extract versus vanilla bean can introduce subtle flavor differences that make your fudge stand out.
The Science of Sugar Crystals
At the heart of fudge making is the science of sugar crystallization. The goal is to encourage small, uniform crystals to form, lending fudge its characteristic smoothness. Factors like temperature, stirring, and the introduction of inhibitors (like corn syrup or marshmallow cream) are crucial in controlling this process. Understanding how these elements interact can transform your approach to fudge making, allowing for more consistent results.
Texture and Consistency
Achieving the perfect texture—somewhere between a chocolate bar and frosting—is often the most challenging aspect of fudge making. This balance is influenced by cooking temperature, ingredient proportions, and cooling time. Overcook the mixture, and your fudge becomes hard; undercook it, and you’re left with a gooey mess. Mastery comes with practice, and soon, you’ll develop an intuition for that fudge-making sweet spot.
Flavor Innovations
Once you’ve nailed the basics, the world of flavor innovations awaits. Infusing your fudge with teas, spices, or even salt can elevate it from a simple sweet to a gourmet treat. Layering flavors, such as a hint of espresso to deepen chocolate notes or a touch of sea salt to enhance sweetness, can add complexity and appeal to your creations.
Presentation and Storage
The final touch to perfect fudge is its presentation and storage. Cutting your fudge into neat, uniform pieces not only makes it more appealing but also ensures each bite offers the same texture and taste experience. When storing fudge, keep it in layers separated by parchment paper in an airtight container to maintain freshness and prevent sticking.
FAQs About Condensed Milk Fudge
Can I substitute one for the other?
Yes, evaporated milk and sweetened condensed milk can be substituted for each other with some adjustments. If using evaporated milk in place of sweetened condensed, you’ll need to add sugar. Conversely, if using sweetened condensed instead of evaporated, reduce the additional sugar in your recipe. For more insights, check out our classic fudge recipe.
Why did my fudge not set?
Fudge may not set for a few reasons: insufficient cooking time, incorrect temperature, or too much liquid. Ensuring that your sugar dissolves completely without letting the mixture boil too vigorously is crucial. Using a candy thermometer can help monitor the perfect setting point.
Can I make fudge without a candy thermometer?
Yes, making fudge without a candy thermometer is possible, but it requires a keen eye for visual cues. One traditional method is the “soft ball” test: Drop a small amount of your fudge mixture into cold water. If it forms a soft ball that flattens when removed, it’s ready. This method, though more rustic, can help achieve the desired consistency with practice and patience.
How long can I store homemade fudge?
Homemade fudge can be stored in an airtight container at room temperature for up to 2 weeks. For longer storage, you can refrigerate it for up to a month or freeze it for up to 3 months. To enjoy frozen fudge, let it thaw in the refrigerator overnight or at room temperature for a few hours.
How can I add flavors without ruining the texture?
To incorporate flavors without affecting the texture, use concentrated forms like extracts, zest, or powdered spices. Add these at the end of cooking to preserve their potency. For more texture tips, our fudge secrets guide is a treasure trove of information.
Conclusion
Making the right choice for your fudge between evaporated milk and sweetened condensed milk boils down to personal preference and the desired outcome. Whether you crave the creamy sweetness of sweetened condensed milk or the rich depth of evaporated milk, understanding their unique properties will help you craft the perfect batch of fudge. Remember, the best fudge is the one that brings you joy in every bite. Happy cooking!


